If you turn File History on without configuring it correctly, you are going to learn the hard way that it keeps the saved versions of your files in its backup location forever, until you run out of space and you have to do something about it. The first time we used it, the File History drive got full in just a few weeks. Here is how to clean up the File History drive of old files you do not need and configure File History so that its backup drive doesn't run out of space quickly:
Free up storage space on your File History drive, when it is full
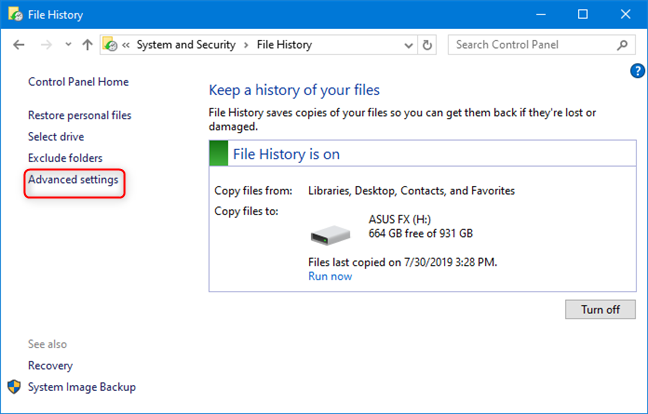
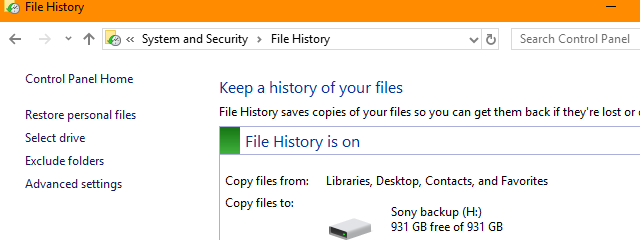
If File History complains that its backup drive is full, and it can no longer back up your files, open the Control Panel, and go to "System and Security -> File History." More details about using the File History from the Control Panel can be found here: Working with File History from the Control Panel: What you can and can't do!
Make sure that the backup drive is plugged into your computer and, in the column on the left of the File History window, click or tap "Advanced settings."
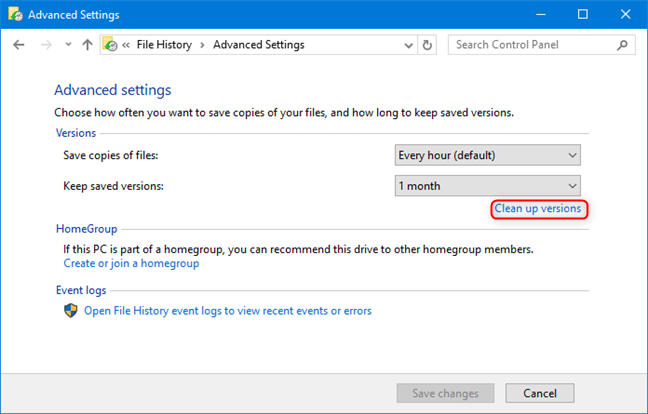
You are shown a list of advanced settings. To free up storage space, click or tap the link that says: "Clean up versions." It is found in the Versions section.
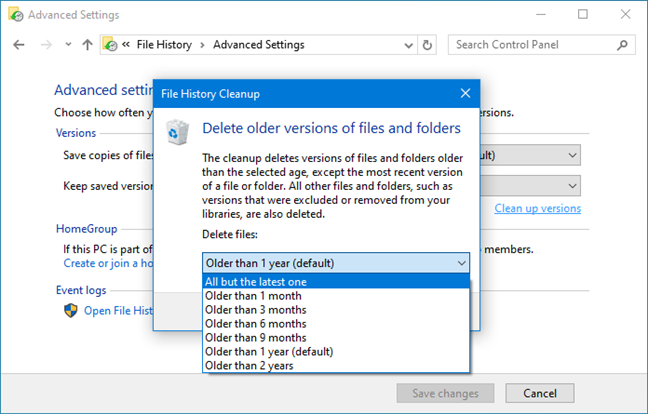
The File History Cleanup window opens. You are asked to select the criteria based on which to delete older versions of files and folders so that you can free up storage space. The default value is "Older than 1 year." Click on it and select different criteria.
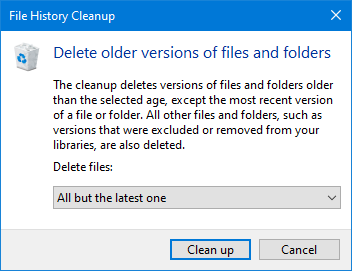
"Older than 1 month" or "All but the latest one" are settings that are going to free up a lot of space. Then, click or tap Clean up.
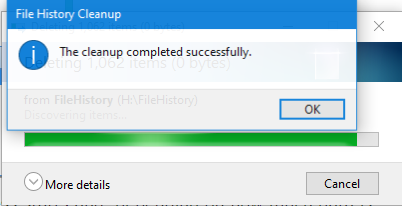
The deletion process starts and, depending on how much data is stored, you might have to wait a while. When the cleanup is finalized, you are informed. Click or tap OK, and the File History drive should have some free space available for backing up your data.
What to do to make sure that File History is not going to run out of space anytime soon
Unless you improve your settings, the File History drive is going to be full again, sometime soon. To make sure that this problem happens rarely or never, you can choose to keep the saved versions of your files for a lot less than forever.
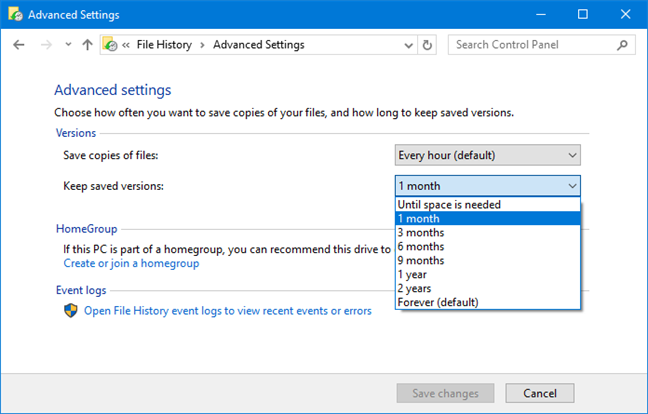
In the Advanced Settings of File History, click the drop-down list for "Keep saved versions" and select a short time frame like one or three months. Then, press Save changes.
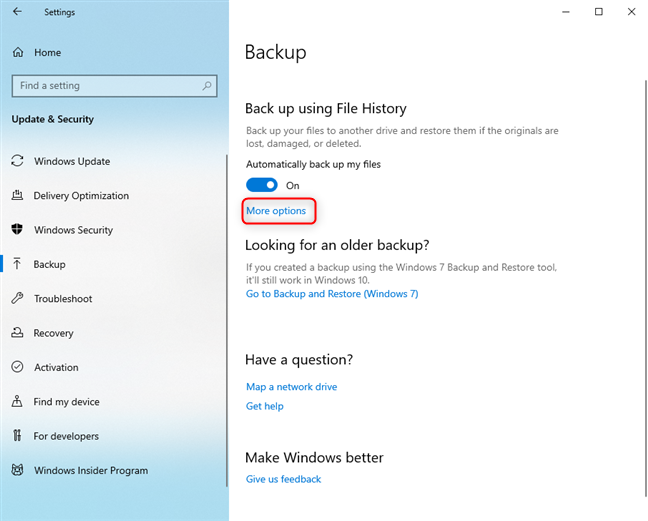
You can make the same change from the Settings app too: open Settings and go to Update & Security and then to Backup. On the left side of the Settings window, click or tap More options, beneath the switch that enables or disables File History.
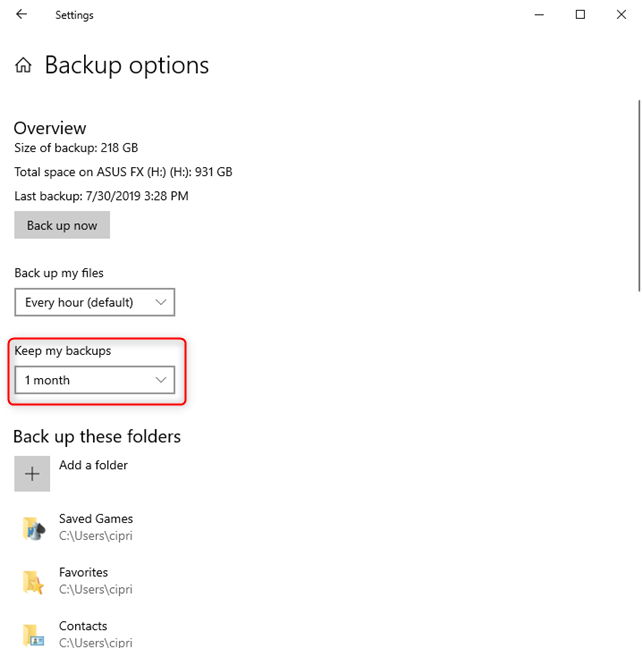
Then, choose a different value for "Keep my backups." Again, one month or three months is a better idea than forever.
For more details about working with File History from the Settings app, read: How to use File History to backup your data in Windows 10.
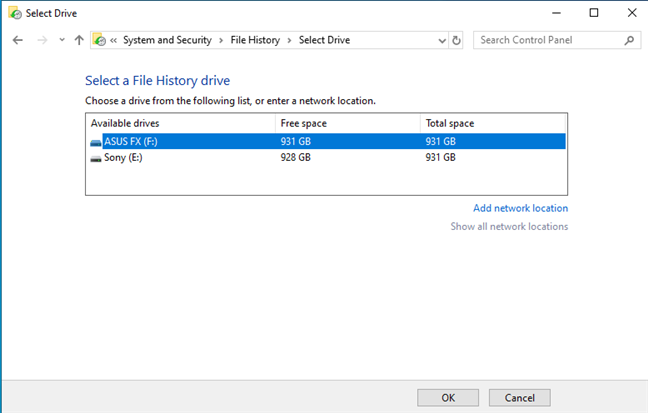
If the File History drive has little storage space that gets filled up quickly, no matter how you configure it, a good idea is to change the backup drive with another that has more storage space. This guide shows you how to change the drive used for File History: Working with File History from the Control Panel: What you can and can't do!
Another thing you could try is to exclude some libraries or folders that don't need a backup.
How much space did you free up on your File History drive?
If you follow the steps in this guide carefully, and you are a bit aggressive with your choices, you can free up a lot of storage space, for your future backups. Before closing, tell us whether our guide has helped and how much storage space did you free up.


 01.08.2019