Microsoft has made available Windows 8.1 as a free upgrade for Windows 8 users. The procedure is performed through the Windows Store and, even though it is not very complicated, there are some important requirements and steps you should keep in mind. For the complete upgrade guide, with screenshots and detailed instructions, read this tutorial.
What to do Before the Upgrade Begins
There are a couple of things you should take into consideration prior to starting the upgrade procedure:
- You should log on with a Microsoft account. Local accounts can't be used for the upgrade process. If you would like to learn more about Microsoft, accounts, read this tutorial: Introducing Windows 8: Should You Use a Local or a Microsoft Account?
- You must have your Windows 8 installation up-to-date with the latest updates. If you just installed Windows 8 and you want to upgrade it, without going through the tons of updates available for it... you can't upgrade to Windows 8.1.
- You should have 20 GB of empty space for the 64-bit edition of Windows 8.1 and 16GB of empty space for the 32-bit edition of Windows 8.1, on the partition where Windows 8 is installed. This space will be used to download and install the Windows 8.1 update. The download alone will use 3.6-4GB of space.
- Your Windows 8 installation must be activated. If it isn't, the update won't be available in the Windows Store.
- You should backup your important files, to make sure you won't lose them. Problems should not occur but you never know how things may start to malfunction. If you don't know what tool to use, don't hesitate to try the built-in File History feature.
How to Update to Windows 8.1 Using the Windows Store
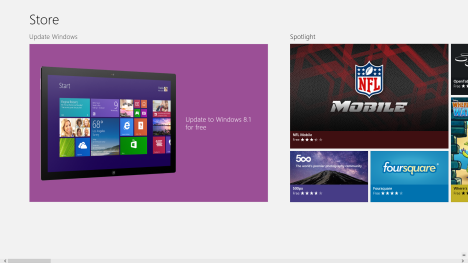
If all the prerequisites are met, then go ahead and open the Windows Store. On its homepage you should see a big entry saying "Update to Windows 8.1 for free". Click or tap on it.
NOTE: If you don't see this entry, it may mean that Windows 8.1 is not yet available for your country. It should become available very soon, so wait one more day or so.
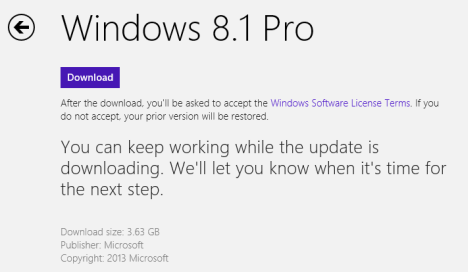
Details are shown about the Windows 8.1 update, together with information about what this update means. Don't hesitate to read all this information before pressing Download to start the update process.
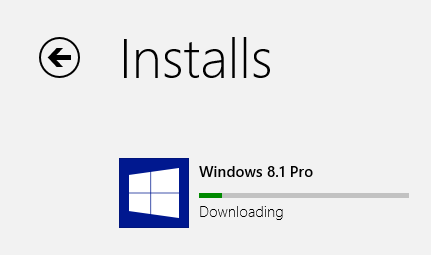
The Windows Store starts downloading the Windows 8.1 update.
During this process, you can use Windows 8 as normal. However, make sure you don't work on anything that's important while the update is ongoing. 🙂
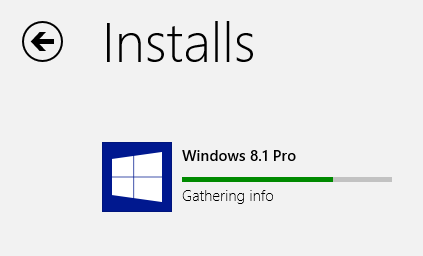
After the download is complete, your update will go through several stages: getting the update ready, checking the compatibility of your PC with Windows 8.1, applying some changes to Windows 8, gathering information about your specific PC's configuration and preparing for the first restart.
At some point during these steps you may be interrupted by a prompt saying that "Installing Windows 8.1 might change your display language. To change it back, you'll need to reinstall the language pack". This shows up only for users that use multiple display languages and it is shown because in Windows 8.1 there are more features and tools that need to be translated. Therefore, you will have to install new language packs designed for Windows 8.1.
To continue with the update, click or tap Continue. Then, a notification is displayed, saying "Installing Windows 8.1".
If you click or tap on it, you are taken to the Windows Store where you can see the progress of the installation process.
However, you can also ignore it and let the installation process do its thing. When the installation is ready for the next phase, you are notified that your PC needs a restart.
Close the apps or documents you have opened and press Restart Now.
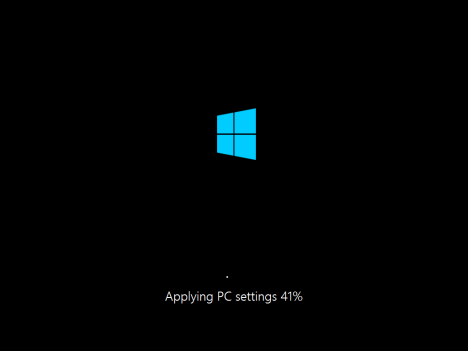
Windows 8 restarts your PC and then your Windows 8.1 installation is finalized. This involves many steps and restarts: installing your devices, applying PC settings, etc. It will take quite a bit of time. Arm yourself with some patience!
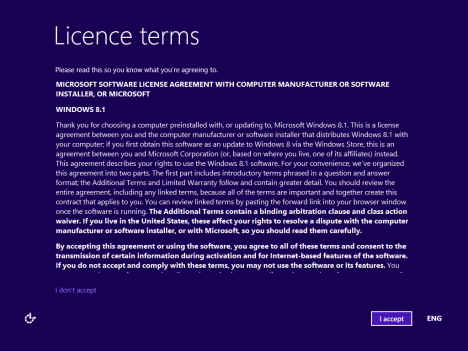
When the installation is over, you are asked to accept the Windows 8.1 license terms. Read them and confirm that you agree with them by pressing "I accept".
Then, the personalization process starts for the Windows 8.1 installation.
How to Personalize the Windows 8.1 Installation
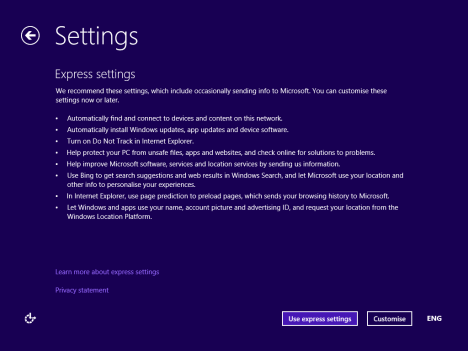
You need to choose if you want to use the express settings Windows 8.1 comes bundled with, or you want to customize your installation. Let's get our hands dirty and see what happens if you click or tap Customize.
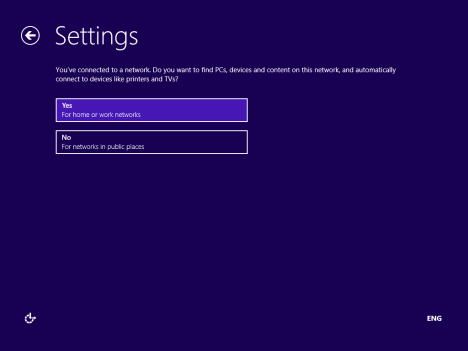
First, you are asked if you want to turn on file sharing and network discovery or not. Select the option you prefer.
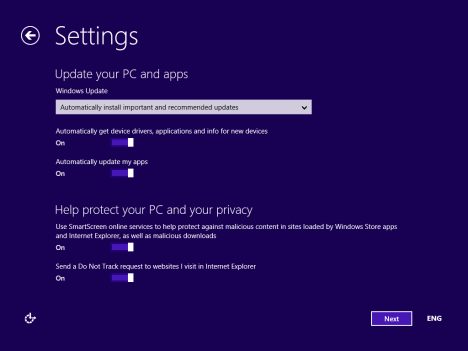
Then, you are asked about the default behavior of Windows Update and that of security features like Windows SmartScreen. Change the things you are interested in and click or tap Next.
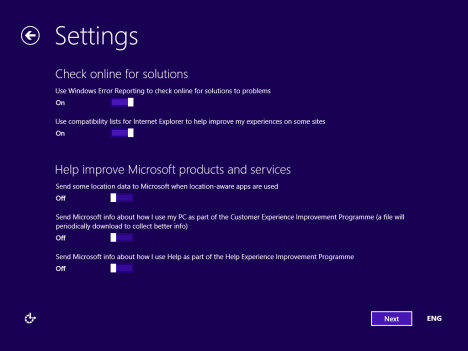
Then, you are asked about troubleshooting options and what you want to turn on. You can also set whether you want to send different types of information to Microsoft. Set things according to your preference and press Next.
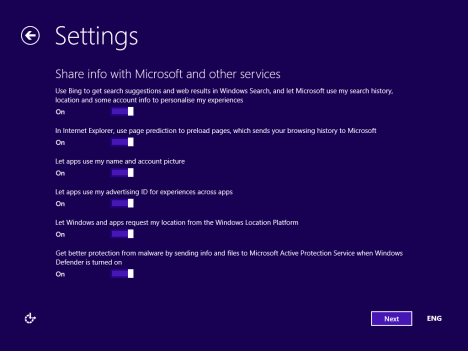
Now you are asked if you want to send different types of information to Microsoft and whether apps can use your name, account picture and if they are allowed to access your location. Set things according to your preference and click or tap Next.
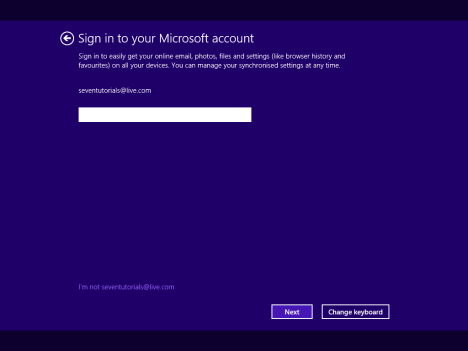
Finally, you get to sign in to your PC with your Microsoft account. Type your Microsoft account password and click or tap Next.
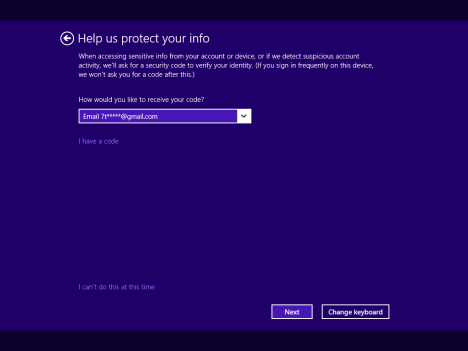
You are asked to use a security code to verify your account. Select how you would like to receive that code: via a text message on your phone, via a phone call or via email. Then, click or tap Next.
NOTE: The options displayed for getting this code depend on how you have set your Microsoft account and if you provided your phone number.
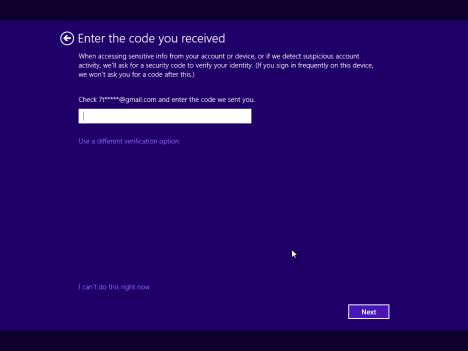
Now you are asked to enter the security code you just received, using the method you selected. Type it and click or tap Next.
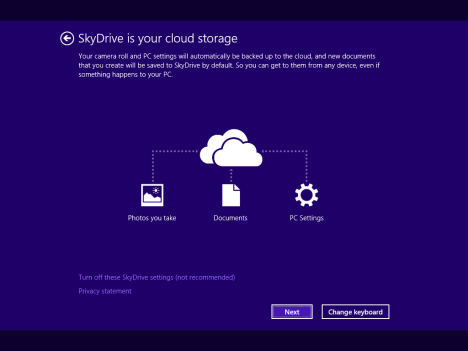
Next, you are asked to select whether you would like to use SkyDrive in Windows 8.1. For the best computing experience, it is best to click Next and leave SkyDrive turned on. If you want to turn it off, you should click "Turn off these SkyDrive settings".
Windows 8.1 takes a while to prepare your computer, your apps and all the settings. The process may also involve a restart. When done, you are logged into Windows 8.1 and you can view the Start screen. Welcome to Windows 8.1!
What To Do After the Installation
Windows 8.1 will keep most of your settings from Windows 8. But, there are new features and apps that need to be customized. Therefore, don't hesitate to browse the new PC Settings and new apps, and customize them as you see fit.
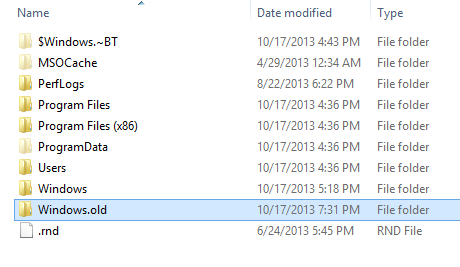
Last but not least, open File Explorer and go to the partition where Windows is installed. There you will see the Windows.old folder with your former Windows 8 installation.
To delete it, it is best to use the Disk Cleanup tool in Windows 8.1. Press the Clean up system files button and select the old Windows installation files. To learn how to use this tool, read this tutorial: Free Up Wasted Space with Disk Cleanup in Windows 7 & Windows 8.
Conclusion
I hope this guide will be useful to you. If you encounter issues or you notice different steps on your PC, don't hesitate to share them using the comments form below.


 17.10.2013