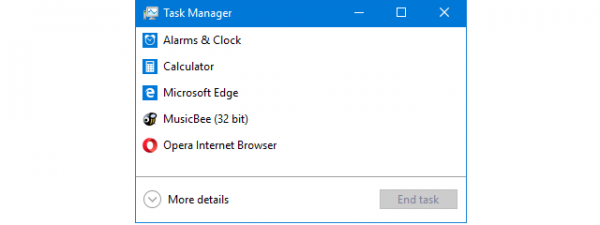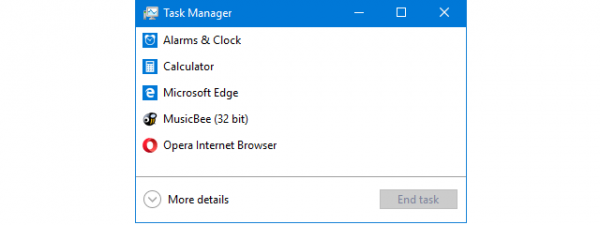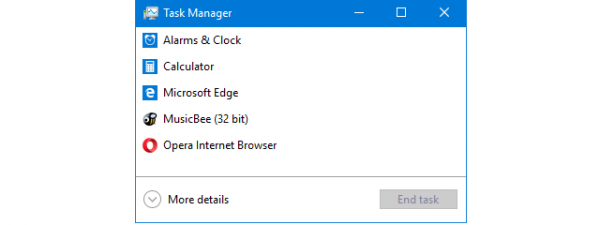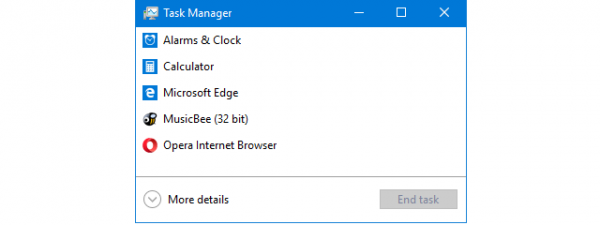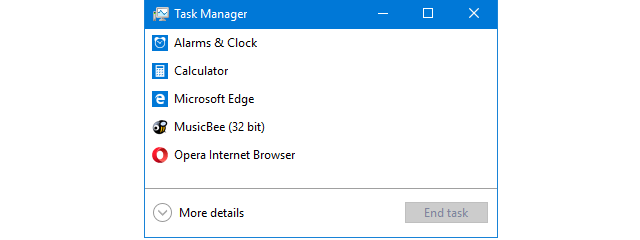
Starting with the Windows 10 May 2019 Update or version 1903, the Task Manager receives a few improvements. One of them is the fact that you can now set the default tab displayed by Task Manager when you open it. Today, you either see the compact view with few details, or the Processes tab. You can now set it to any tab you wish: Performance, Startup, Details or something else. Here is how:
NOTE: This guide applies to Windows 10 May 2019 Update or newer. Older versions of Windows 10 do not have the options shown in our tutorial. If you do not know what version of Windows 10 you have, read: How to check the Windows 10 version, OS build, edition, or type.
Set the default tab for Task Manager, in Windows 10
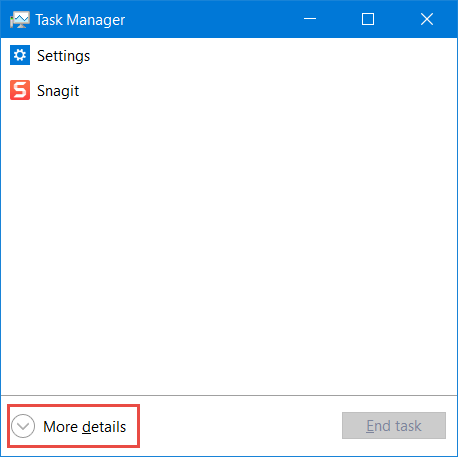
First, open the Task Manager. If it starts in the compact view, click or tap More details.
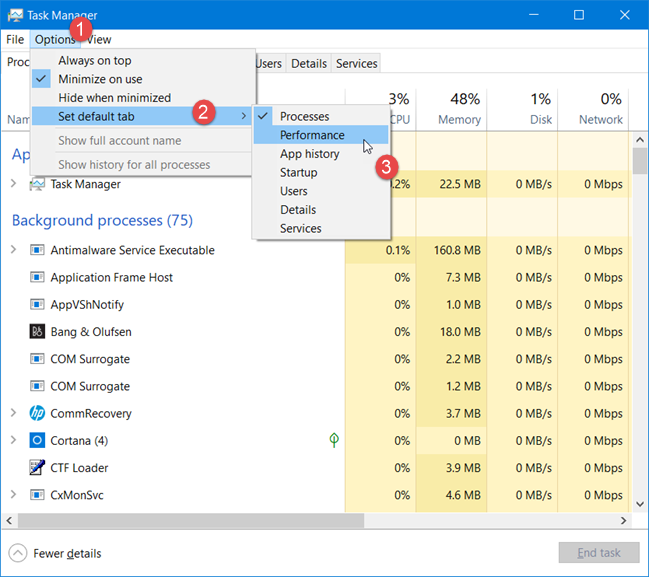
In the Task Manager window, click or tap Options, and then go to "Set default tab" and click or tap the tab that you want as the default: Processes, Performance, App history, Startup, Users, Details, or Services.
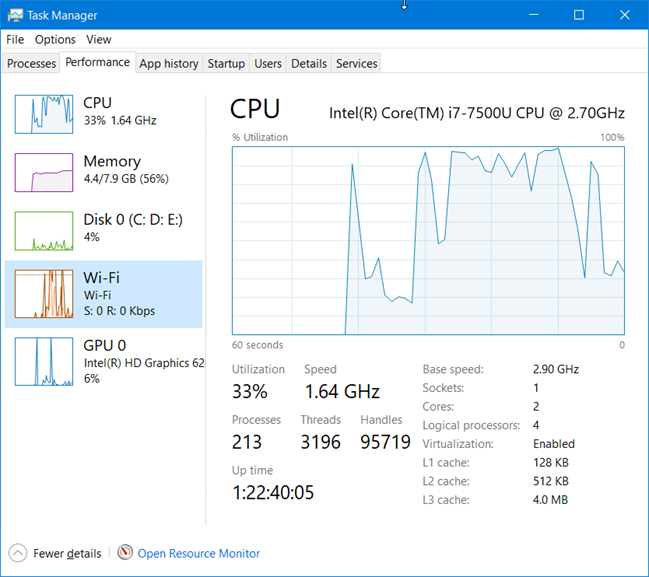
We chose the Performance tab as our default, to quickly see how our laptop's hardware resources are used. Close Task Manager and you are done.
To test that the new setting works, press the CTRL+SHIFT+ESC keys on your keyboard, and the Task Manager should start, using the default tab that you have set.
What tab/view did you choose as the default for your Task Manager?
It is a good idea to check the different tabs available in the Task Manager, before choosing the one you prefer as the default. Then, before closing this tutorial, tell us in a comment below, the view or tab that you have chosen as your default for Task Manager. Is it the Performance tab or something else?


 03.05.2019