Ages ago, when DOS (Disk Operating System) was the main computer operating system, the Print Screen keyboard key was used to capture the screen and directly print it on the default printer. Nowadays, neither Windows 11 nor Windows 10 does that. Instead, pressing the Print Screen key takes a screenshot and puts it inside the system’s clipboard. Sure, you can paste it from the clipboard in any image editing app and print it from there. But what if you don’t want to take all those steps? What if you want to Print Screen directly to a printer? In other words, how can you automatically send your screen to the printer? Here are two ways to do that in Windows 11 or Windows 10:
NOTE: This article is about using the Print Screen key to send a screenshot directly to your printer. If what you’re looking for is how to take a screenshot on your PC and how to print in Windows, check these guides instead: How to screenshot on Windows (8 ways) and How to print from a Windows computer (Ctrl + P).
1. How to take a screenshot and print it directly with our “Print Screen to Printer” tool
One way to make your print screens go directly to the default printer in Windows 11 or Windows 10 is to use a simple tool called PrintScreen to Printer that we made for you. Download PrintScreen to Printer using this link. Save it somewhere on your PC, and then double-click or double-tap it.
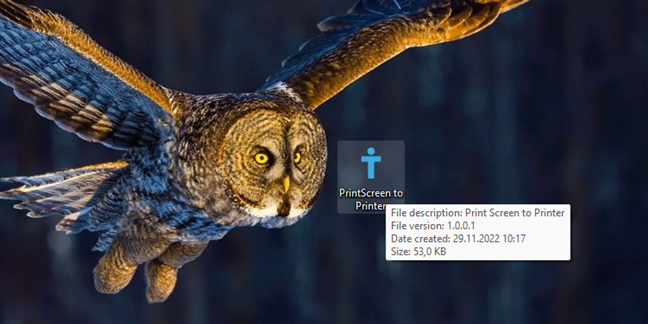
The PrintScreenToPrinter tool from Digital Citizen
When you first open PrintScreen to Printer, the SmartScreen filter warns you that it is an unrecognized app. That happens because only our readers download and use it, and you are few in number. Our little tool is safe and will not harm your computer. The tool is based on a PowerShell script saved as an executable file (if you want, you can see the script on GitHub: Print-Screen-to-Printer). To be able to use our PrintScreen to Printer tool, click or tap on “More info” and then choose “Run anyway.”
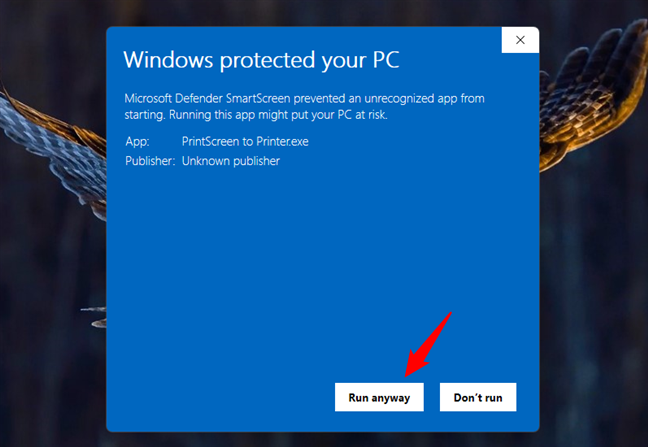
Choosing to Run Anyway
Each time you open PrintScreen to Printer, you receive a message that reminds you how it works: “Press the PRINT SCREEN key to capture a screenshot and send it directly to the PRINTER. Press the PAUSE / BREAK key to stop.” Click or tap on OK.
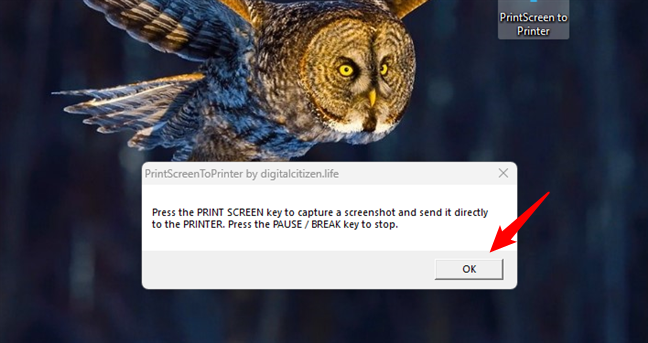
Press the PRINT SCREEN key to capture the screen and send it to the PRINTER
Every time you want to take a screenshot of the screen and send it directly to your printer, press the Print Screen (PrtSc) key on your keyboard.

The Print Screen (PrtScn) key on the keyboard
In an instant, Windows should capture the screen and show you the “Print Pictures” dialog, as illustrated below.
Choose how you want the screenshot to be printed and click or tap on Print.
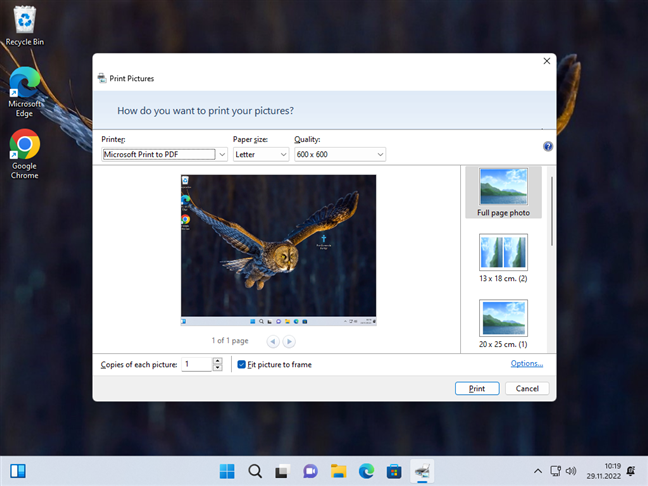
Capture and instantly print a screenshot
When you no longer want your print screens to be automatically sent to your printer, press the Pause / Break key on your keyboard.

The Pause / Break key on the keyboard
As soon as you do that, the PrintScreen to Printer tool stops and notifies you that it “Stopped sending screenshots directly to the printer.”
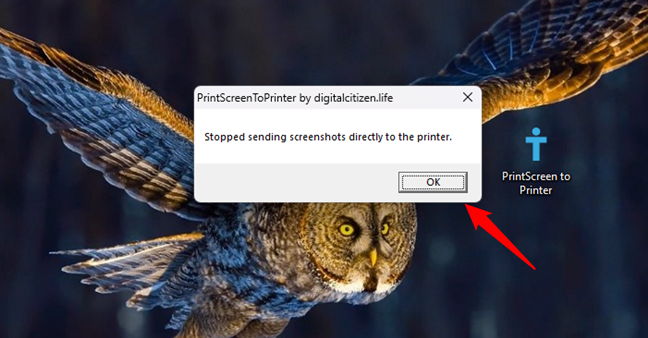
Stopped sending screenshots directly to the printer
NOTE: When you use PrintScreen to Printer, it resides in your computer’s RAM, where it should take only a small amount of memory. If you want it always to run, you can automatically load it with Windows 11 or Windows 10 using the steps from this guide: How to enable an app to run at the Windows startup.
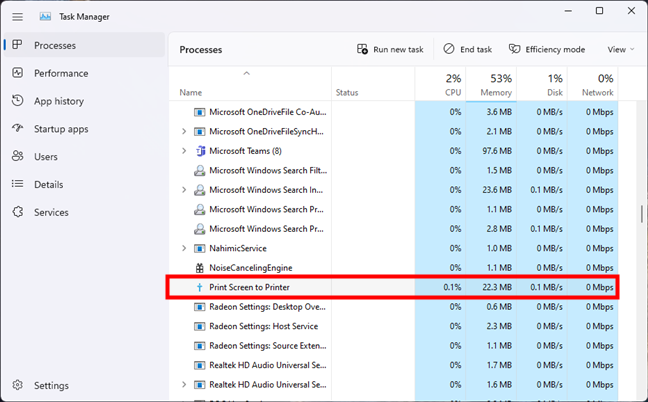
PrintScreenToPrinter needs a tiny amount of system resources
P.S. If you encounter any issues with our PrintScreen to Printer tool, let us know via the comments section at the bottom of this article.
Download: PrintScreen to Printer
2. Install a third-party screenshot app and configure it to print your screenshots automatically
Another way to send a screenshot directly to your printer is to use a specialized screenshot-taking app and configure it to print screenshots immediately after you take them. There are many such apps available on the internet, so we can’t cover them all in detail. However, regardless of your chosen app, the steps involved should be similar.
For this tutorial, we chose to use Screenpresso. It’s a free app designed to capture screenshots and make screen recordings. You can get it from here: Screenpresso. After downloading and installing it, launch its main window by clicking or tapping on its icon from the system tray.
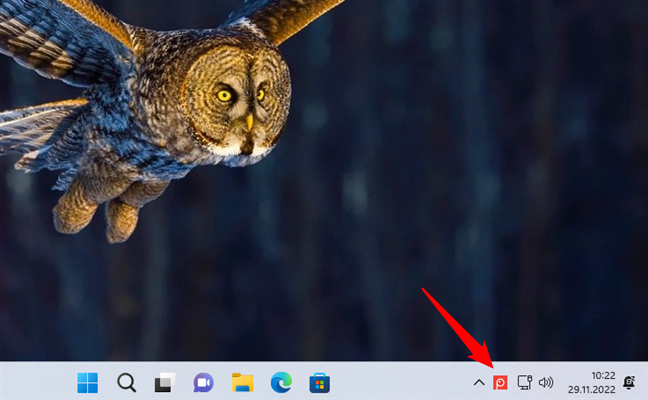
The Screenpresso icon from the system tray
Then, open Screenpresso’s menu with a click or tap on the small wrench button from the top-right corner and select Settings.
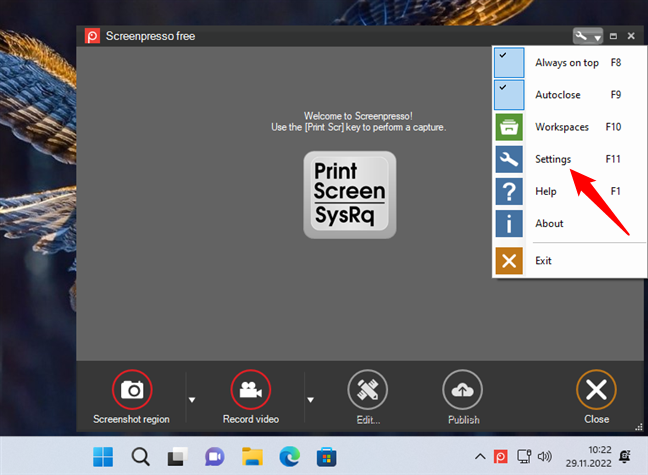
The settings of a screenshot-taking app
In the settings window, go to its Screenshot tab, select Print as the “Action to perform on screenshot,” and click or tap OK.
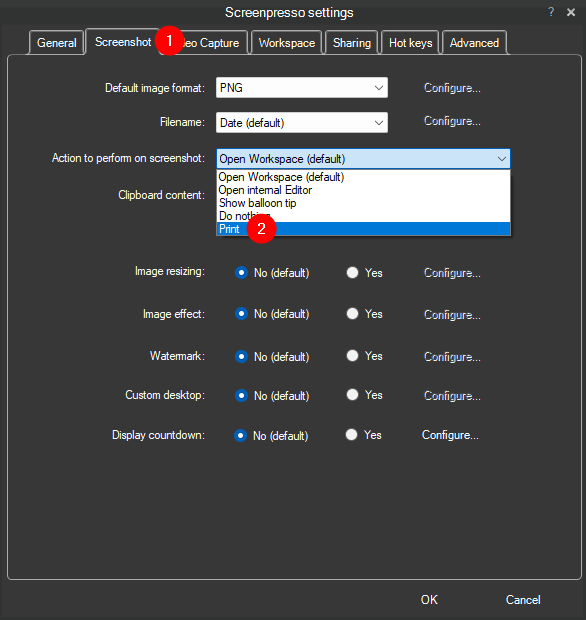
Configuring a screenshot-taking app to send screenshots directly to the printer
From now on, each time you use Screenpresso to capture screenshots, they are automatically sent to your printer with no additional confirmation.
Do you know other ways to “screenshot to printer”?
When we first thought about this, we didn’t know how to print screenshots directly. We thought that Windows had a way of doing it easily. Unfortunately, we found out that it doesn’t. That is why we decided to make our own PrintScreen to Printer tool. The other option we found for sending screenshots directly to the printer was easier, but it implied having to install more complex apps. Do you know other methods to send a screenshot to the printer directly? Let us know in the comments section below.


 01.12.2022