The TP-LINK RE450 AC1750 range extender is the top-of-the line range extender from TP-LINK. It's a device that seems great : it's big, with an unusual look, promising specifications and a rather high price tag. We tested it for about a week, in which we analyzed the user experience offered by this range extender and its wireless networking performance. Read this review to see whether this range extender is a good choice when you need to extend the coverage of your wireless network:
Unboxing the TP-LINK RE450 AC1750 Wi-Fi Range Extender
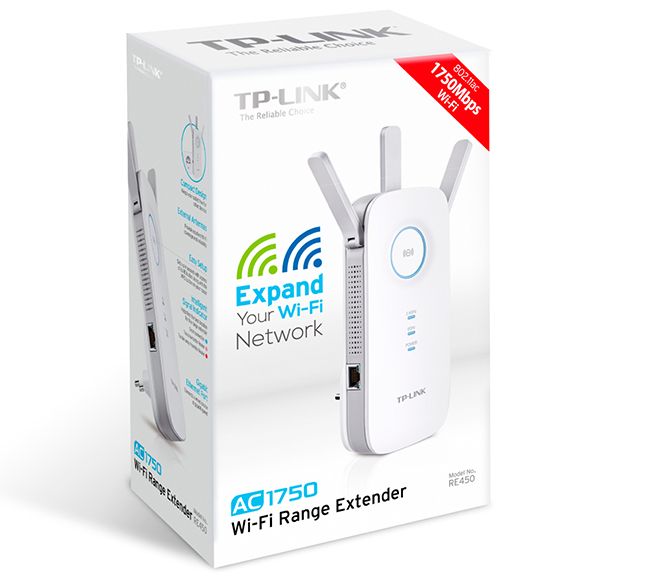
The packaging of the TP-LINK RE450 AC1750 is worthy of a device with a more premium price tag . On the front, you can see a picture of this device, the model name and its theoretical maximum bandwidth.
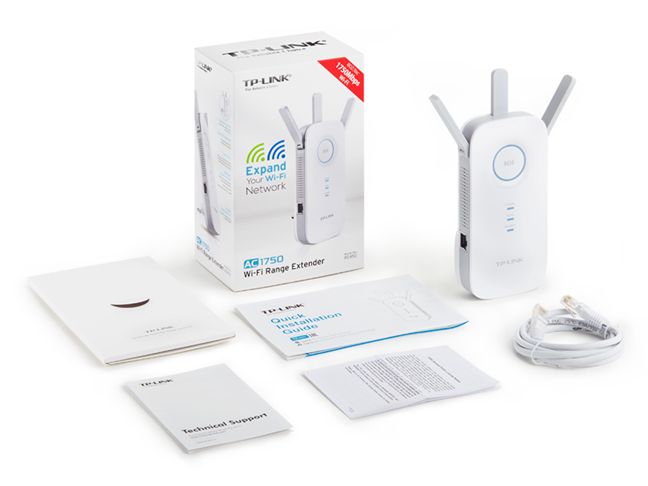
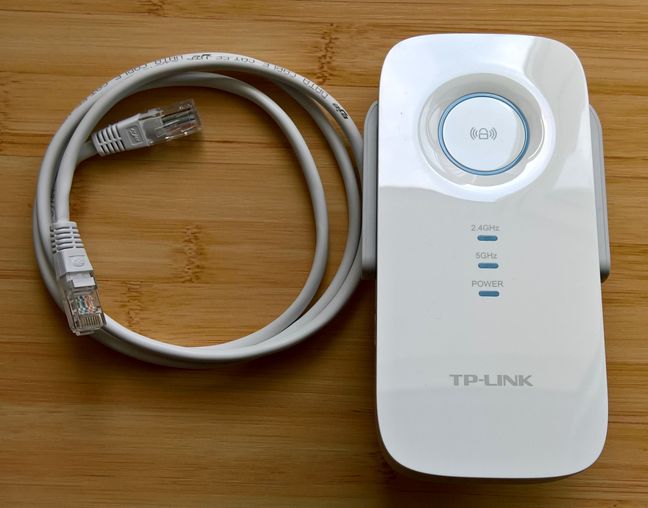
Inside the package you will find the range extender, an RJ-45 Ethernet cable, the Quick Installation Guide, the warranty and other leaflets.
The packaging used for the TP-LINK RE450 AC1750 range extender looks good and the unboxing experience is quick and painless.
Hardware specifications
Unfortunately there is no information about the processor and the chipset used by the TP-LINK RE450 range extender. What we know is that this dual-band range extender offers support for the following networking standards: IEEE802.11ac, 802.11n, 802.11g and 802.11b. The maximum theoretical bandwidth is of 450 Mbps for the 2.4 GHz wireless network and of 1300Mbps for the 5 GHz wireless network, leading to a total of 1750 Mbps.
The TP-LINK RE450 range extender is quite large and heavy: it has a size of 6.4 x 3.0 x 2.6 inches or 163 x 76.4 x 66.5mm and a weight of 16.63 ounces or 463 grams.
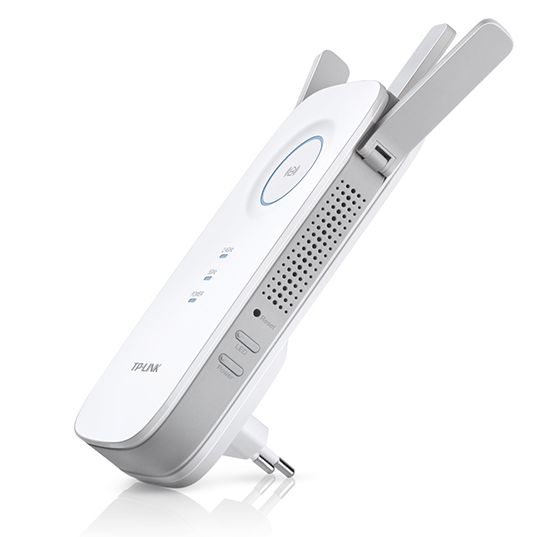
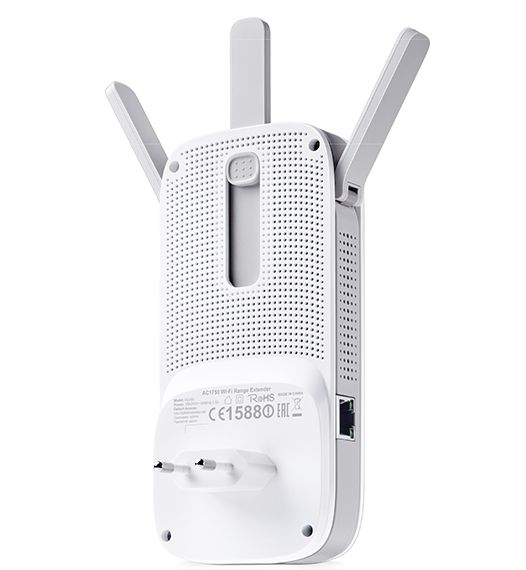
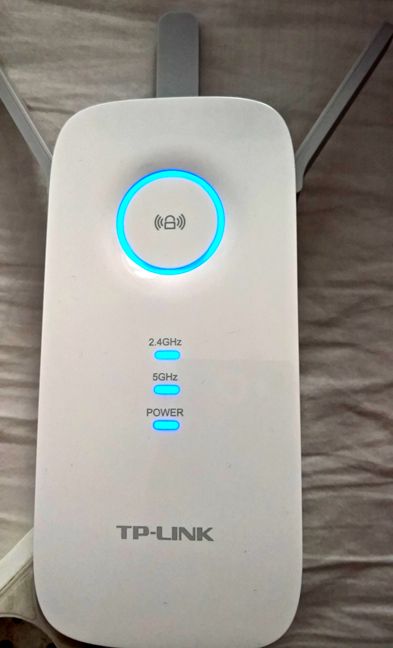
All it's 3 external antennas are adjustable. On the front of the device you will find several LEDs which indicate the status of its operation. On the right side you have a Reset button, a button for turning On/Off the LEDs on the front of the device and the Power button. On the left side you can find the Ethernet port for connecting other devices to the range extender.
You can find all the official specifications of this range extender, here: TP-LINK RE450 AC1750 Specifications.
Setting up and using the TP-LINK RE450 AC1750 Wi-Fi Range Extender
Setting up the TP-LINK RE450 AC1750 range extender is very easy. You can use the WPS button on the range extender and on the wireless router to connect the two devices in just a couple of seconds. Alternatively, you can use the network cable that's bundled in the packaging to connect the range extender to a computer in your network.
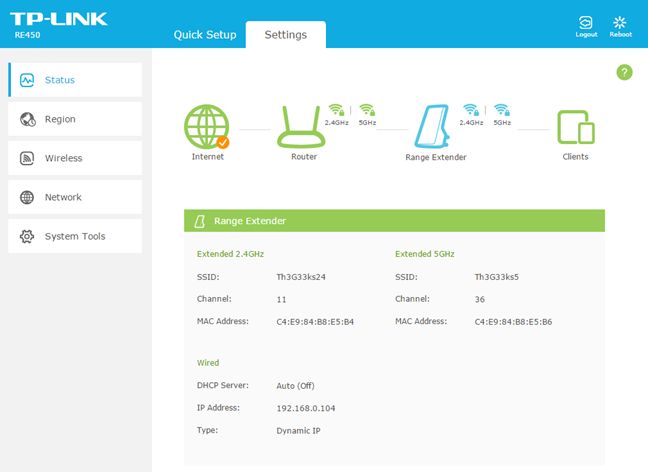
Then, launch your favorite web browser and navigate to http://tplinkrepeater.net or the IP address of the range extender (if you connected it to the network using WPS). Use "admin/admin" for the username and password and start configuring the range extender. The user interface is simple, easy to use and it looks good.
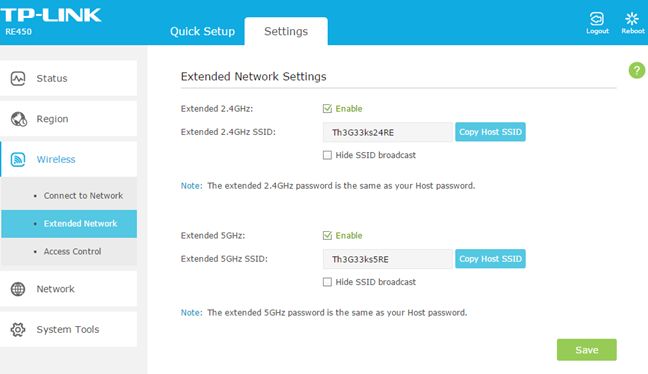
In order to set how the range extender broadcasts its two wireless networks, you must first set the region that you are in. You will notice that the user interface doesn't offer much in terms of configuration options. You get only the basics that are required in order to get the job done and that's it. Also, it doesn't offer any multi-lingual support. The user interface is available only in English, as you can see in our screenshots.
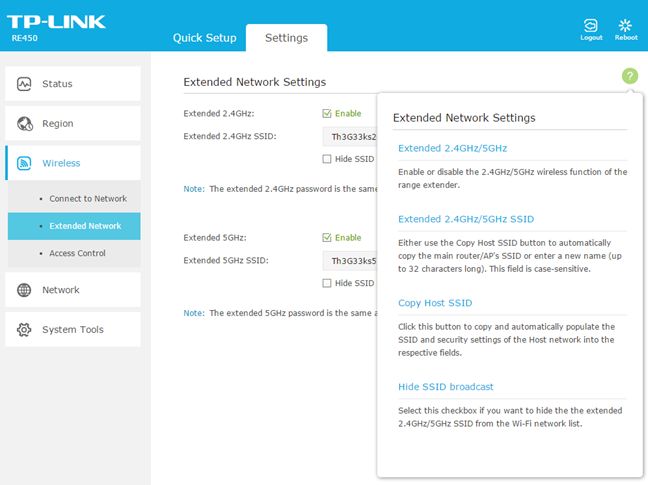
One aspect that we appreciate a lot is the fact that the help documentation is well made and easily accessible. In all the lists of settings, you see a question mark sign in the top-right corner. If you click on it, it shows an explanation for all the settings that are shown currently on the screen. Beginners and casual users will appreciate this feature.
After you set up the way TP-LINK RE450 works, we recommend that you do the following:
- Change the default username and password that is used to connect to administer the range extender, to increase the security of your network.
- Update the firmware to the latest version, to benefit from bug fixes and performance improvements. In our testing, we updated it to version 1.0.0 Build 20151203, which introduced some useful fixes when compared to the initial firmware version that was bundled on this range extender.
Once the setup is done, you should move the range extender to the room where you want it placed, so that you can extend the coverage of your wireless network. The big circle on the front of the range extender signals whether it has a good connection with the router or whether it is too far away from it. When the circle is colored in blue, it's connection is good, when it turns red, you should consider moving the range extender closer to the router.
As you can see in the picture above, the TP-LINK RE450 range extender is large and bulky. It needs quite a bit of room and this may be an issue for some users. One aspect that we appreciated is the fact that it has a button for turning off the LEDs. After the initial setup, they might become more of a nuisance than a useful feature.
After we were done setting up the TP-LINK RE450 range extender and upgrading its firmware, we started connecting several devices to it: smartphones, laptops, consoles and wireless printers. We had no connectivity or stability issues with our network connections. One last thing that we would like to mention is the fact that TP-LINK advertises the presence of a Gigabit Ethernet port that acts as a wireless adapter to connect a wired device to your network at gigabit speed. While this port works at gigabit speed, that doesn't mean you will get a 1 Gbps network connection. Remember that the TP-LINK RE450 range extender received access to the network wirelessly and its wireless network connection is far from offering 1 Gbps in terms of speed. Therefore, you can connect using the Ethernet port but its maximum speed will be the speed at which your range extender connects to the wireless router.
Setting up and using the TP-LINK RE450 is quick and painless. There are a few steps to go through but they are not very complicated, not even for beginners. The administration interface looks great and it is easy to use but it's also light in terms of configuration options. More advanced users will want more control options.
Go to the next page of this review to learn about the performance offered by this range extender.


 26.02.2016