19.10.2023
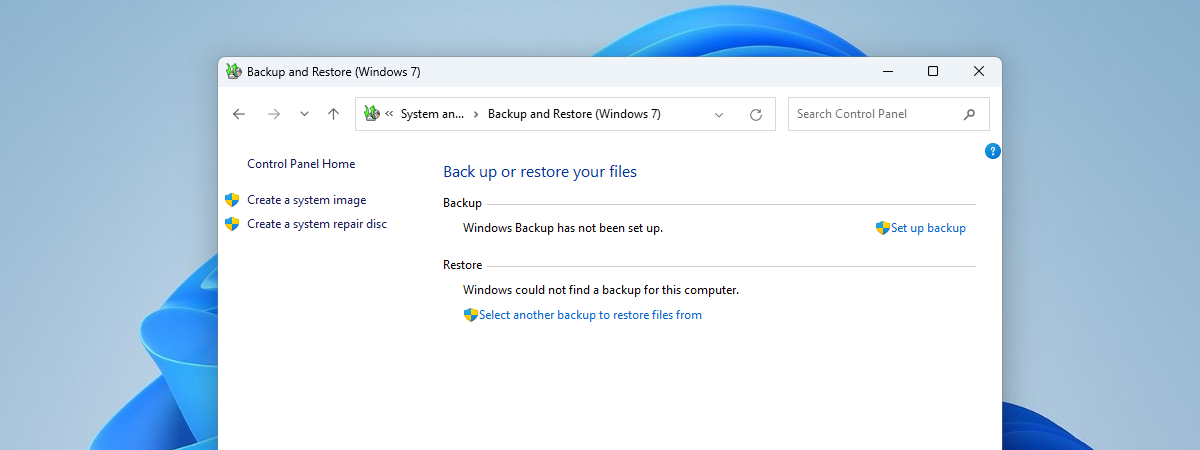
The Windows Backup app for Windows 11 and Windows 10 is not your regular backup solution. It doesn’t allow you to restore your entire system or any specific files, settings, apps, or credentials. The folders you’ve backed up are available directly in your OneDrive cloud storage. And, the other things you’ve backed up - settings, apps, credentials - can be restored only during the installation process of Windows 11 or Windows 10. Most probably, all this may sound odd to you and other users. To help you better understand how things work, here’s how to restore a backup made with the Windows Backup app:
How to restore data from Windows Backup in Windows 11
If you’re installing Windows 11, the initial configuration process will allow you to restore data from the backups you’ve previously made with the Windows Backup app. Here are the steps:
When asked to do so, choose your country or region and then click on Yes.

Choosing the country or region during the Windows 11 installation
Select the keyboard layout you prefer using, and then click or tap Yes.

Selecting the keyboard layout
Add a secondary keyboard layout if you need to, or Skip this step.
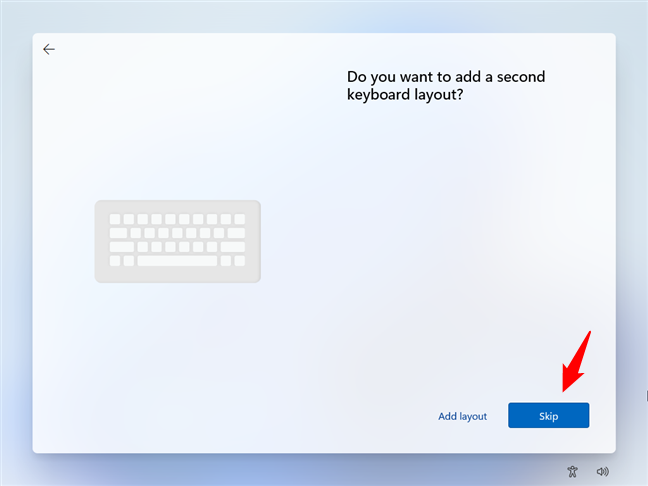
Skip or add a secondary keyboard layout
Choose a name for your Windows 11 device and press Next.
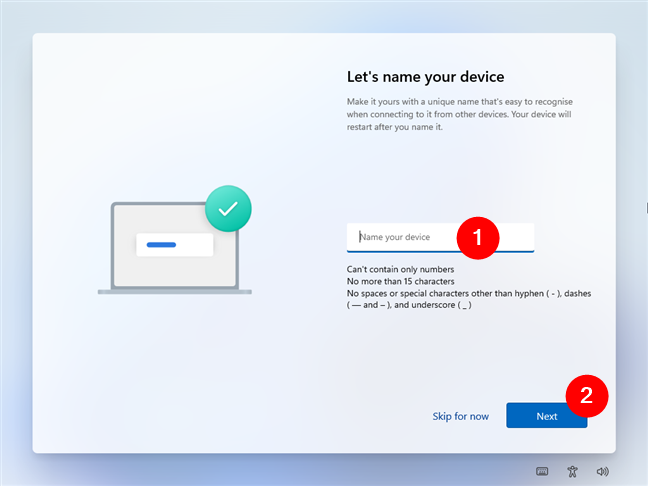
Choose a name for the Windows 11 PC
If the setup wizard asks you how you’d like to set up your computer, choose Set up for personal use.
Note that you’ll only get this question if you’re installing Windows 11 Pro (or higher). If you’re installing a Home edition, it’s quite clear that you’re setting up the PC for personal use. 🙂
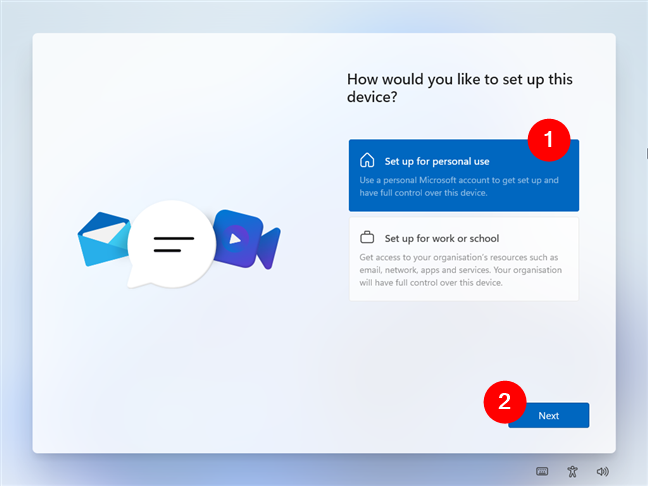
Set up for personal use
Next, click or tap the Sign in button to authenticate with your Microsoft account.
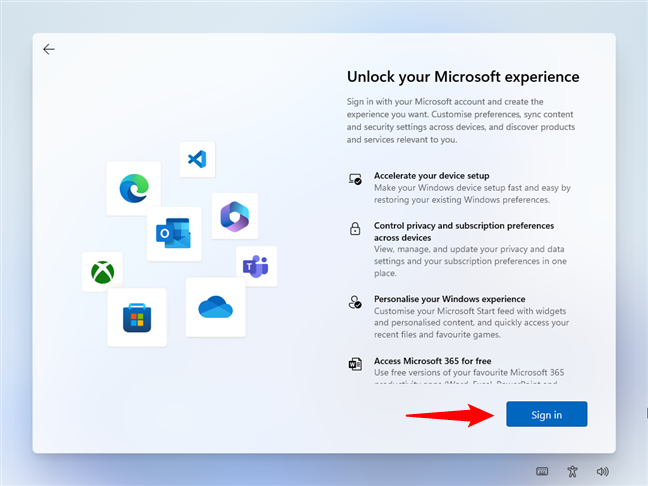
Sign in with a Microsoft account
On the “Let’s add your Microsoft account” screen, enter your Microsoft account credentials or create a new account if you don't have one.
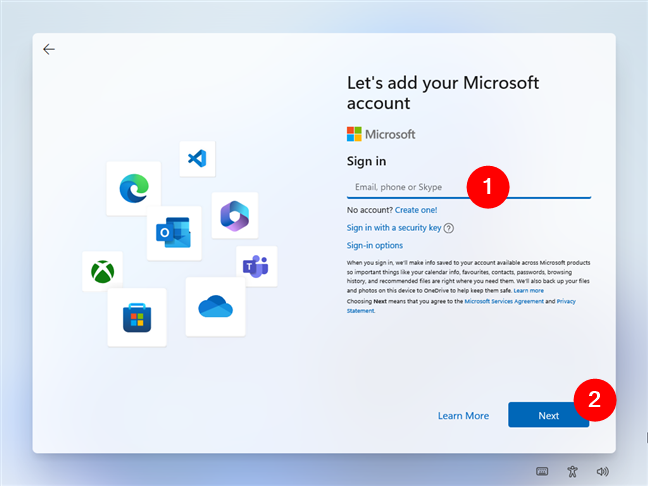
Enter your Microsoft account
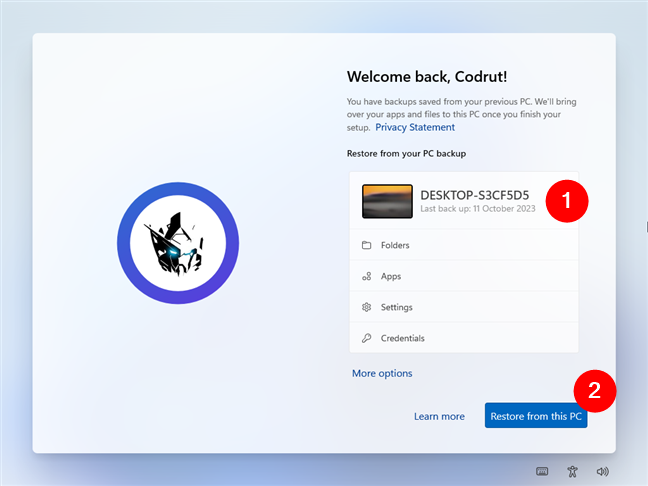
Finally, you’ll get to the Windows Backup restore screen.
By default, the most recent backup is selected for restoration. If you’re OK with that, click or tap the “Restore from this PC” button.
The most recent backup is selected by default
If you’d like to restore another backup, click or tap on More options, and you’ll get the complete list of all the backups you’ve made with Windows Backup. Select the one you want to use and click or tap on “Restore from this PC.”
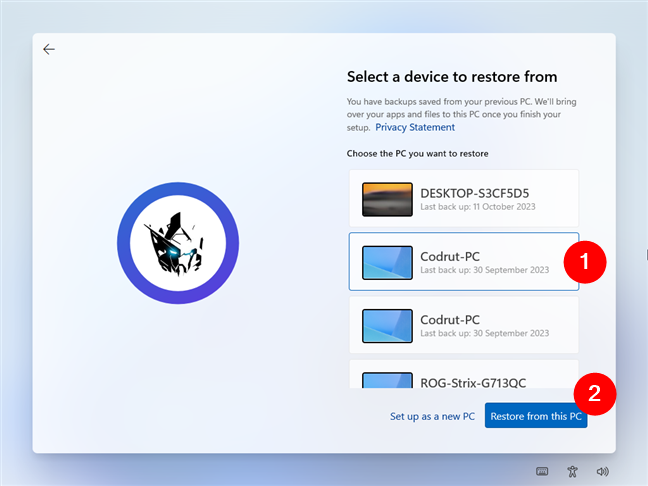
Selecting a different backup
Once a backup has been selected and as soon as you’ve clicked or tapped the “Restore from this PC” button, Windows 11 will start restoring.
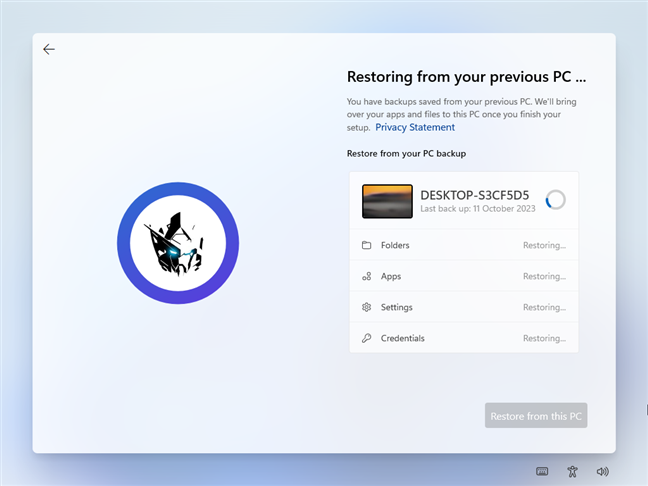
Restoring from your previous PC...
All you have to do next is wait for the backup restoration to be over. Then, you can carry on with the remaining steps of the setup wizard (choose your privacy preferences, set a PIN code, etc.) to finish configuring your Windows 11 device.
How to restore data from Windows Backup in Windows 10
While the Windows Backup app is available for Windows 10 too, restoring data from it is a bit strange. Why? Well, when gathering data and screenshots for this tutorial, I found out that you cannot restore a backup made with Windows Backup when installing Windows 10. The backup restore option simply isn’t there. However, you can follow the steps in the previous chapter of this guide to restore a Windows 10 backup when installing Windows 11!
Restoring a Windows 10 backup on a Windows 11 PC
If you find this strange, here are Microsoft’s words on the matter:
This approach has the unmistakable fragrance of a restriction that’s there only to convince you to upgrade. I feel like Microsoft intentionally limited the user’s choice with Windows Backup in Windows 10, making the app useful only for those who intend to upgrade to Windows 11. For all the others who intend on staying on Windows 10, it’s quite simply useless.
How do you like using Windows Backup?
So now you know how to restore the backup of a Windows 11 or Windows 10 device when installing Windows 11. Do you find the Windows Backup app useful? Are you happy with its features and the way restoring data is done? Let me know what you think in the comments section below.