Y our computer got infected by a nasty virus. Windows is slow, your web browser freezes and you are constantly fighting to get rid of strange popups, warnings and advertisements. These are all signs of a malware infection. You are worried about your files, your personal data and your apps. You tried to scan your computer with the antivirus you have installed but it doesn't report anything or it just can't clean the virus infection. Even worse, you did not have an antivirus installed and now you can't install any antivirus because the virus blocks its installation. That's a tough situation to find yourself in, and cleaning your computer from viruses is going to be a hard and lengthy process. To make sure you succeed, we created a diagram with an easy-to-understand process that anyone can follow. Read it, follow our detailed instructions and remove that nasty virus from your computer. Let's get started:
The process for removing a nasty virus infection
Even if you're having problems because of a nasty malware infection, that doesn't mean you cannot do anything to recover your data and clean your computer. The steps involved are many and, if not done correctly, can lead to losing your personal data, but they can be performed by just about anyone who pays attention to our instructions. First, let's start by sharing a diagram with the flow of the process that you need to go through.
As you can see, the process is split into four priority areas: data backup, disinfection, recovery and the prevention of further damage. Take the priority areas in the order they are shared and go through the steps we designed for you. Then, read the detailed instructions shared below in this guide. You will see that each priority area and each step has its equivalent in the body of this guide. Just use the numbers we shared to go the correct section.
1. Priority 1: Data backup
Regardless of how you got infected or how nasty the malware is, the first thing you should do is backup your data. By that, we're thinking at your documents, photos, videos and any other kind of sensitive data that you don't want to lose. You should make sure that you have a copy of all your personal files because, even if they are infected by the virus, you might still be able to clean them later. Don't backup programs or any other kind of software that you can reinstall anytime, after you've cleaned your computer.
1.1. Backup your data
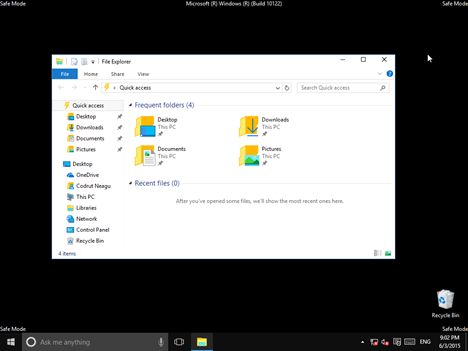
One of the common traits of any nasty virus is the fact that they set themselves to run at the Windows startup. In order to limit the damage done to your computer, it is best to boot into Safe Mode. This means that Windows will not load any third party apps or drivers, and that may include malware too. That's why going into Safe Mode is one of the best ways to backup your important data before trying to clean your computer.
If you don't know how to boot into Safe Mode, we have a few guides that cover this subject:
- 4 Ways To Boot Into Safe Mode In Windows 10
- 5 Ways To Boot Into Safe Mode In Windows 8.1
- What is Safe Mode & How to Boot into Safe Mode in Windows 7
If you can enter Safe Mode, copy all your essential files to a removable drive, like a USB memory stick or an external hard drive, or burn your files on DVDs or other optical disks.
Once you've backed up everything that's important, move to section 2 in this guide. If you cannot boot into Safe Mode, follow the steps from the next section.
1 .2. Create a Live Disc
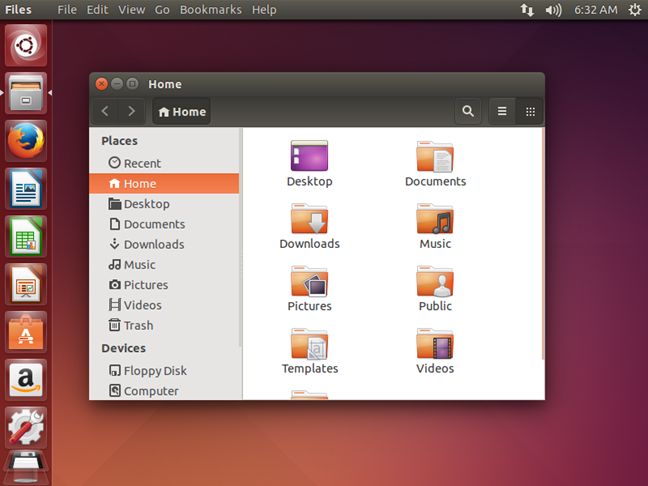
If you cannot enter into Safe Mode, we recommend that you use another computer to create a Live Disc and then use it to backup the data from your infected Windows device. Live Discs have the great advantage of letting you run a complete operating system in the RAM memory of your system, instead of having to install them on a hard drive. Another advantage is the fact that you can use almost any kind of removable drives for Live Discs. You can create a Live Disc on a CD, on a DVD or even on a USB memory stick.
A simple Google or Bing search will give you plenty of options when it comes to the operating system you'd like to use for your Live Disc. We recommend that you create an Ubuntu Live Disc, as this Linux distribution offers a user interface that's very easy to use. You can find instructions on how to create and use Ubuntu Live Discs here: Ubuntu LiveCD Documentation. If you want to create and use Ubuntu on a USB memory stick, you can find the documentation here: How to create a bootable USB stick on Windows.
1.2. Boot from the Live Disc
Once you've created a Live Disc, use it to boot your infected computer from it. As we briefly mentioned earlier, starting your computer from a Live Disc means that the operating system on it will load only in your computer's RAM memory, so none of the drivers, apps and malware from the hard drive(s) on your computer will load.
1.3. Backup your data
Once the operating system from your Live Disc is up and running, use it to copy all the important data you have on your infected computer to another external drive, like another USB memory stick or an external hard drive.
2. Priority 2: Disinfection
Now it is time to clean our computer of that nasty virus. Here's what you have to do:
2.1 Create an antivirus recovery drive
Because the infection is so bad that you cannot install an antivirus on it or your existing antivirus is not able to deal with it, you will have to use a more complex solution: you need to create an antivirus rescue/recovery drive.
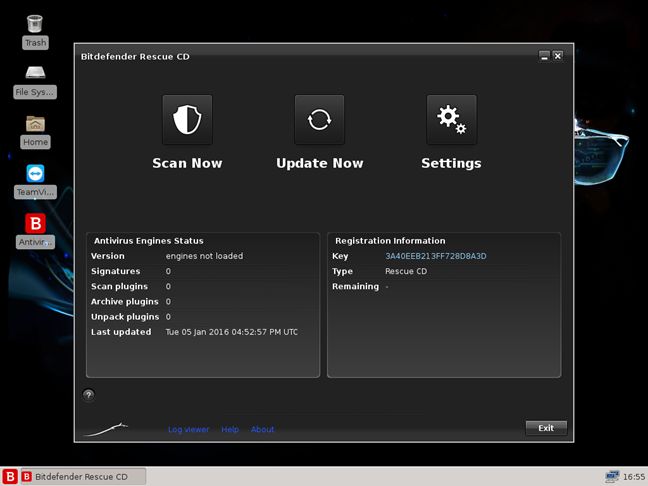
Antivirus rescue drives are similar to Live Discs, but instead of holding an operating system, they are designed to provide you with antivirus software. An antivirus rescue disk will allow you to boot your computer from it and then run all kinds of antivirus scans on your computer.
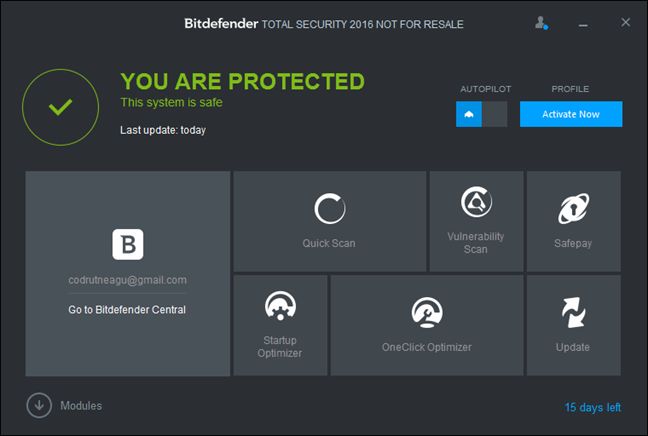
Most of the big names on the security market like Bitdefender , ESET or Kaspersky offer antivirus rescue drives. They are usually delivered as ISO files that you can either burn on a CD or DVD, or you can use them to create a rescue USB memory stick.
2.2. Boot the infected PC from the antivirus recovery drive
Booting and running an antivirus rescue disk means that the operating system from your computer will be loaded but not the malware on it. However, the antivirus rescue disk will be able to see, scan and clean all the hard drives found on your infected computer.
2.3. Clean the infected PC using the antivirus recovery drive
Once you've booted your computer from the antivirus rescue disk, use it to run a full in-depth scan of all the hard drives you have installed on it. Make sure that you configure the scan to be as in-depth as possible. If you can, set the antivirus to open archives, set it to scan for rootkits, set it to scan for PUPs (possibly unwanted programs) and set it to use "advanced heuristics". When malware is found, always choose to either clean the infected files or, if cleaning is not possible, delete the infected files. This is the safest way of making sure your computer will be rid of malware.
If the antivirus reports that your computer is now clean, then move to section 3 in this guide. If your computer is still infected and the antivirus couldn't clean all the malware, repeat the steps in section 2 but using a different antivirus. If that doesn't work either, then move to section 3 in this guide.
3. Priority 3: Recovery
If the malware cleanup worked, follow steps 3.1 and 3.2 in this section. If it didn't, follow steps 3.3 to 3.7 in this section.
3.1. Boot into Windows
If the antivirus from the rescue disk you used earlier managed to clean your infected computer, now it's time to check if Windows was not permanently damaged and it still works. Restart your computer and try to boot normally. If Windows works normally, go to step 3.2. If it doesn't work well, go to step 3.3.
3.2. Verify your data and apps
If you are reading this step then it means that you managed to disinfect your computer by using an antivirus rescue disk and your Windows works normally. If so, you should also check if all the apps you have installed still behave as they should and that your data is still in a good condition.
Even if the operating system is clean and working, that doesn't necessarily mean that your apps or personal data were left undamaged. The malware infection could have destroyed essential files from your installed programs. If that's the case, you will have to reinstall those apps.
3.3. Reinstall Windows
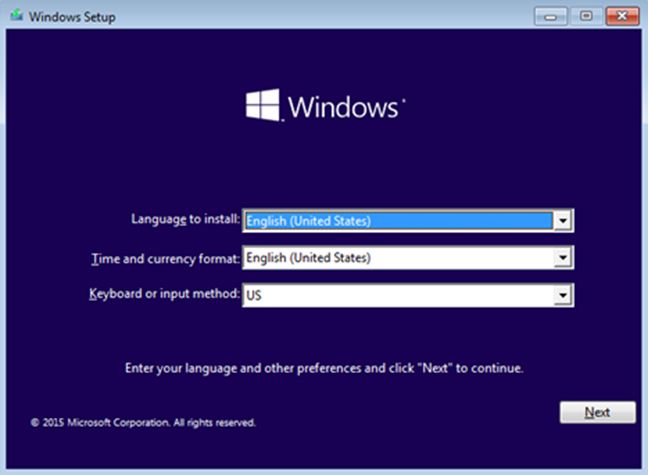
If using an antivirus rescue drive didn't work and your computer is still infected, you are in a very tough spot and your only solution is to format the partition on which Windows is installed and reinstall Windows. If your computer has a recovery partition or if you're using Windows 8.1 or Windows 10, you can reset it to factory defaults. If not, you will have to install Windows from scratch, using an install DVD or a USB memory stick.
We have a few guides that can help you with these procedures, in case you need help:
- How To Download Windows 10 And Create Your Own Installation Media
- How To Install Windows 10 Using Retail Media Or An ISO Image
- How to Install Windows 8.1 RTM On Your Computer
- How to Setup a System from Scratch? The Best Installation Order
3.4. Install a good antivirus
You just reinstalled Windows and that means that at least your system partition is clean from malware. But what if you have multiple partitions or more than one hard drive on your computer. Or what if the virus has spread in your local network and it can infect your PC again?
What you need to do now is to get yourself a really good security solution. Go online to download and install a good security suite. You don't have to buy one yet, as most security vendors offer trial versions of their software. If you don't know which security suite to get, check our Security reviews and choose one with a verdict of at least 3. We recommend that you go with something like Bitdefender Total Security , Kaspersky Total Security or ESET Smart Security.
3.5. Scan your computer
Once you have an antivirus running on your computer, make sure it updates its virus definitions and then run a full system scan, using the most secure options. Make sure that you configure the scan to be as in-depth as possible: set the antivirus to open archives, set it to scan for rootkits, set it to scan for PUPs (possibly unwanted programs) and set it to use "advanced heuristics".
Let the antivirus do its job and, in the meantime, get yourself a cup of tea or coffee. A full comprehensive system scan will probably take a while. Expect to wait at least 20 - 30 minutes, if not an hour or two.
3.6 . Recover your data
You have made a clean installation of Windows and you installed a good antivirus solution. You also made a full and comprehensive virus scan of everything on your computer. You should now be able to recover the data you lost. Plug in the USB memory stick, external hard drive or CDs and DVDs on which you made your backup and scan them with your antivirus. Make sure to clean each and every infected file that may still reside in your recovered files.
3.7. Reinstall your apps
Once you've got all your data back, you should go ahead and reinstall the apps you need and set up Windows to work the way you like it. When done, move to the next section from this guide.
4. Priority 4: Prevent further damage
Now that we have the malware infection removed, we should take some steps that prevent further damage from taking place. Here's what you have to do next:
4.1. Scan your computer with a another antivirus, for a second opinion
By now, you have either managed to clean your computer by using an antivirus rescue disk or you've reinstalled Windows. You should make another full system scan with another antivirus. Just like when you go to a doctor and you're not sure how good he or she is so you get a second opinion from another doctor, antiviruses from different vendors may detect things that the previous one did not. The antivirus scans you ran previously probably cleaned your computer, but there's no such thing as a perfect antivirus. Even the best can miss some malware.
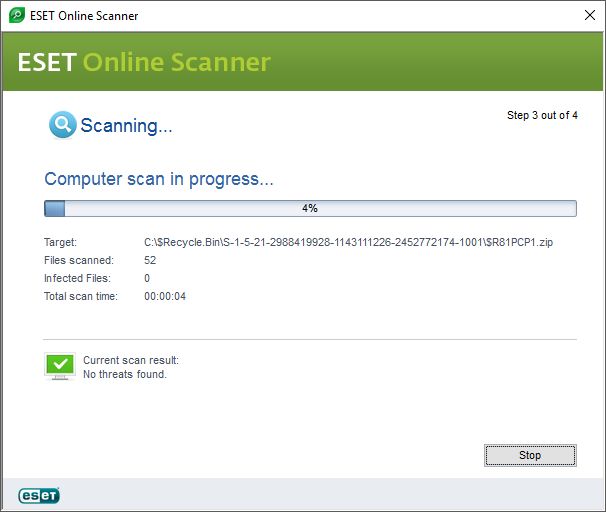
But there's a small problem: you already have an antivirus installed on your computer. Because having two antivirus applications running at the same time is something that may cause your PC to malfunction, we recommend that you use an online antivirus for getting this second opinion. There are plenty of security vendors that offer such solutions. Here are a couple of direct links to such services: Bitdefender QuickScan , ESET Online Scanner , Kaspersky Security Scan. And here's a comparison we ran some time ago: Test Comparison - What is the Best Free Online Antivirus Scanner?.
4.2. Change your passwords
Finally, everything should be OK at this point. Your computer is clean, your files are clean and your data is safe. There is no trace of any virus left. However, you're not safe yet. Lots of viruses don't stop at altering, deleting or simply making your life miserable. Many viruses do other nasty things, like stealing your passwords and leaking personal information to hacker controlled servers on the Internet. That's why, as a final step, we strongly recommend that you change all the passwords you used while having this malware infection. Change your local passwords, the password for your Microsoft account and the passwords you used for your apps and most frequently used online services. This is the only way to make sure that the data possibly stolen by the virus doesn't get into unwanted hands and that you are safe from further damage.
Conclusion
As you can see from this guide, dealing with nasty viruses and disinfecting your system is no easy task to perform. It involved many steps and quite a bit of time and attention. We think that our guide will help most people which find themselves in a tough spot, having to deal with a nasty malware infection. Go through our guide, review it, apply it and let us know how well it works. Is there anything we missed? Are there any other precautions you would like us to add? Let us know using the comments form below.


 08.01.2016