Having multiple user accounts logged in on your Windows 10 computer can make swapping between them faster, but it can also waste resources as your computer is forced to maintain two separate environments in memory. If you want the chance to weigh the benefits of this action against the costs, the Task Manager can help. Do you know which tab of the Task Manager shows you the online users? It's the Users tab: it lets you view which user accounts are logged in and also see how much of the computer's resources are being used to keep them online. The Users tab from Task Manager also lets you close the apps opened by other users or even log them out. Without further ado, let's see what this is all about:
How to view the Users tab in the Windows Task Manager
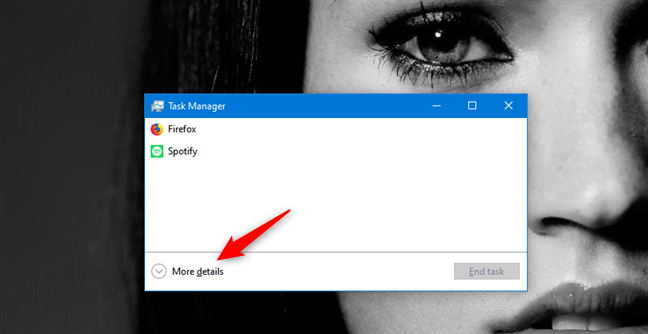
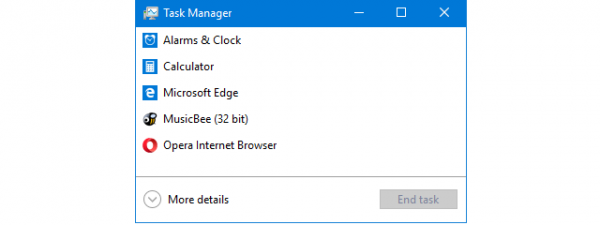
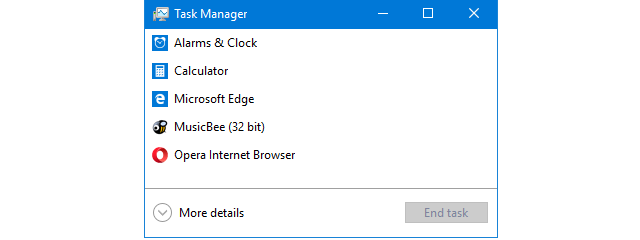
Open the Task Manager. One of the fastest ways to do it is to simultaneously press the Ctrl + Shift + Esc keys on your keyboard. If it opens in its compact view, which only lists your open apps, click or tap on "More details" before anything else.
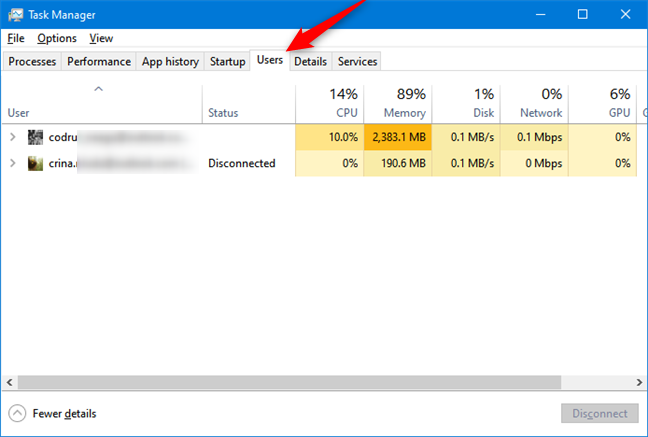
Once you see the full version of the Task Manager, select the Users tab.
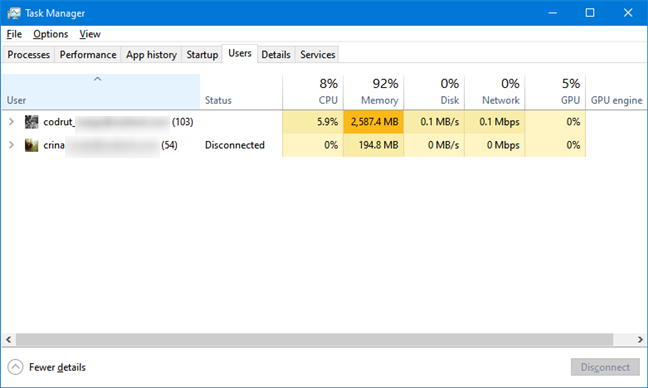
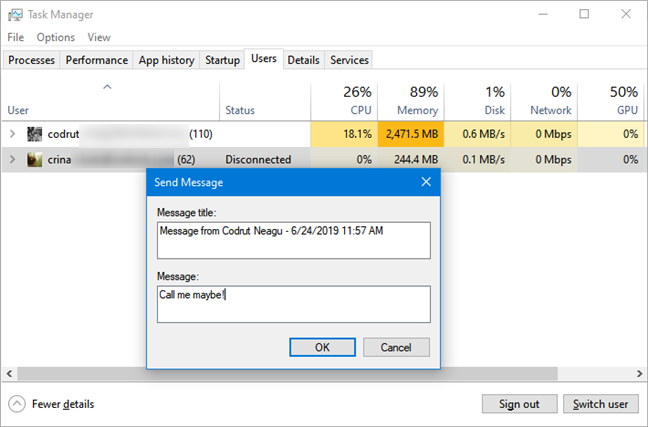
On the Users tab, the user accounts currently logged in are listed in the first column, followed by some columns depicting system resources being used by each.
By default, you see six or seven columns displayed near the User column. They are:
- Status - shows the status of the accounts and processes listed.
- CPU - displays the percentage of total CPU cycles used by each account, and the processes run by each account.
- Memory - shows the total amount of memory the selected account (or the chosen process) is utilizing.
- Disk - indicates the amount of data being transferred to/from your hard drive.
- Network - displays the network usage of the selected user account or process.
- GPU - shows the highest video utilization across all the graphics chips or cards on your PC.
- GPU engine - if you have more than one video card installed (like on a laptop with a dedicated video card but also a video chip found on the processor), GPU engine shows the utilization of the dedicated graphics card.
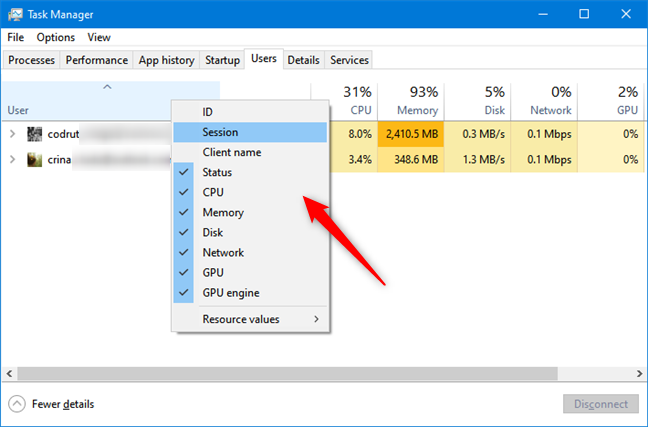
To add additional columns and display more information, right-click (or tap and hold) a column header and select other entries. Your options are:
- ID - shows the unique session ID for each account.
- Session - displays the type of session for each account. This is only useful for a server system where users may log in using remote services.
- Client Name - displays the name of the computer a remote user is logging in from.
You can deselect any column you do not need to close it. This helps declutter the view and keep the window smaller.
How to manage the processes opened by each user account
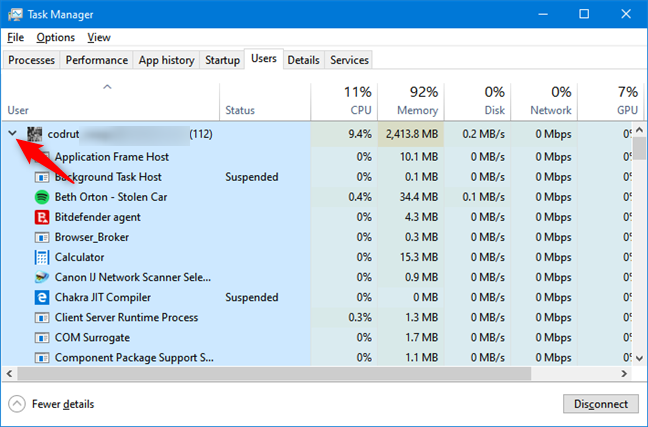
If you have administrative rights, from the Users tab, you can click or tap the small arrow next to each user account name to expand a list of all processes opened by that account. Alternatively, you can right-click or long-press an account and click or tap Expand.
If you are signed in with a standard user account that does not have administrative privileges, you can expand and see only your own list of processes. You cannot see the processes run by other users that are connected to your Windows 10 PC.
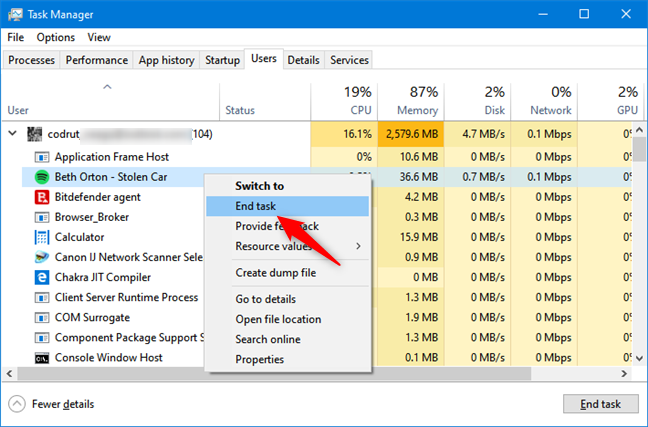
Either way, you can check the list of open processes for anything that does not need to be running. If you find an application that is chewing up resources and closing it would not cause any undue hardship on the part of the account holder, you can right-click on it (or press and hold) and click or tap "End Task." This closes the process.
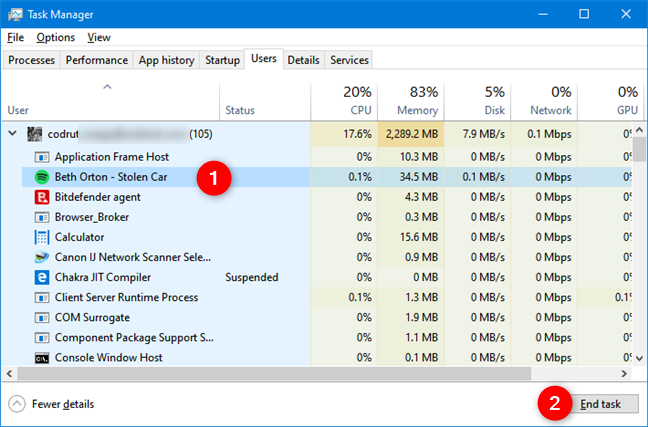
You can also select the process and click or tap the "End Task" button on the lower-right corner of the screen.
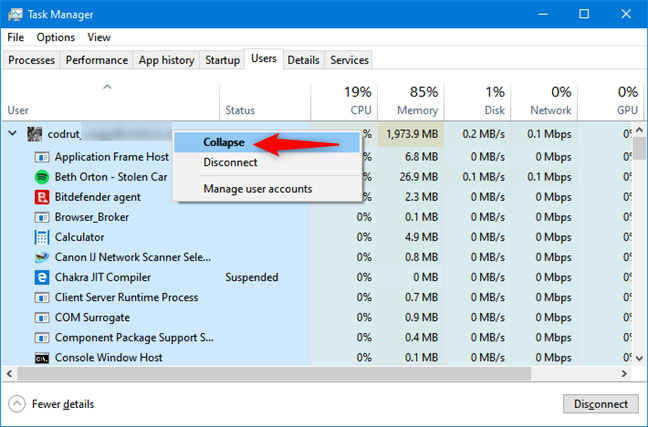
Once you have gone through the account's processes, you can tap the arrow once again or right-click or long-press the account and select Collapse to hide the expanded list and display only the name once again.
How to manage open user accounts in the Windows Task Manager
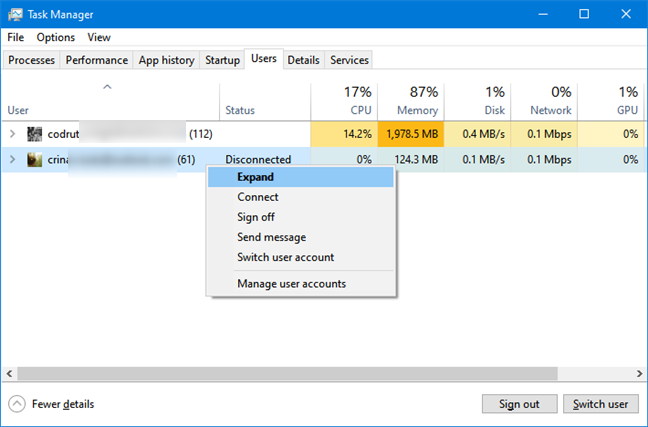
If you have multiple open accounts, there are various tasks you can perform to manage them. First, right-click or press-and-hold the account to view the options available.
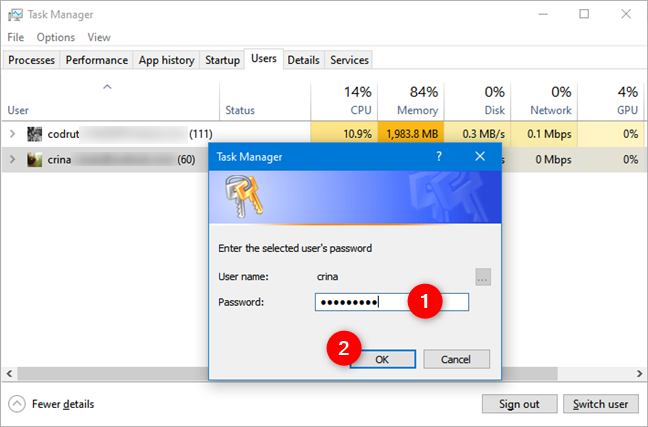
Select Connect from the contextual menu to switch to the selected account. Enter the account password in the provided field and click/tap on OK.
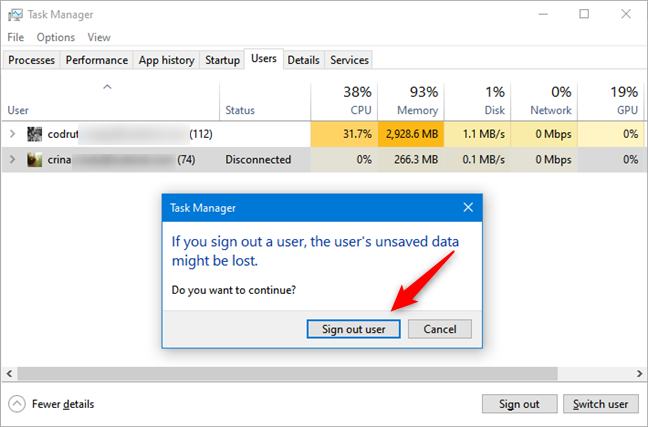
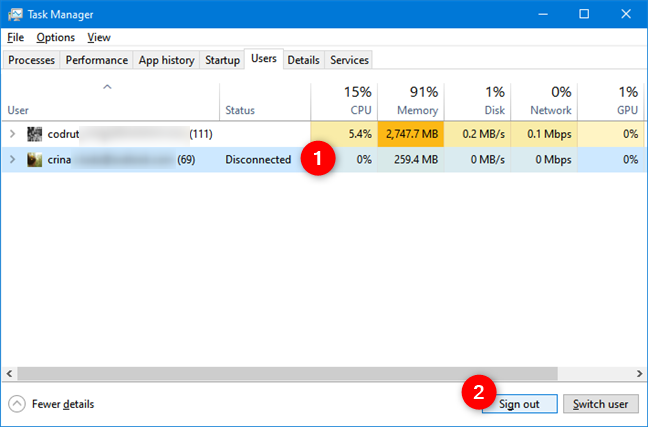
Select "Sign off" if you want to sign out the chosen account. If you do not need it open, this is an excellent way to free up resources. Be careful to ensure that the other user does not have any unsaved information as this could result in data loss. Click or tap "Sign out user" from the warning window if you are confident that you want to log out that account.
Another way to sign out of or switch to another account is to select the account and click or tap the appropriate button on the lower-right corner of the window.
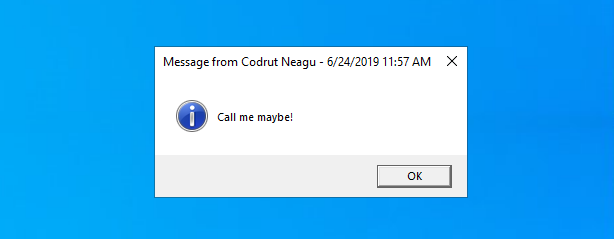
Select "Send message" from the context menu described above if you want to send a message to the user of the other account. Type your message in the space provided, enter a title if you wish and then click or tap OK.
If a remote user is actively using the selected account, he or she gets your message immediately. If the user of the other account is not on the computer, he or she will get the message the next time he or she unlocks the account.
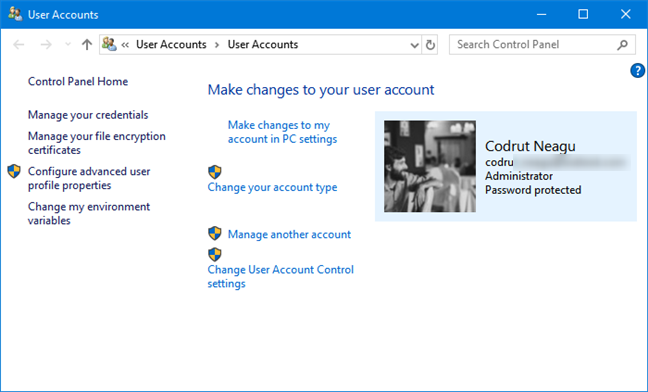
Finally, in the right-click menu, you can select "Manage user accounts" to open the User Accounts section from the old Control Panel.
From there, you can change the account's settings.
Do you use the Task Manager to manage signed in users?
The Users tab in the Task Manager does not have a ton of features, but it serves a practical purpose. With a little effort, you can view all open accounts, their impact on your system's performance and manage them to regain resources. It is much faster than swapping over to another account to close a program and switching back. For more information about utilizing the Task Manager in Windows, do not hesitate to read the articles recommended below.


 27.06.2019