03.07.2023
We create, work with, and use lists regularly. We use them in business writing, technical writing, and even for something as trivial as shopping lists or as fun as bucket lists. There are times when you need to create lists in a document. And most people use Microsoft Word for this task. If you need to make lists too, here’s how to create bulleted lists, numbered lists, and multilevel lists (lists with sublists) in Word:
How to create lists in Word
There are three types of lists that you can create: bulleted lists, numbered lists, and multilevel lists. Let’s see how to make each of these, one by one.
How to create a bulleted list
To create a bulleted list in a Word document, go to the line where you want to start it and type * followed by Space.
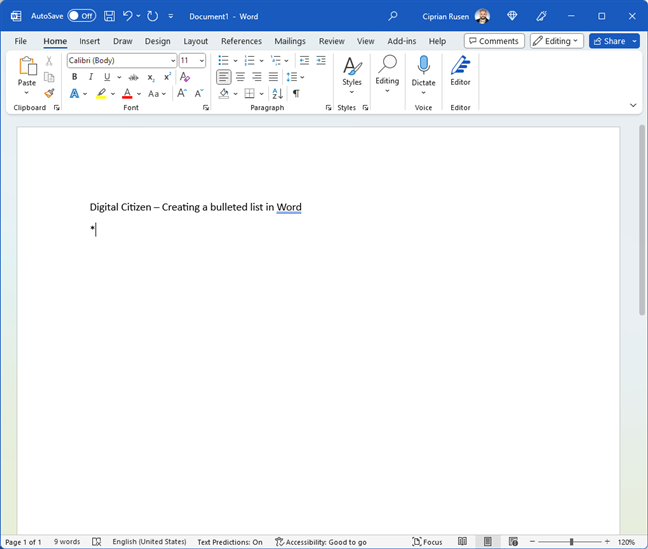
Creating a bulleted list in Word
Immediately, Word recognizes that you’re creating a bulleted list and starts formatting it accordingly. You also see a flashlight icon for AutoCorrect options. Continue typing the text you want on the first bulleted list item.
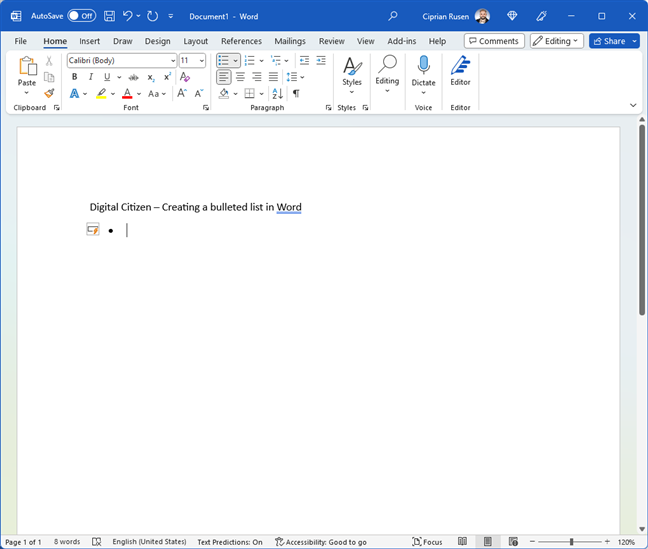
The Auto Correct icon appears
Press Enter, and Word creates the second bulleted list item, and so on.
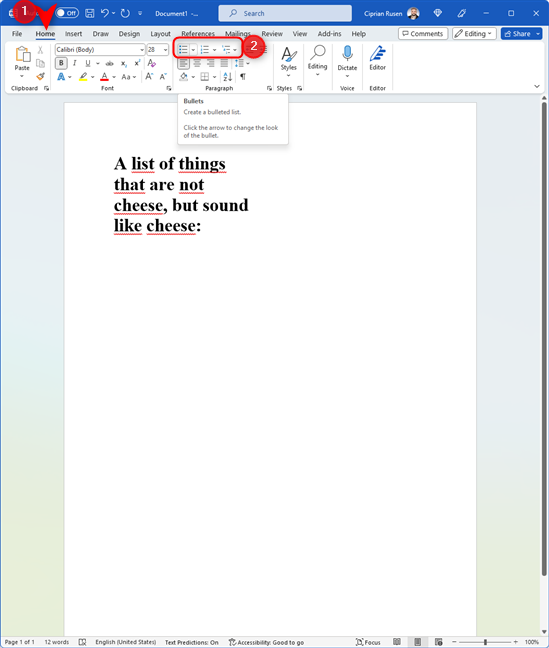
If you don’t want to use the keyboard, click inside your Word document, exactly where you want the list to start, go to the Home tab, and click the Bullets button from the Paragraph section. Word automatically creates a bulleted list for you.
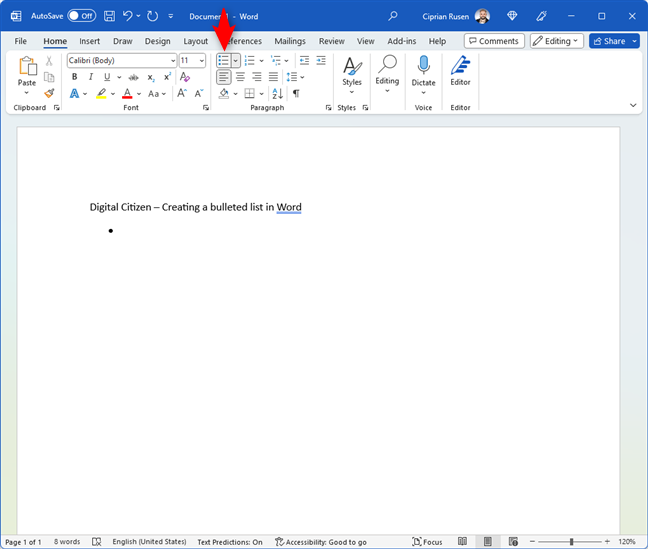
Click the Bullets button from the Paragraph section
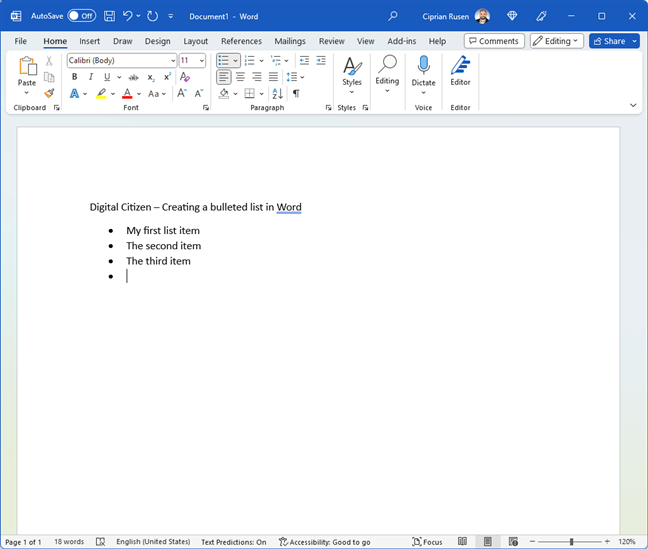
Then, type the first line and press Enter. Word automatically adds the second list item on a new row. Keep doing this until you finish the bulleted list. After you have typed the final list item, press Enter again. Word creates a new empty line in the bulleted list, similar to the screenshot below.
After you have typed the final item, press Enter
Press the Backspace key twice. The empty line is removed, and the bulleted list is closed. The text you type from now on will no longer be formatted as part of your bulleted list.
How to create a numbered list
As Word does the heavy lifting for you, numbered lists are the easiest to create. All you have to do is to go to the line in your Word document where you want to start your list, and then type 1 followed by a dot or a round bracket.

Type 1 followed by a dot
Then, press the Spacebar on your keyboard. Word automatically recognizes that you’re creating a numbered list and starts formatting it accordingly. You also see a flashlight icon next to your text. It’s for the AutoCorrect options. If you click on it, you can access a menu to undo the automatic numbering or stop Word from automatically creating numbered lists.
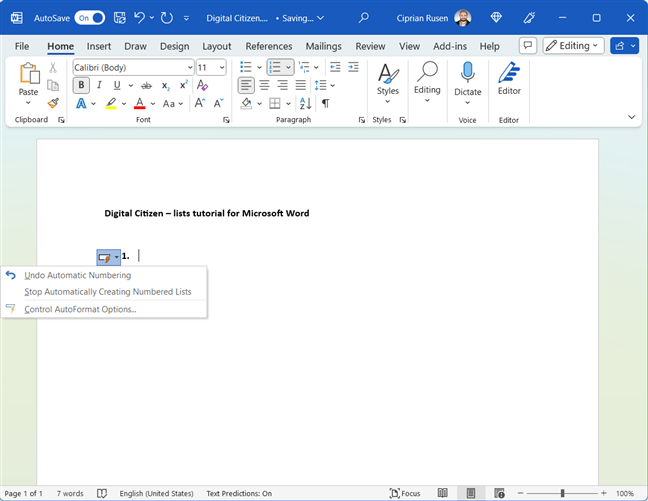
Clicking on Auto Correct give you access to several options
These numbered lists can also use letters like a, b, and c instead of numbers (1, 2, 3, and so on). Therefore, you can also type a followed by a dot (.) or round bracket and press the Spacebar for a similar result, this time with letters instead of numbers.
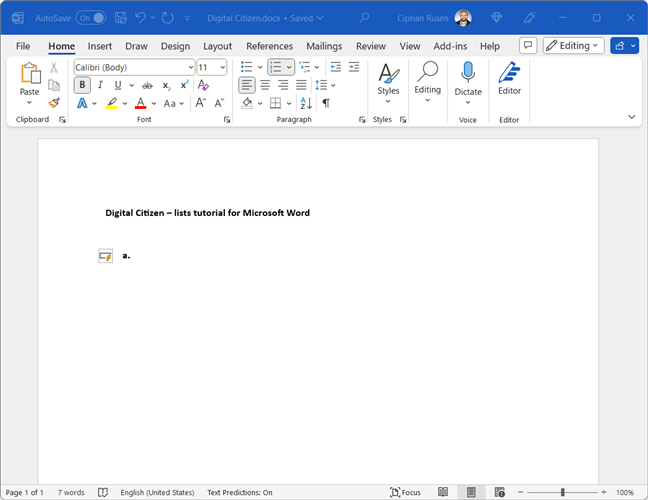
A numbered list with letters
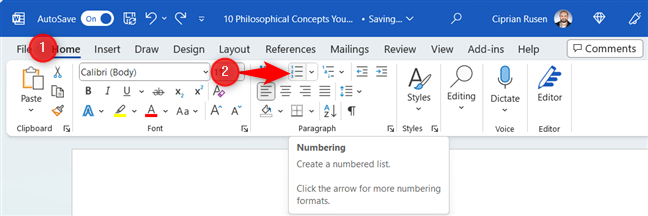
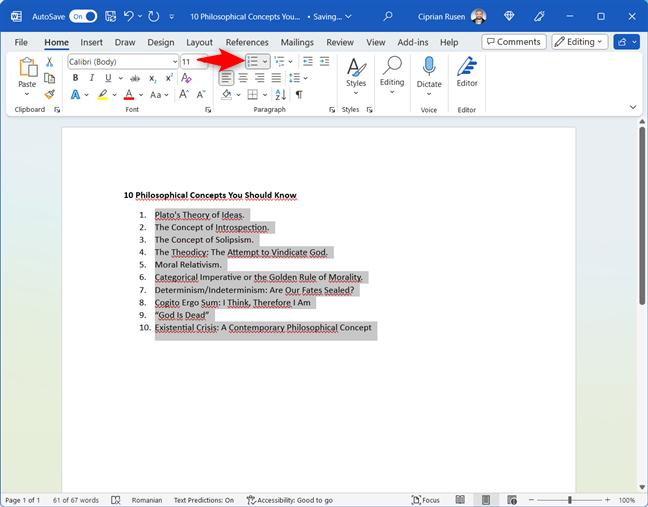
If you don’t want to use the keyboard, click inside your Word document where you want the list to start, go to the Home tab, and click the Numbering button from the Paragraph section. Word automatically creates a numbered list for you.
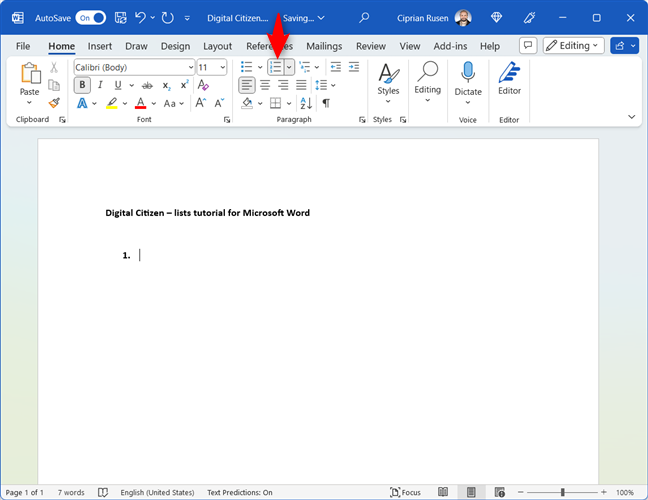
Starting a numbered list in Word
If you want to create a numbered list using letters, click the arrow pointing downwards next to the Numbering button, and select the exact format you want from the examples shown in the Numbering Library section.
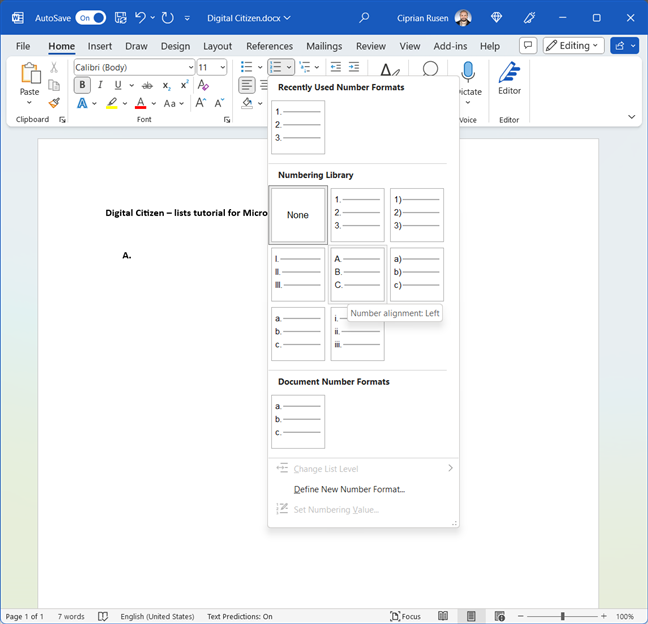
Choosing the numbering system used for the list
Then, type the first line in the list and press Enter on your keyboard. Word automatically adds the second list item on a new row. Keep doing this until you finish the list. After you have typed the final list item, press Enter again. Word creates a new empty line in the list, similar to the screenshot below.

After you have typed the final item, press Enter
Pressing the Backspace key twice removes the empty line from the list, and the list is closed. The text you type from now on is no longer formatted as part of your list.
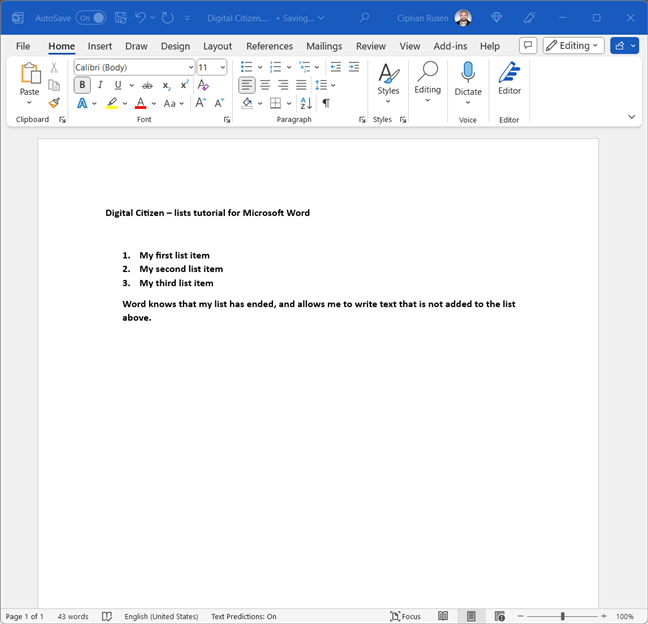
You can type text after the list
How to create a multilevel list (list with sublists)
A multilevel list is a list with more than one level (or nested lists if you prefer). For example, you can have a numbered list with a sublist that is also numbered but uses letters instead of numbers. Or you can have a bulleted list with other bulleted sublists but use different symbols to separate them from each other.
It may sound complicated, so to make things easier, let’s see how you create a multilevel list:
Click inside your Word document where you want the list to start, go to the Home tab, and press the Multilevel List button from the Paragraph section. A series of list examples is shown. The default is a multilevel list that combines numbers and letters. But you can also choose other formats, including bulleted lists with bulleted sublists, all using different symbols to differentiate from each other. I chose the first list model selected as Current List.

Click the Multilevel List button from the Paragraph section
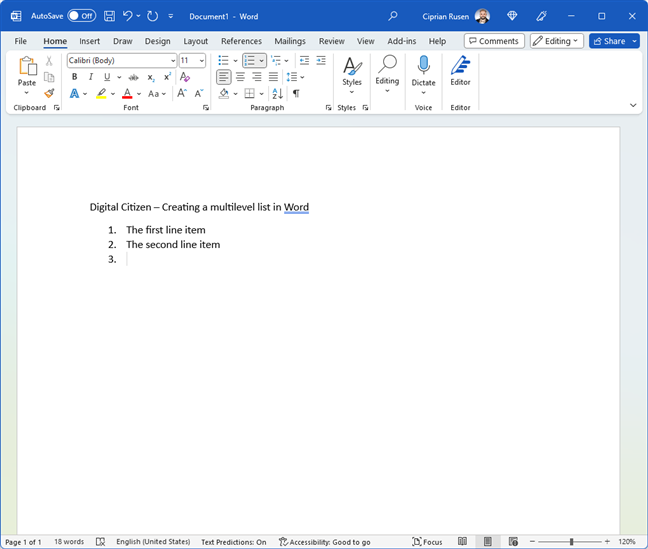
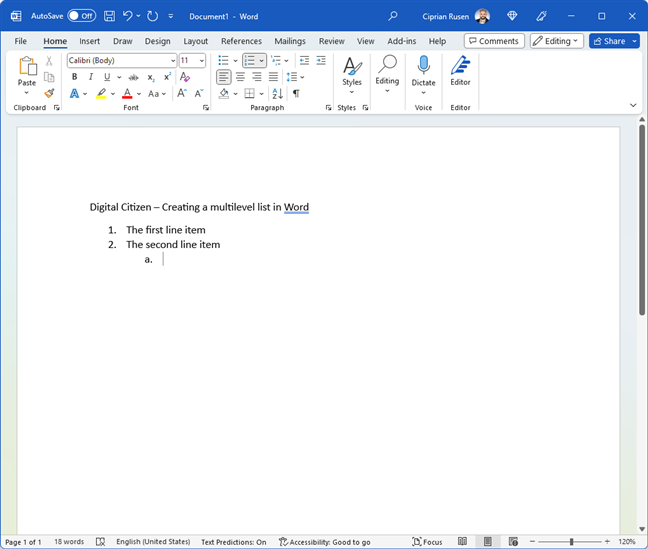
Word started with a numbered list. I added the first two list items and pressed Enter to add a third list item. However, I wanted this item to be the first item in a sublist. To transform it into the first item of the nested list, I pressed Tab on my keyboard.
Press Tab to start the sublist
Word transformed this line into the first item of the sublist, using letters for numbering instead of actual numbers. Then, I continued typing the items on the sublist. After each item, press Enter to start a second item, a third, and so on.
Type the first item in the second level of the multilevel list
When you are done typing the sublist items, press Enter one more time. Word creates another empty item for the sublist. To change it into an item on the main level, click the Multilevel List button from the Paragraph section on the Home tab. Then, go to “Change List Level,” and select the main level from the list.
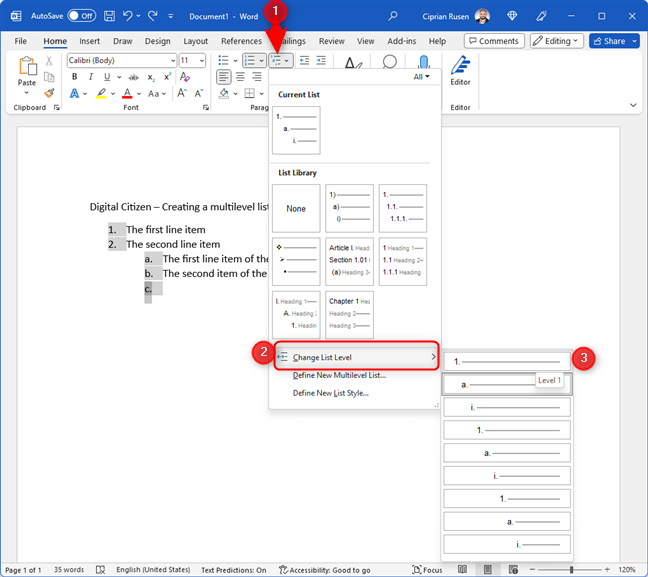
Changing the list level
Notice how the new list item is aligned according to the main list level using its numbering system. Type the item and press Enter to start a new one.
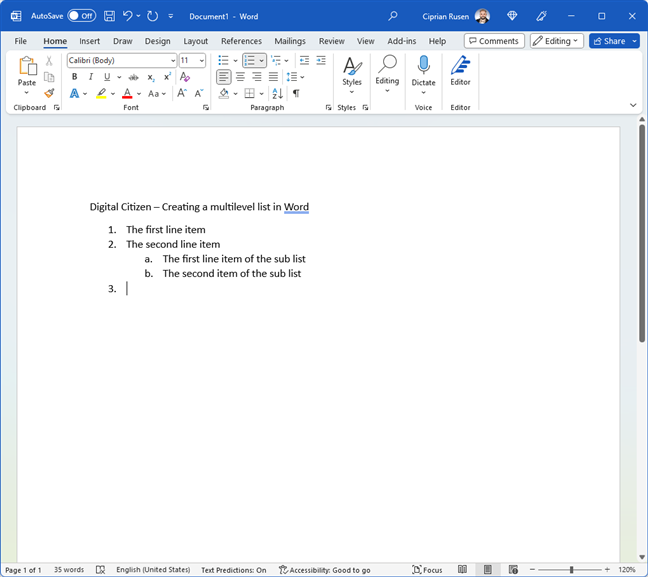
Adding an item to the main list level
You can change between the levels of the multilevel list using the same steps until you are done typing the entire list and all its sublevels.
How to convert existing text into a list in Word
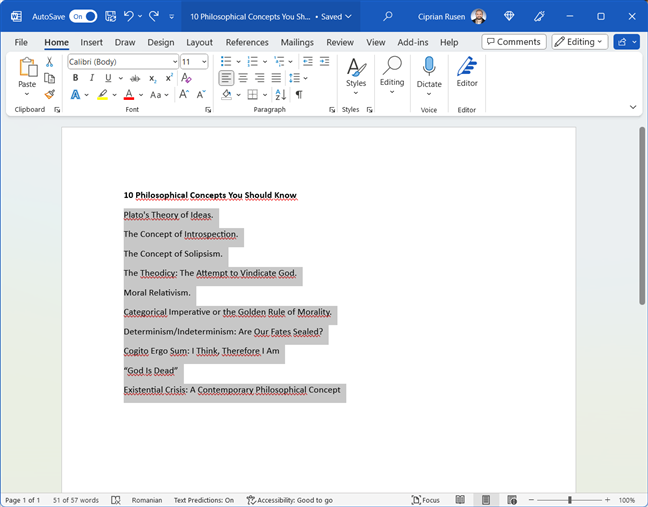
Let’s say that you open a Word document and see some text that is better suited to be organized as a list. First, select it with the mouse. If you need help, here’s how to select or highlight text in Windows.
Select the text you want to transform into a list
After selecting the text, go to the Home tab on the ribbon interface, and click the Bullets button in the Paragraph section.
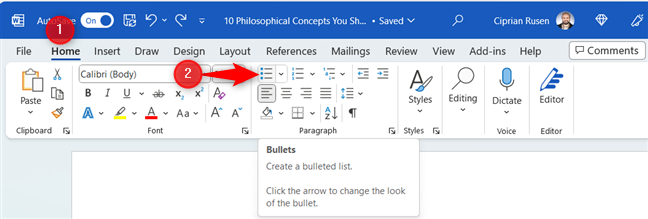
Click the Bullets button found in the Paragraph section
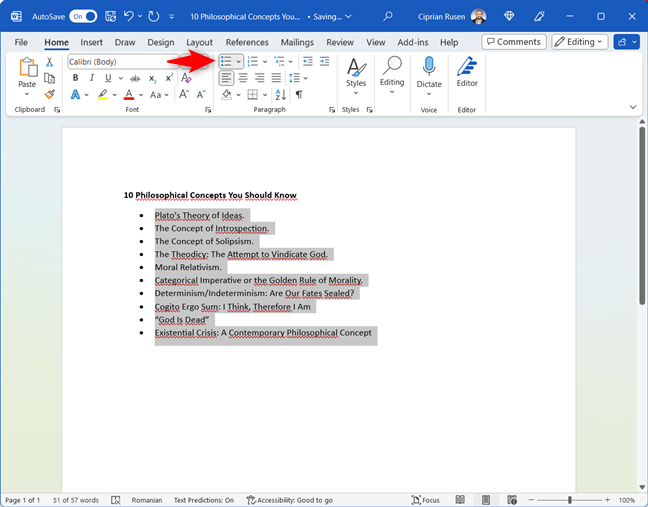
You’ll notice how Word transforms the selected text into a bulleted list, and the Bullets button remains active when that text is selected.
The selected text is converted into a bulleted list
If you want to transform the same text into a numbered list, after you select it, click Home and then the Numbering button in the Paragraph section.
Click the Numbering button in the Paragraph section
The numbered list is immediately created with the selected text, and the Numbering button remains active.
The selected text is now a numbered list
The same steps apply to converting the existing text into a multilevel list: select the text and click the Multilevel List button in the Paragraph section of the Home tab. Creating sublists with your existing text works just as I explained in the previous chapter of this guide.
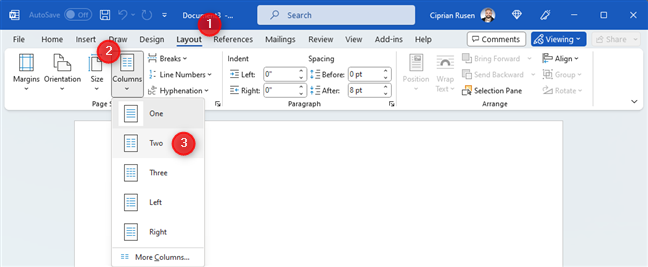
How to make a list in Word on two columns
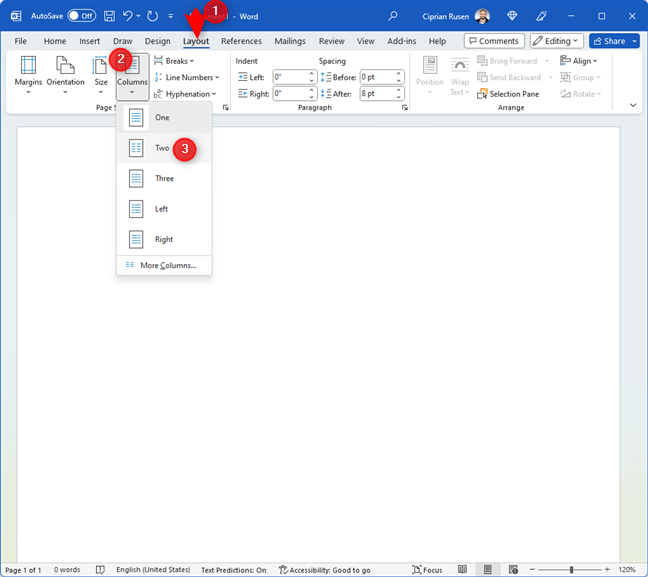
If you want your list to have two columns side by side, you first need to set Word to split the document into two columns. Here’s a step-by-step tutorial on how to write in two, three, or more columns in Word documents. But, for the sake of brevity, here’s how it’s done. Go to the Layout tab on the ribbon. There, click Columns and then select Two in the subsequent menu.
Set Word to use two columns
Then, type the text you need, and go to the line where you want the list to start. Go back to the Home tab on the ribbon and click the button for the type of list you want in the Paragraph section: Bullets, Numbering, or Multilevel List. Then type the first list item, press Enter, write the second list item, and so on.
Choose the type of list you want to create
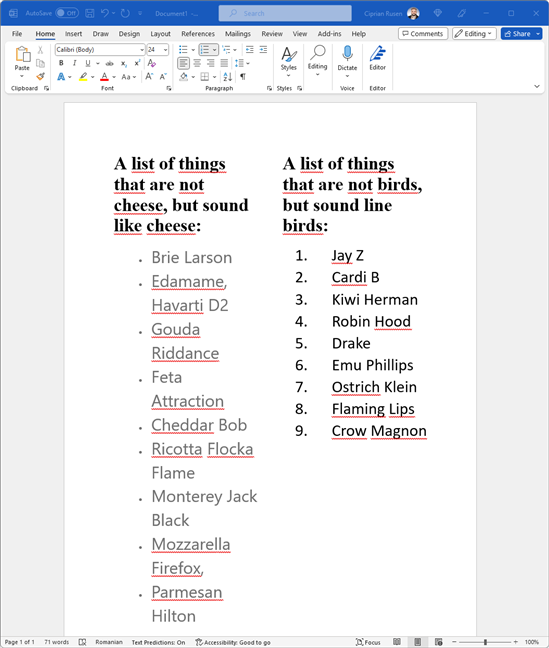
If you haven’t read the chapters above, read them to understand how to create your list. Below is a bulleted list I made on two columns on the same page.
A list on two columns
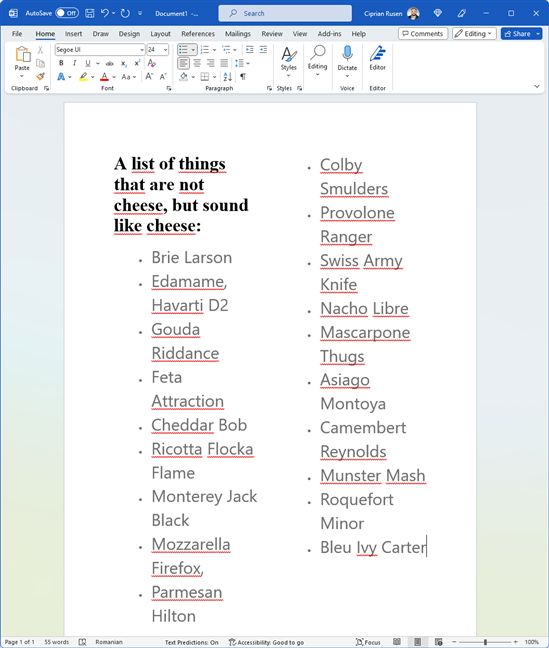
How to make two lists side by side in Word
Creating two lists side by side in a Word document is similar to creating a list on two columns. First, set Word to split the page into two columns: go to the Layout tab on the ribbon, click Columns, and select Two in the menu that appears.
Set Word to use two columns
Then, start the first list in the first column. When done, click inside the second column and create the second list. The instructions for creating lists are identical to the examples shown in the chapters above. Below is an example of two lists I created, side-by-side in Word. Hopefully, you’ll laugh as much as I did. I used Bing Chat to create them.
Two lists side by side
What type of lists do you need to create in Microsoft Word?
Now you know how to create all kinds of lists in Word: bulleted, numbered, multilevel, on two columns, as well as how to create two lists side by side. I hope you’ve found my instructions helpful and everything worked well for you. If it didn’t, let me know in a comment. And don’t hesitate to share what kind of lists you created using this tutorial. I’m curious which lists are used more and which require assistance.