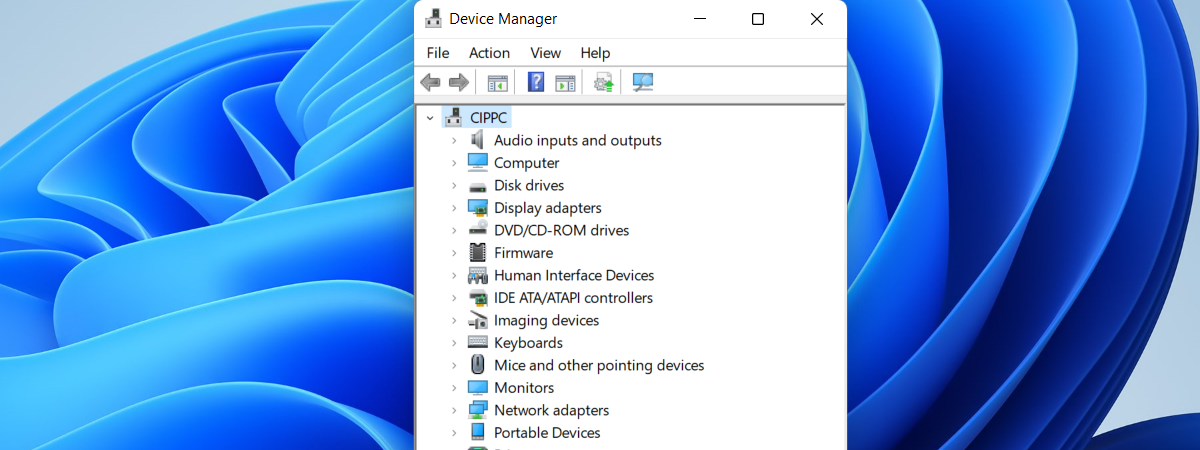
Did you know that Windows 8 also offers a new way to add and remove devices connected to your computer? On top of the tools that exist in Windows 7 and earlier versions of Windows, now there is also a Devices section in PC Settings that makes it real easy to add and remove devices. In this tutorial you will learn how it works.
How to Open the Devices Panel in PC Settings
If you don't know how to open PC Settings go ahead and read this detailed guide: Introducing Windows 8: Five Ways to Access PC Settings.
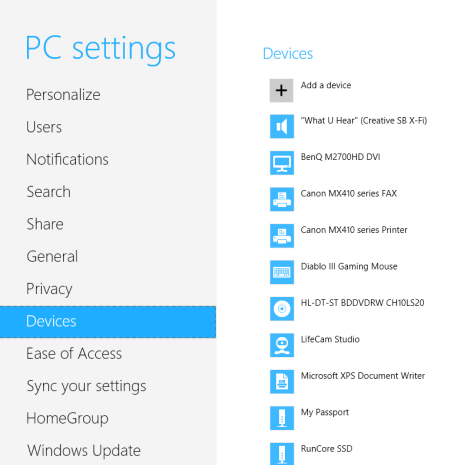
Then, simply click or tap on the Devices section.
There you will see all the external devices connected & installed on your computer or device, including some internal devices, such as your SSD drive (in case you have one), your DVD or Blu-Ray player, as well as your sound card's output device. Most internal devices are not displayed thought.
In terms of external devices, you should see: your monitor(s), printer, scanner, fax devices, the mouse and keyboard, your webcam, virtual printers installed by different software, your Xbox console, etc.
How to View Data About Installed Devices
For each device, an icon is shown, representing its type. Near the icon you have the name of the device, as set by its driver. If a device is offline, a line is displayed below its name, stating this fact.
When you hover with your mouse or finger over a device you can see when the device was installed.
A click or tap on it may reveal additional options to interact with the device. For example, the devices that have a Windows 8 app available, display a line that says "Get the recommended app".
How to Remove Installed Devices
To remove any device installed on your Windows 8 computer, click or tap on it to select it. Then, click or tap the minus sign on the top right.
You are asked whether you would like to remove the device.
Click or tap Remove and wait for the process to be over. When done, the device is no longer displayed in the list of Devices.
How to Install New Devices in Windows 8
By default, when you plug in a new device, Windows 8 should detect and install it automatically. In case Windows 8 doesn't find appropriate drivers, you should download them from its manufacturer's website and run the setup wizard to install them.
But, there are also cases when you need to install devices that are not detected automatically, like a wireless network printer, for example.
Let's see how the process works when performed from the Devices section in PC Settings.
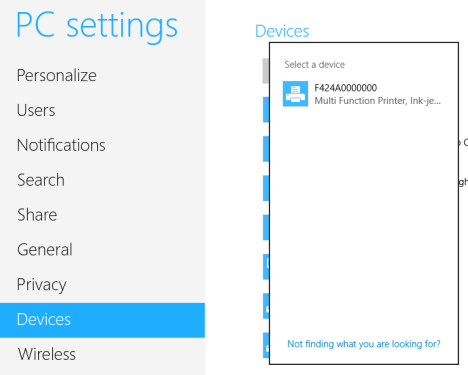
First, make sure that the device is connected and turned on. Then, click or tap "Add a device". Windows 8 automatically searches for devices, including network devices and, after a couple of seconds, it shows those that are found.
Click or tap the device you want to install. A progress bar is shown during the installation and the name of the devices will change depending on the data found in the driver.
When the progress bar is gone, the device is listed with its final name.
Now you can start using the device.
Conclusion
As you can see, adding or removing devices to Windows 8 computers can be done with ease, even when using PC Settings. The only downside is that you cannot configure the way they work, from this panel. Not unless they provide a Windows 8 app that helps you do that.
To configure how they work, you still need to go to Devices and Printers in Control Panel.


 03.01.2013