Knowing the weather is essential to planning anything from an upcoming weekend away to which route to drive to work. While many users watch the news for their weather information and others might check the Internet, Windows 8 and Windows 8.1 provide a great alternative with their bundled Weather app. Once configured, this app provides extended forecasts, hourly forecasts, weather maps and even historical data. This is a very useful app whether you want to know if your company picnic will be canceled for rain or even what sort of coat to put on in the morning. Read on to learn all you'll need to know about it.
How to Open the Weather App
To launch the Weather app, you'll need to access your Start screen. If you aren't sure how to manage that, check out this article for the details: 6 Ways to Access the Start Screen.
Once you've switched to the Start screen, you'll need to find the bright blue tile shown below and give it a click or a tap.
Its tile may be a live tile, displaying data for some location, depending on how the app is configured on your PC or device.
The Weather App Basics
Once you open the Weather app, the first thing you'll see is the forecast view. This details the current day's weather at the bottom left and a five day outlook across the bottom of the screen.
Click or tap the arrow at the top right edge of the five-day forecast to view the next five days in line for predictions reaching ten days out. Click or tap the arrow at the bottom right edge of the forecast to expand more information including wind speed, humidity and visibility.
Scroll to the right past the forecast view to see the Hourly Forecast. You can do this by scrolling a mouse wheel, clicking dragging the slider at the bottom of the window or swiping your finger across the screen. Scroll down through the list to view an hour-by-hour breakdown of the next 24 hours.
Keep scrolling to view the Maps section. Here you'll be able to view small videos showing satellite images of weather maps. This gives you a more detailed picture of what's happening both in your local area and across the country.
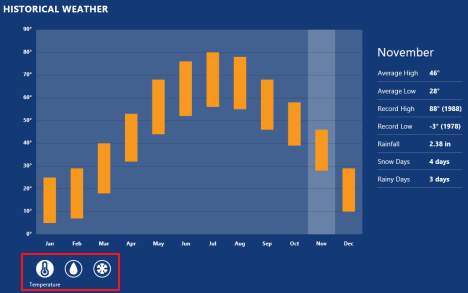
Scroll a bit farther and you'll find Historical Weather information. This area gives historical averages for your current month and shows a dynamic chart that displays average temps, average rainfall, or average snow days depending on which button you select on the bottom left corner.
How to Add Locations to the Weather App
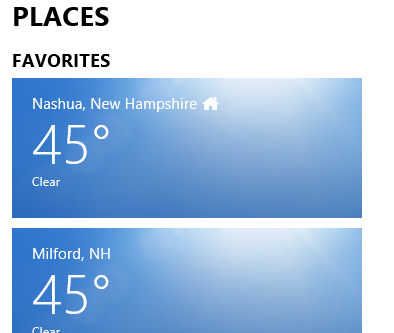
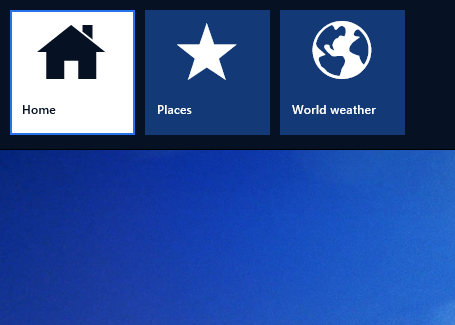
When you first start the Weather app, it will automatically set up a location based on your IP address or GPS location. If this location is incorrect, or you would like to include additional locations, you have that option. To add a new location you'll need to access Places. To do this, right-click or swipe down from the top of the screen to open the contextual menu. Click or tap "Places."
Click or tap the "+" tile to add a new location.
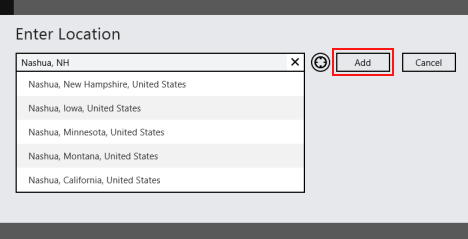
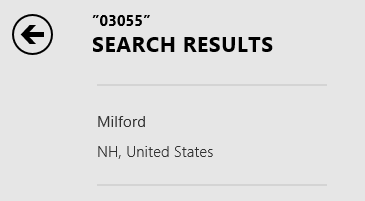
Enter your desired location in the text box provided. If your location shows up on the list below the text box, click or tap it to add the location. If it doesn't show up on the list, click or tap "Add" after typing it in to open a search window. You can also click or tap the crosshairs button next to the add button to use your GPS location.
Select your desired location from the search results to add the location.
Continue on to add any more locations you'd be interested in checking on a regular basis.
How to Switch Between Locations in the Weather App
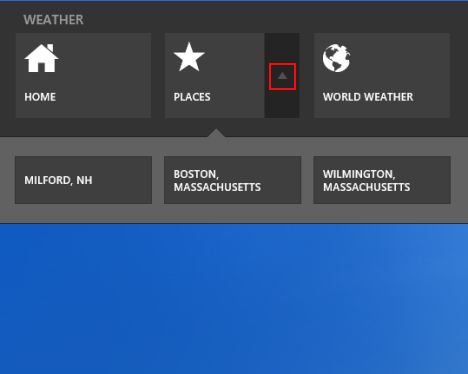
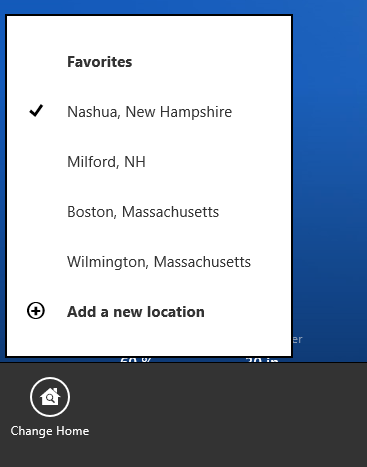
Now that you have multiple places configured in your Weather app, you'll need to know how to swap between them. To start, right-click from the main page or swipe down from the top of the screen. Click or tap the arrow next to the Places tile to view a drop-down menu that lists your configured locations. Click or tap on the location you want to view.
You can also click or tap the Places tile itself to view a larger list of your locations. Again, click or tap the location you want to view.
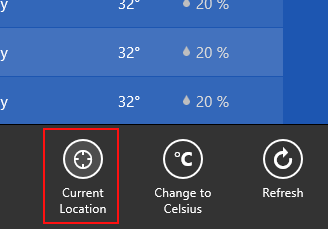
You also have the option to view your current location based on your mobile device's GPS or your computer's IP address. Right-click or swipe up from the bottom of the main page and click or tap "Current Location." You may need to provide permission for the app to use location services the first time you try this.
Once you've viewed your various places, you can always return to your home location by opening the top menu, as you did when accessing Places, and clicking or tapping "Home."
How to Change Default Location in the Weather App
By default, your home location will be set to the first location configured for you by the app. If this isn't the location you'd prefer to view when you open the app, you can change it. The first way to do this is to right-click or swipe up from the bottom of the home screen or your current default location. Click or tap "Change Home" and select your desired home location from the list.
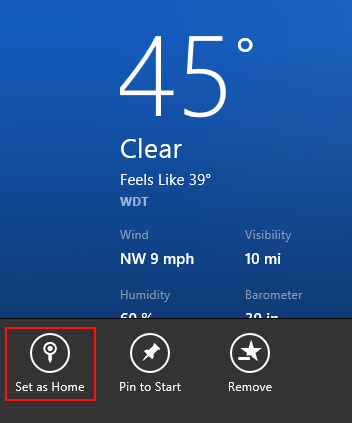
You can also switch to the location you want to set as your default and follow the same steps. You'll find though, that the button simply says "Set as home." This will make the location you're viewing the default Home.
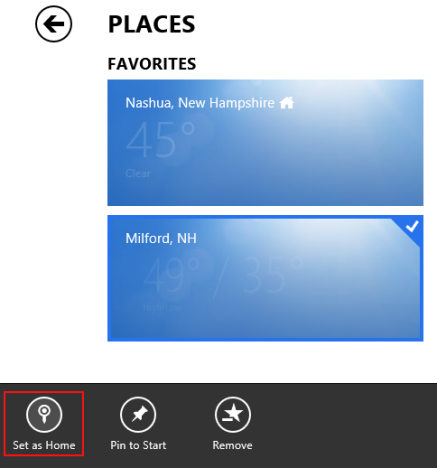
Finally, you can change your Home location from Places. Simply right-click or long-press your intended default and click or tap "Set as Home."
How to Remove Locations from the Weather App
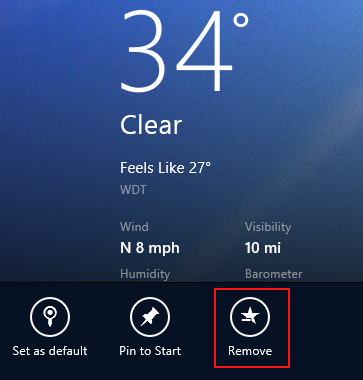
If you've configured a location that you no longer use, or you'd like to get rid of the preconfigured default location, you can easily delete places from the app. One way is to switch to the location you want to remove, open up the menu from the bottom of the screen and click or tap "Remove."
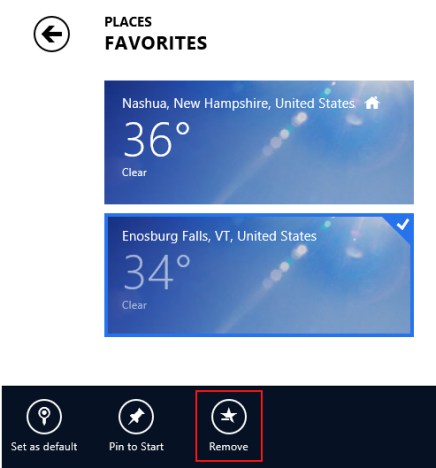
You can also right-click or long-press a location from Places and click or tap "Remove."
How to Refresh the Forecast Information in the Weather App
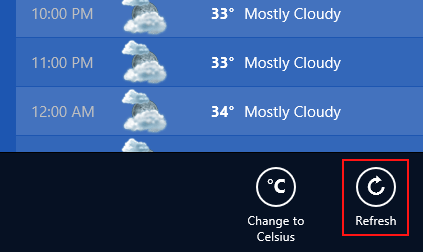
If you're viewing the Weather app and the forecast information seems out of date, its possible that it was unable to refresh due to a connectivity issue. Make sure you're connected to a network to fix this issue. Next, open up the bottom menu from the main page of the app and click or tap "Refresh."
How to View the World Weather Map in the Weather App
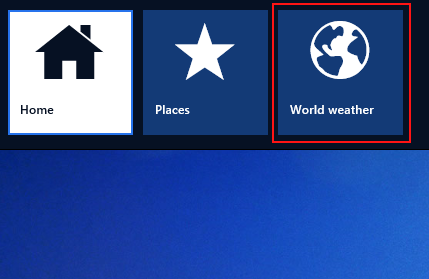
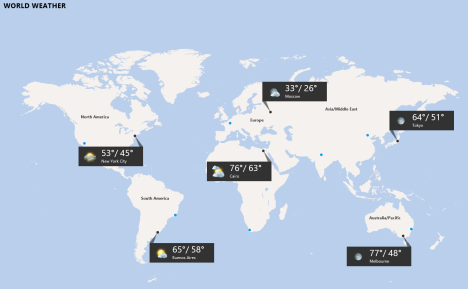
If you want to get a wider view of the world's weather conditions, you can view the World weather map. To get there, right click or swipe down the top menu from the app's main page and click or tap "World weather."
The map shows quick views of major cities around the world. Click or tap on one of the boxes that display information, to expand a full-screen view of that city's detailed weather forecast.
How to Swap Between Fahrenheit and Celsius in the Weather App
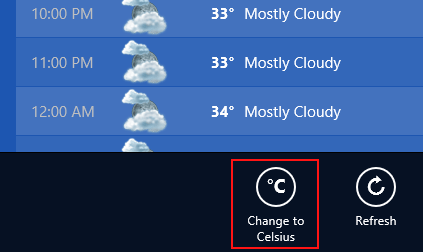
Most folks in the US will be fine with the Weather app's default Fahrenheit measurement unit, but Windows users can come from all over the world. If you prefer to view your temperatures in Celsius, you can open the bottom menu from the app's main page and click or tap "Change to Celsius." Do the same to switch back.
How to Pin a Weather Location to Your Start Screen in the Weather App
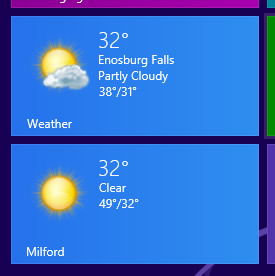
The Weather app's live tile will display a quick view of the current conditions in your default location. If you want to view additional locations from your Start screen, you have the option to pin additional tiles.
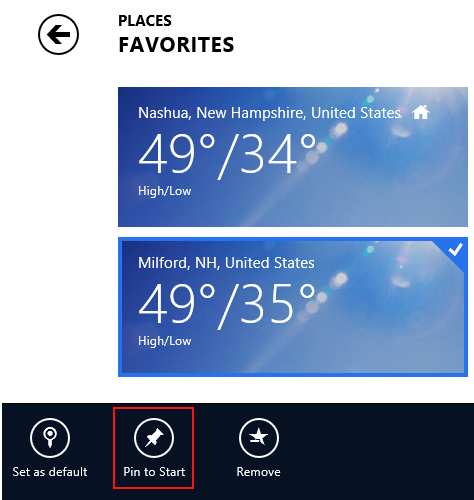
To do this, open Places, right-click or long-press the location you want to pin and click or tap "Pin to Start."
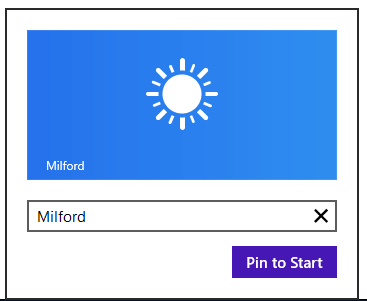
Enter the tag you want to display on the tile in the space provided. It defaults to the name of the city. Click or tap "Pin to Start."
You can now see quick views of multiple locations without even opening the app.
You can add em>Weather information also to the lock screen. To do this, you need to configure the Lock Screen in PC Settings.
Conclusion
Now that your app is configured, you can view weather information right from your Start screen, you can see detailed forecast information from multiple locations and you can even view Weather info for major vacation destinations all over the world. All of this is packed into a simple interface that is easy to utilize whether you're on a computer or a mobile device. While it does take a couple of minutes to set up the first time you use it, it's well worth the time to have all this information available instantly without even opening a browser.


 29.01.2014


