22.10.2024
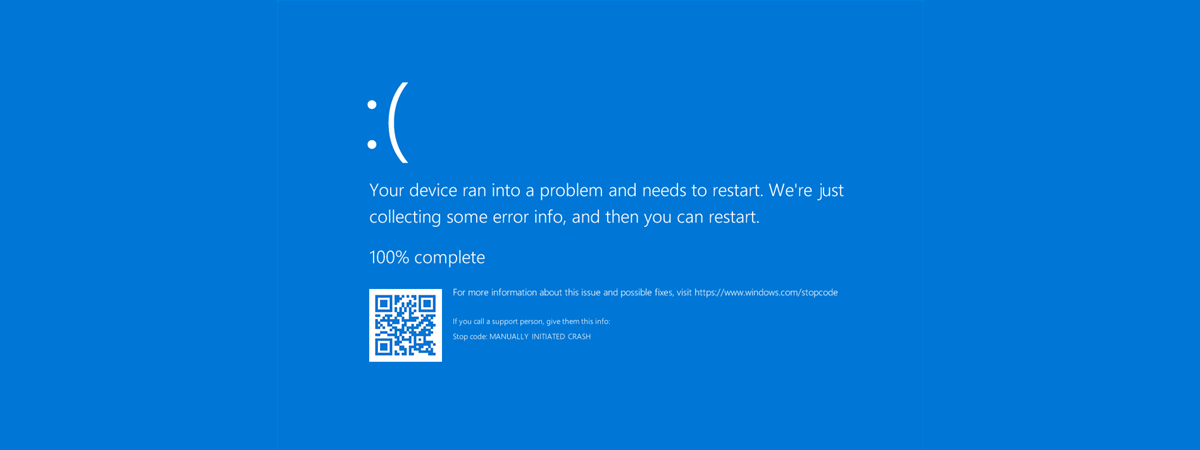
Have you ever felt like you needed to consult an ancient Greek oracle to ask if your rock-solid Windows PC will ever crash? 🙂 While it’s rare to never have seen a Blue Screen of Death (BSOD), it’s even rarer to trigger one on purpose. After all, why would you intentionally crash your own system? You’d almost be like a digital arsonist, right? But hey, we all have our quirks, and some of us enjoy pushing the boundaries of what’s considered normal. So, if you’re curious about an easy way to crash your Windows computer and force a BSOD, read on. In this guide, I’ll show two ways to get to the Blue Screen of Death, one with just a few keystrokes, and one using a nifty little app from Microsoft.
NOTE: The instructions in this guide apply to both Windows 10 and Windows 11, and everything’s identical. So, for the sake of simplicity, I’m using screenshots taken only in Windows 10.
How to trigger a BSOD manually, with your keyboard
Whether it’s for testing or troubleshooting purposes, there’s a quick and easy way to intentionally trigger a Blue Screen of Death (BSOD) on your Windows PC using just your keyboard. Here’s how:
Step 1. Add a special entry to the Windows Registry
The first thing you need to do is tweak the Windows Registry. Specifically, you need to create a new value called CrashOnCtrlScroll and set it to a REG_DWORD value of 0x01. This will enable you to trigger a manual BSOD using your keyboard. If you want all the technical details, Microsoft’s official page explains everything in depth. However, since messing with the Registry manually isn’t something most people should be doing, I’ve made it easier for you. I’ve created a registry file that you can download and run on your PC with just a few clicks or taps. Download this bsod.zip file and unzip it to a location of your choosing.

Download and extract the bsod.zip file
Once you do that, you find a file called BSOD.reg. Double-click or double-tap this file to get started.
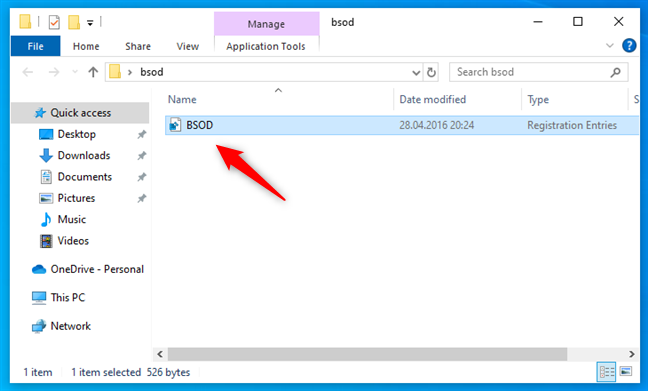
The BSOD.reg file
Windows will now walk you through a couple of prompts.
First, you might see a security warning. If it appears, just click Run.
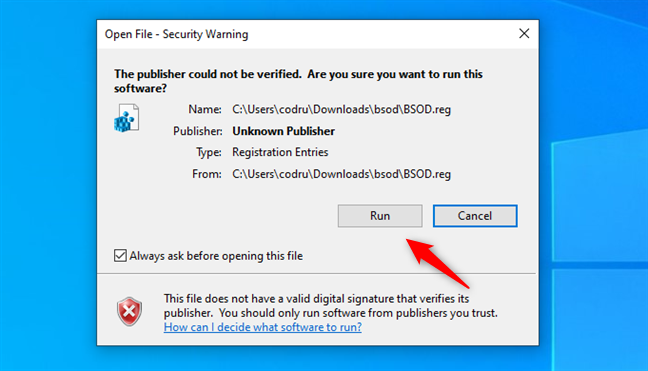
Choose Run in the Open File - Security Warning dialog
Next, you get a User Account Control (UAC) prompt. Click or tap Yes to proceed.
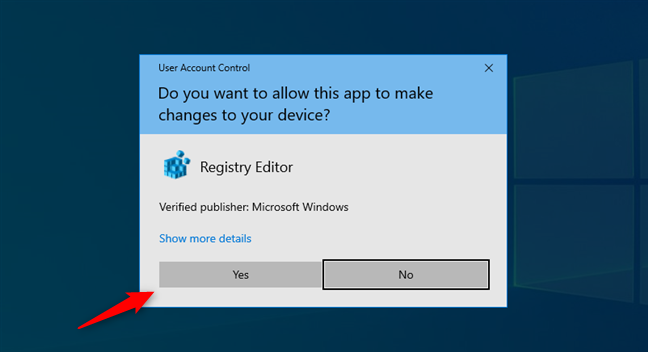
Click Yes in the UAC prompt
Then, the Registry Editor asks if you’re sure you want to add this file. Again, click or tap Yes.
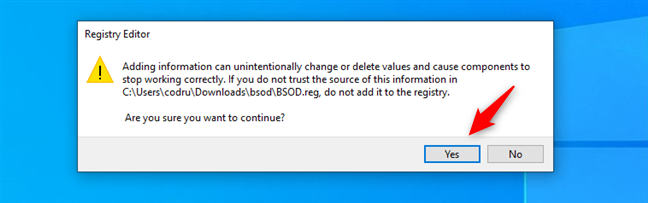
Choose Yes when asked if you want to add information to the Registry
Finally, you receive confirmation that the registry keys and values have been added. Click or tap OK.
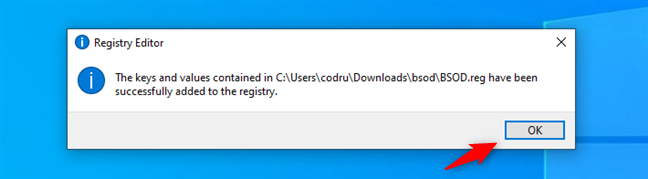
Click or tap OK
Step 2. Reboot your computer
Now that the Windows Registry changes are made, you need to reboot your computer for them to take effect. After the restart, your Windows system will be ready to generate a BSOD at your command!
Step 3. Trigger the Blue Screen of Death with a keyboard shortcut
The final step is the fun part! To force a BSOD, simply press and hold the Right Control key on your keyboard, and then hit the Scroll Lock key twice in quick succession:
Each time you use this key combination, voilà - a Blue Screen of Death appears!
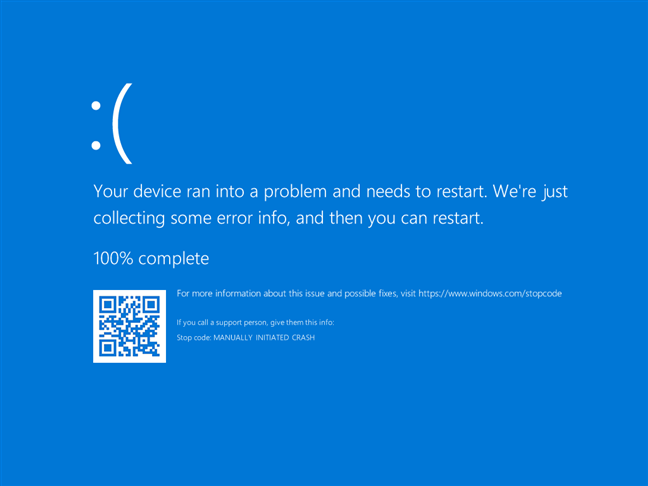
A BSOD manually triggered with the keyboard
Just like you wanted, right? 🙂
TIP: The Scroll Lock key is typically found in the upper-right corner of the keyboard, near the Pause/Break and Print Screen keys. However, its location can be different depending on your keyboard, and it can be abbreviated as ScLk, ScrLk, or Slk. Furthermore, if you have a laptop, you might also have to press the Fn key or use another combination to enable Scroll Lock - check your laptop’s manual for the exact key combination. If you still can’t find it, try using the On-Screen Keyboard - it includes a Scroll Lock key even if your physical keyboard doesn’t.
How to force a BSOD in Windows using NotMyFault
If you’re looking to trigger a Blue Screen of Death (BSOD) for testing or learning purposes, there’s an easy-to-use tool specially made for that: NotMyFault. Here’s how to get and how to use NotMyFault to intentionally crash your Windows PC:
Step 1. Download and run NotMyFault
First, use any web browser you like to get to the NotMyFault page, on the official Microsoft Sysinternals website. Once you’re on this page, click or tap the Download NotMyFault link to get the ZIP file containing the application.
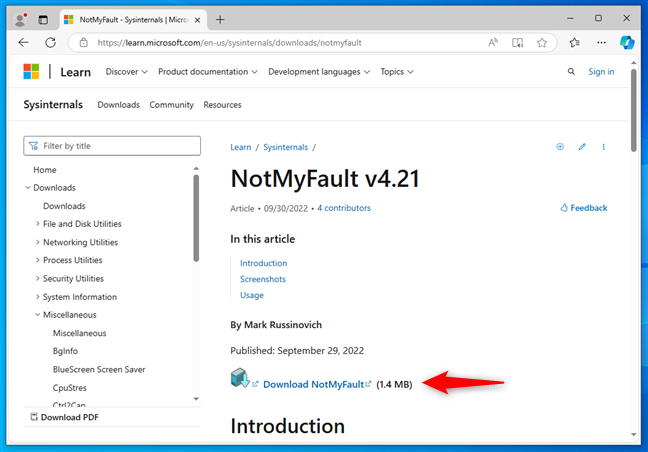
Download NotMyFault
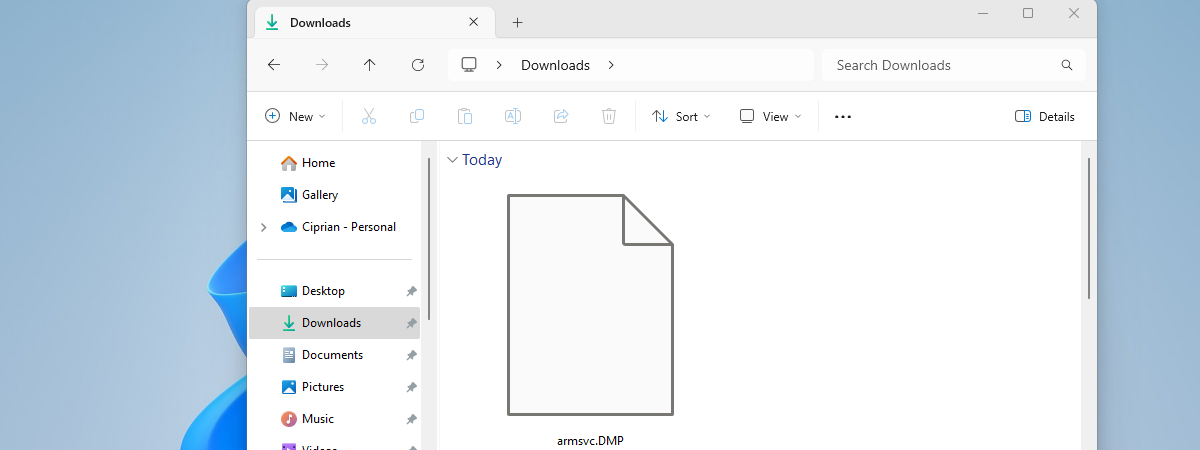
After downloading it, locate the NotMyFault ZIP file in your Downloads folder (or wherever you saved it) and extract its contents. Inside the extracted folder, you find a series of executable files: some are made for x86 Windows, some for x64 Windows, and some are command-line versions.
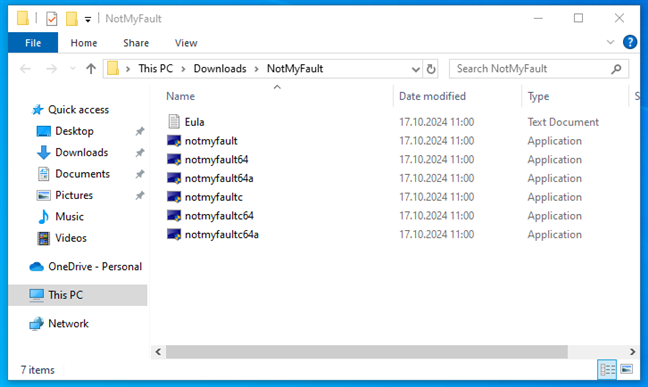
The executable files in the NotMyFault archive
If you’re using Windows 11 or a 64-bit Windows 10, double-click the notmyfault64 file. If you have a 32-bit version of Windows 10, double-click to open the notmyfault file. In either case, the application launches instantly - no installation is required, since this is a portable utility.
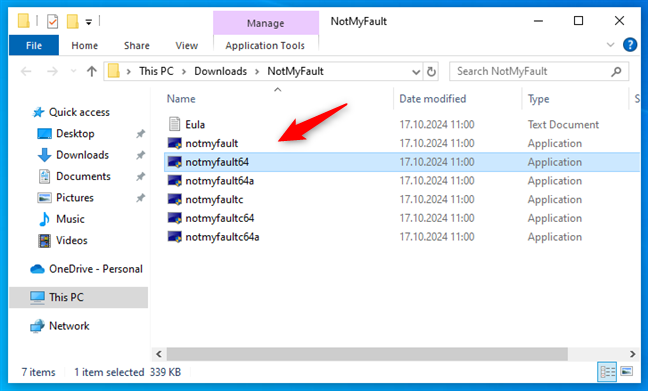
Launch the NotMyFault app
In the UAC prompt that appears next, choose Yes to run the NotMyFault app.
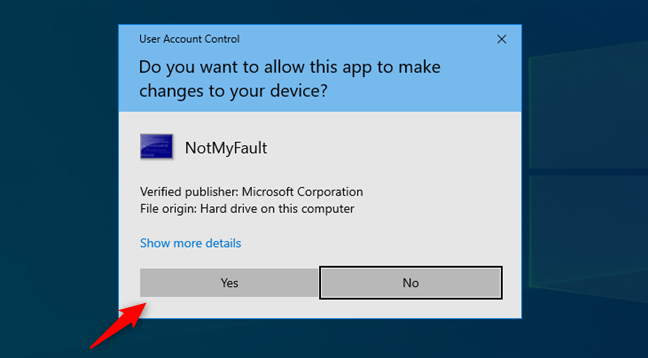
Choose Yes in the UAC prompt
Then, agree to NotMyFault’s license agreement.
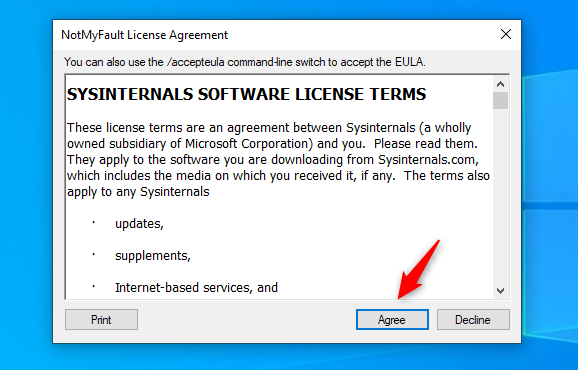
Agree to the license terms
And now it’s time to…
Step 2. Choose a crash type and force a BSOD
NotMyFault then opens: you see a simple interface with various options. Make sure the Crash tab is selected at the top, then choose any type of crash from the list. Once you do and are ready to start the test, press the Crash button to force a BSOD on your Windows computer.
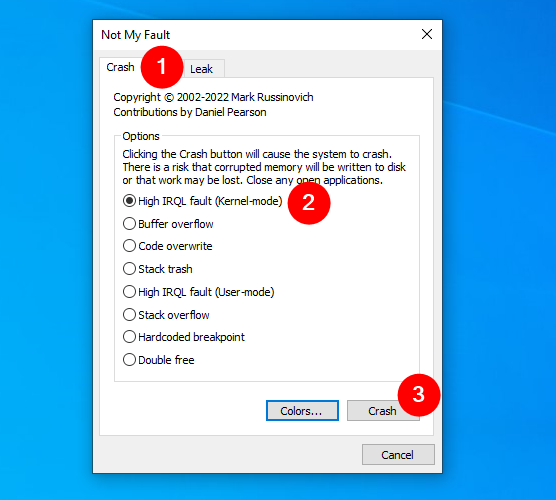
On the Crash tab, choose a type of BSOD and click Crash
TIP: For the most common situation, you can choose High IRQL fault (Kernel-mode), as it simulates a typical system crash.
Step 3. Watch your Windows crash and trigger a BSOD
Once you trigger the crash, your system will display a BSOD with a stop code matching the type of error you selected earlier in NotMyFault.

A manually triggered BSOD
Then, your system reboots automatically.
Why did you need to access BSODs on your Windows PC?
Now you know how to crash your Windows system on demand. Furthermore, you know not one, but two different ways to do it. If you’re feeling mischievous, you might even be tempted to show this trick to your friends (though I wouldn’t recommend actually doing that!). After all, you paid for your Windows license, so why not use every “feature” it offers? 🙂 All jokes aside, deliberately causing a BSOD may not seem practical, but it may prove quite useful for some users, especially software developers. So, just for curiosity, why did you have to manually crash your PC? If you don’t mind, please let me know in the comments section below.