If you are a Microsoft account holder, one of the first things you should do after creating the user account is to add your PC as trusted. From an account security standpoint, having a trusted computer gives you a secure place from which you can reset your password or confirm alterations to your account, without having to prove your identity. If you are also a Windows 8 user, trusting your private computers will allow you to synchronize passwords stored with your Microsoft account. The benefits of this procedure are well worth the few minutes it will take to follow this tutorial.
Add a Trusted PC Using Windows 8 PC Settings
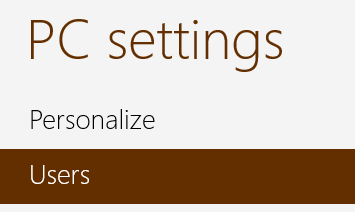
As a Windows 8 user you can quickly trust your PC through PC Settings. Go to the Users section.
From here, you'll be able to see user settings for your computer. Click or tap "Trust this PC" to get started.
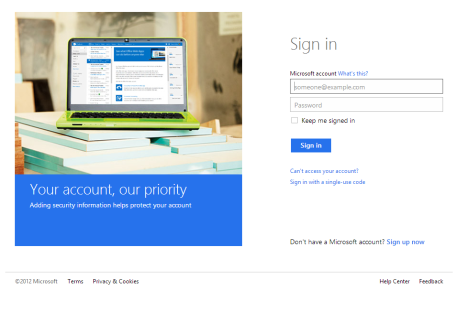
Your computer's default web browser will launch and load the Microsoft account page. Enter your account information and click or tap "Sign In."
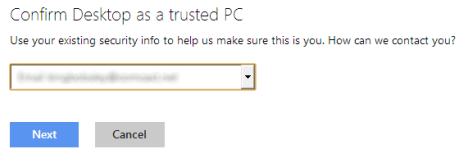
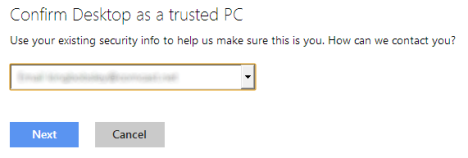
When your username and password are accepted, you'll be prompted to confirm you computer as a trusted PC. Select your email address from the dropdown list and click or tap "Next."
That's a good start. You can now skip ahead to the Confirmation section of this tutorial.
Add a Trusted PC Using Internet Explorer
If you aren't a Windows 8 user, or you're already online, you can trust your PC just by logging in to Microsoft account. You have to use Internet Explorer for this procedure to work, regardless of your browser preference.
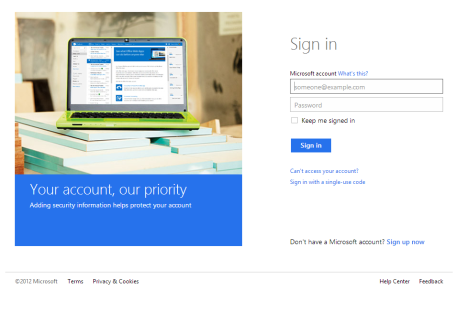
Enter your account information when the page loads and click or tap "Sign In."
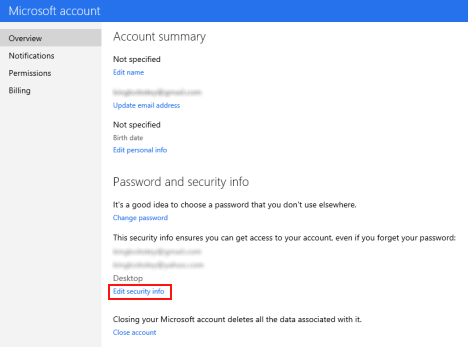
After successfully entering your email address and password, you'll be taken to an account summary page. Click "Edit Security Info."
From the Account Security page, click or tap "Add the PC you're using as a trusted PC."
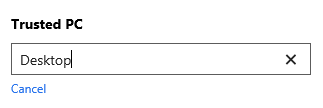
Enter the name of your computer when prompted and click or tap "Enter" when finished.
After this step the page will reload. You'll notice a gray section at the top that lists security information awaiting confirmation. Under your computer name, click or tap "Confirm."
Select your email address from the drop-down list and click or tap "Next."
You're now ready to confirm your trusted PC.
Confirm Your New Trusted PC
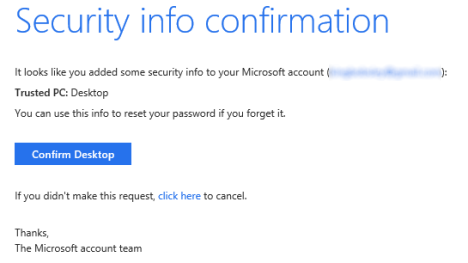
At this point, you've given Microsoft all the info they need, you just have to prove that you're who you say your are. Wait for a minute or two and then check the email inbox that you selected during the confirmation stage of the previous sections. Open the email from the Microsoft Account Team and click or tap the "Confirm ComputerName" button.
You may need to enter your email address and password again if you've closed your browser window. If not, you'll simply get a thank you message to let you know the job is done.
Your computer is now considered trustworthy by your Microsoft account. Go ahead and repeat this procedure for other Windows 8 computers that you want to synchronize your account information with. Keep in mind that for security, you should never trust a public computer that has multiple users. To do so would put your Microsoft account at risk.
Conclusion
Now you know what it takes to trust a PC and the advantages of doing so. Do you feel it's worth your time? Do you feel the advantages of password syncing and easier account alterations are worth the increased risk should someone gain access to a trusted computer? Give us your opinions or questions below. We're always hoping to hear from you.


 11.10.2012