When you use Windows 10 on a tablet or convertible device with a touchscreen, such as a Microsoft Surface Pro, Surface Go, Samsung Galaxy Book, HP Envy or Lenovo Miix, you might want to see the Start Menu in full screen instead of being displayed on the left corner of the screen. This allows you to pin more apps and shortcuts to it, and be more productive. Here is how to set the Start Menu from Windows 10 to take the whole screen, or revert it to its standard size, when you no longer want it full-screen:
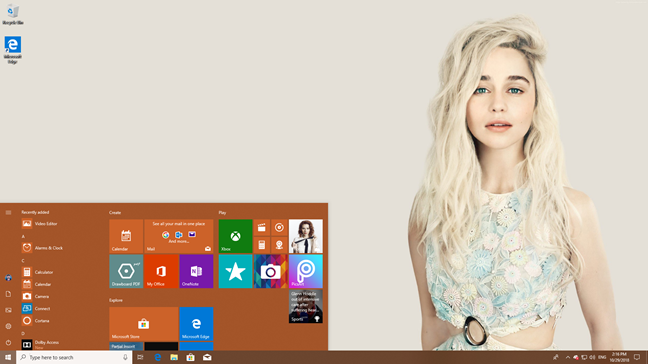
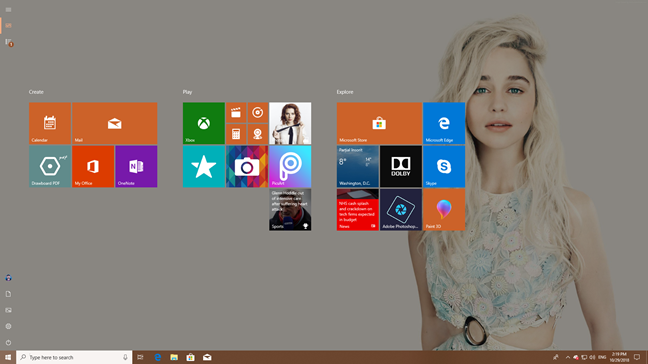
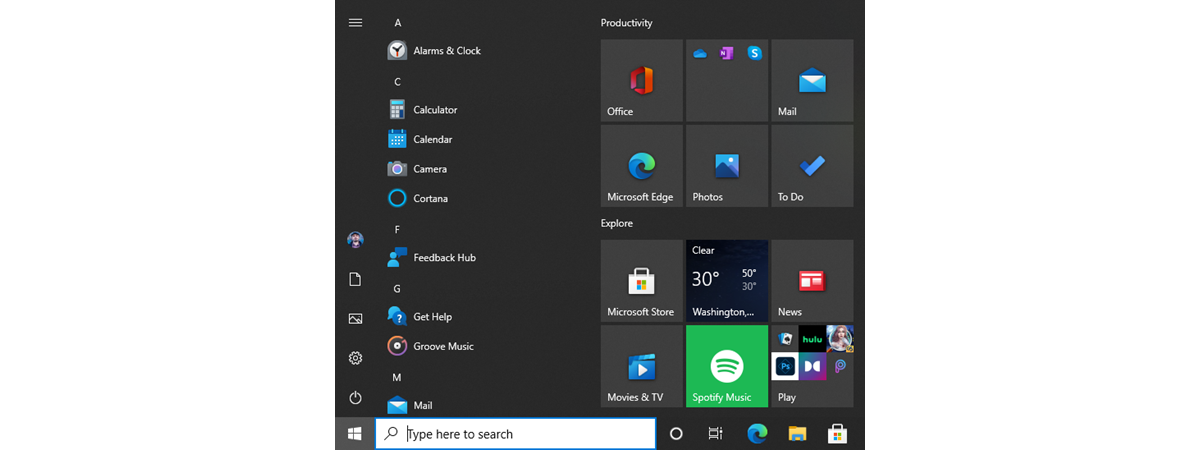
Windows 10: The regular Start Menu vs. the full screen Start Menu
Because most users did not enjoy the Start screen from Windows 8, which occupied the whole screen, in Windows 10, Microsoft decided to use an approach that is more familiar to Windows 7 users. As a result, in Windows 10, the Start Menu occupies only a portion of the screen, when you open it.
This approach is suitable for most users, especially when using Windows 10 laptops and computers without a touchscreen. However, when using a device with touch, it makes sense to have it take the whole screen so that there is more room for tiles and shortcuts.
We prefer using it in full-screen mode on our Surface Pro for example. If you want to try it out in fullscreen too, continue reading this tutorial.
How to set the Windows 10 Start Menu to become fullscreen
To set the Start Menu to take the whole screen, first open the Settings app.
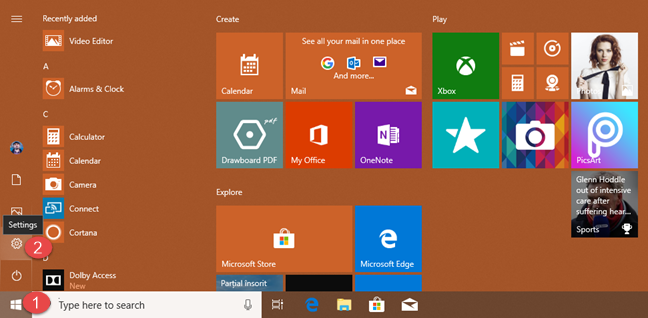
A fast way to do it is to click or tap Start, and then Settings. Another method is to press the Windows + I keys on the keyboard.
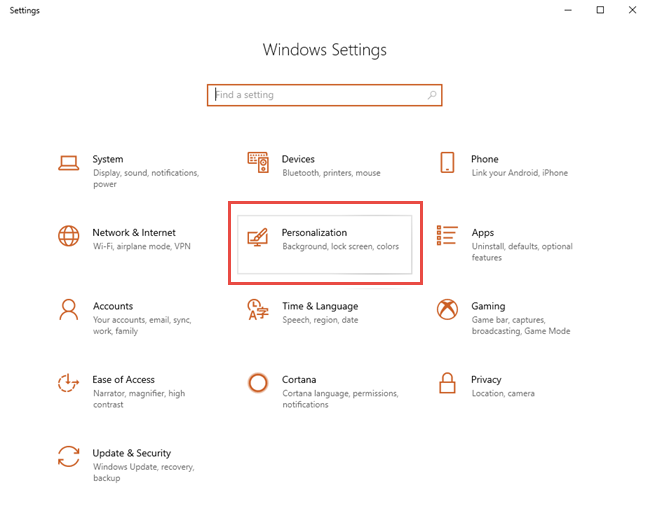
In the Settings app, go to Personalization.
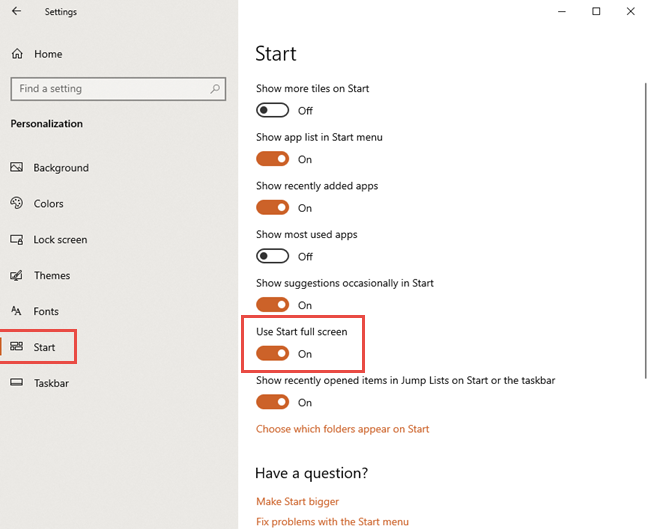
On the left of the Settings window, go to Start. On the right side, look for a switch called "Use Start full screen." Set this switch to On.
That is all! From now on, when you press the Start button, you no longer see the classic looking Start Menu. Instead, you get something similar to the Start screen from Windows 8.
How to set the Windows 10 Start Menu to get back to normal
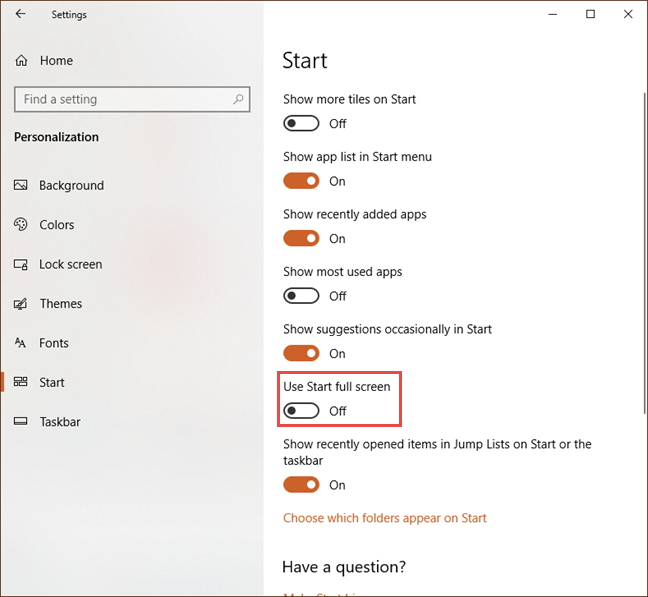
If you no longer want the Start Menu to take the whole screen, follow the same procedure from the previous section. The only difference is that, in the end, you set the "Use Start full screen" switch to Off.
Close the Settings app and you are done! Enjoy the Start Menu taking only a portion of your screen, on the bottom-left.
On which devices you prefer the Start Menu to take the whole screen?
Windows 10 allows you to change the Start Menu into a Start screen, and all it takes are a couple of clicks or taps. Try the fullscreen version of the Start Menu and let us know whether you prefer it to the standard size. Also, leave a comment and tell us on which device(s) you enabled this feature. Do you use the fullscreen Start Menu on a Surface Pro or some other device?


 29.10.2018