Windows 8.1 includes a reasonably large bundle of apps when you install it. One of these apps is Sound Recorder. This is a very interesting app that allows you to record sounds, trim their length, save them and share them with your friends. Let's take a closer look at the Sound Recorder app and see how to use it.
How to launch the Sound Recorder App in Windows 8.1
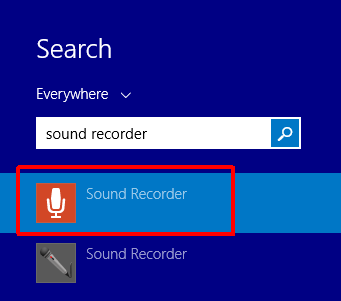
If you don't have a tile for the Sound Recorder app on the Start screen, the easiest way to open it is by going to the Start screen and typing "sound recorder". Then, select the Sound Recorder result from the list. Note the different icon displayed by the Sound Recorder app versus its desktop counterpart with the same name.
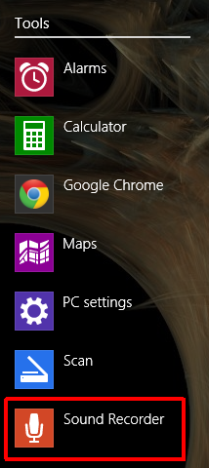
Another way of opening Sound Recorder is through the Apps view: go to the Start screen and move the cursor to the bottom left corner of the screen, just below the last tile on the first column. Click the down facing arrow icon to display the application list. On a touch-enabled device, go to the Start screen and slide upwards to access the Apps view.
Then, click or tap Sound Recorder in the Tools folder.
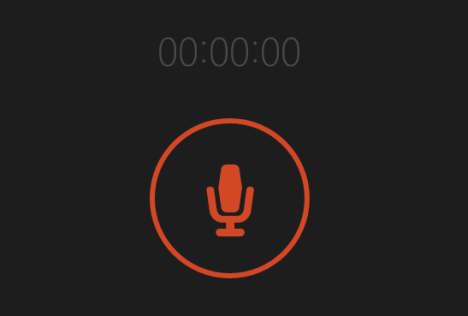
When you first launch the app, you will see a timer set to zero and the Record button in the shape of a circle with a microphone in the center.
How to Start a Recording
If you have never started the Sound Recorder app before, it may ask you for permission to use your microphone. Click or tap Allow to enable recording.
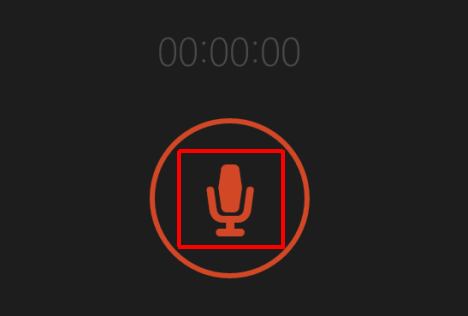
To start the recording, click or tap the Record button and start talking. The timer will also start showing you the length of the recording at any given time.
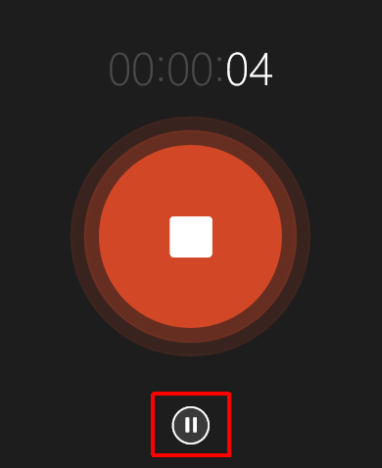
You can pause the recording at any time, by clicking or tapping the Pause button.
To resume the paused recording, click or tap the Pause button one more time.
An important feature to remember is that if you move the app to the background while recording, the recording will pause. If you wish to use record alongside other apps, you need to use them side by side.
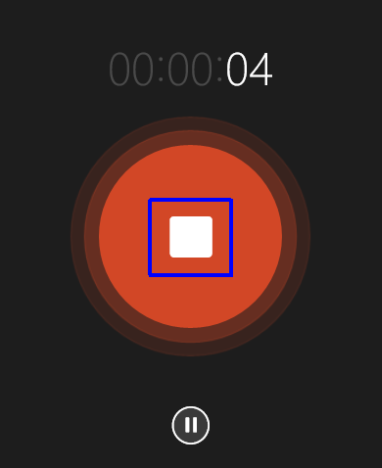
To stop and save the recording, click or tap the Stop button. The saved recordings are stored in the Sound Recorder app. Note that you will lose your recordings if you choose to uninstall the app from your device.
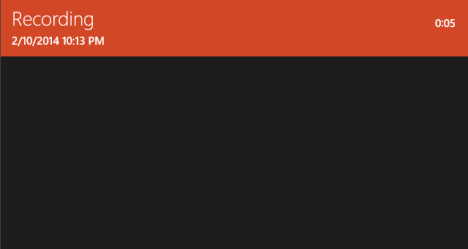
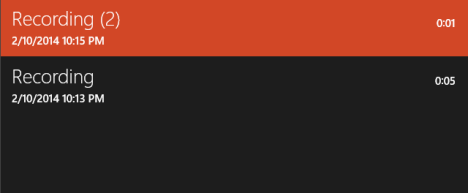
Once you stop the recording, it is shown in the recordings list, on the right hand side of the screen.
How to Rename a Recording
By default, the first recording you make will be saved with the name Recording. The next recordings you make will have a number in their name.
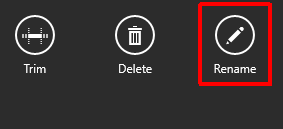
To rename a recording, click or tap on it, in the recordings list. Then, click or tap the Rename button at the bottom right corner of the screen.
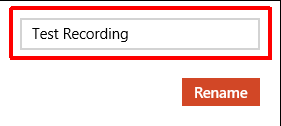
Type the new name of the recording in the corresponding field and then click or tap the Rename button.
That's it! The recording will be renamed and you will see it displayed with its new name, in the recordings list.
How to Share a Recording
Although you cannot save a recording and access it later directly from the Sound Recorder app, you can share the recording via email. It will be attached to the email using the .m4aformat and the receiver can easily download it and play it.
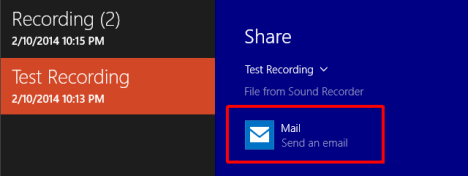
To share a recording, select it from the recordings list and bring up the Charms bar. Select the Share charm and click or tap the Mail button.
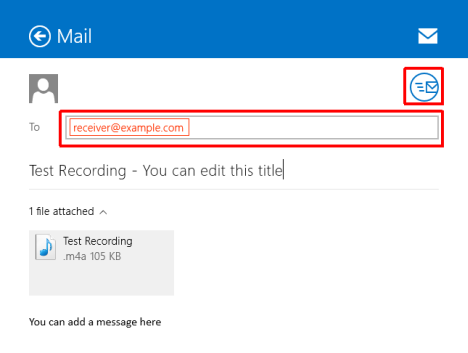
Fill in the addresses of the person(s) you want to share the recording with and click the Send button. You can even add a personalized message to the email, if you wish.
How to Trim a Recording
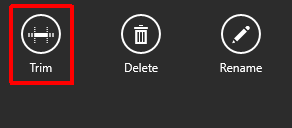
The Sound Recorder app allows you to trim the recordings that you consider too long. To trim a recording, first click or tap on it, in the recordings list. Then, click or tap the Trim button in the bottom right corner of the screen.
Next, drag the white left and right circles on the recording's timeline to the new start and stop points. To make sure you correctly trimmed the recording, you can play and adjust the start and stop points accordingly. If the trimmed recording is correct, click or tap the OK button.
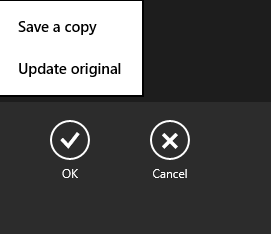
You will be presented with two options: if you wish to save the trimmed recording as a new file, click or tap the Save a copy button. If you wish to replace the old recording with the trimmed one, click or tap the Update original button.
How to Delete a Recording
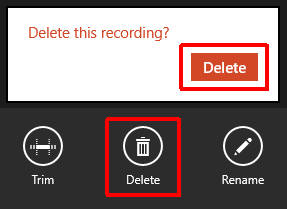
If you wish to delete an existing recording, first click or tap the recording you want to remove in the recordings list. Then, click or tap the Delete button in the bottom right corner of the screen. When it asks you for confirmation, click Delete.
Conclusion
As you can see, a simple app like Sound Recorder can help you create and edit your audio recordings, save them and even share them with your friends.
Now that you have reached the end of this article, we would like to hear your thoughts on the Sound Recorder app. Have you tried it? Did you have any problems recording or editing the recordings?
Let us know in the comment section and we'll be more than glad to help you out.


 12.02.2014