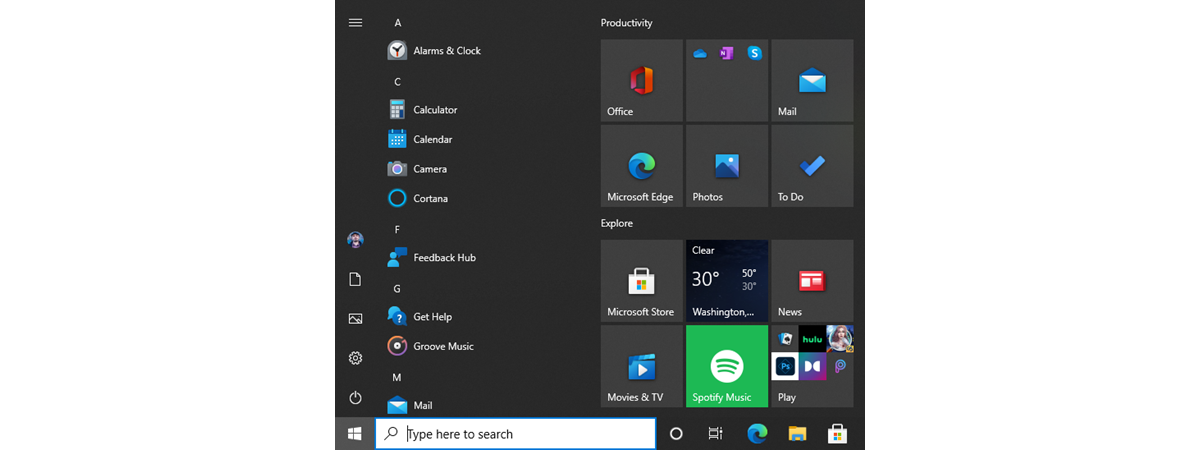
The Start Menu from Windows 10 has all its tiles and shortcuts organized in groups. By default, you see only a few groups, like Life at a glance or Play or Explore, but you can create more. In this article, we show you how to create new groups of tiles and shortcuts in the Start Menu, how to move tiles and shortcuts from one group to another, and how to delete a group. Let's find out how to manage groups of tiles and shortcuts on any computer or device with Windows 10:
Windows 10: Groups of tiles or folder of tiles?
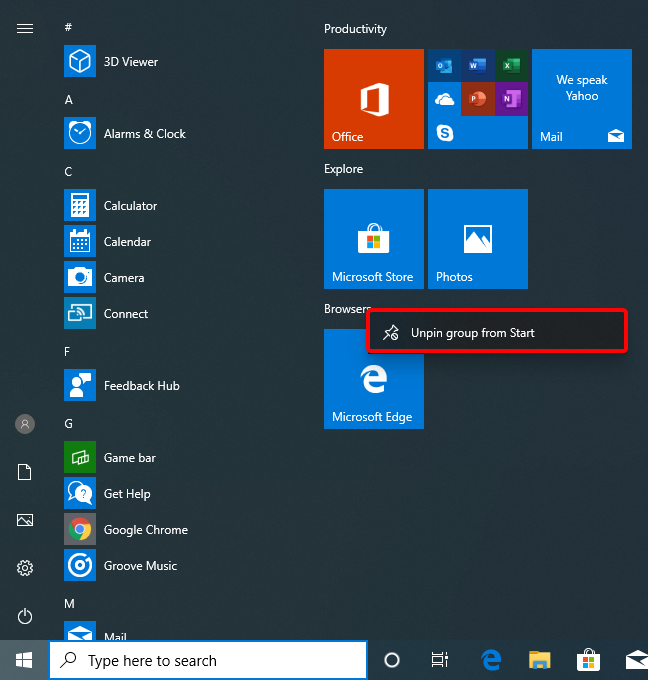
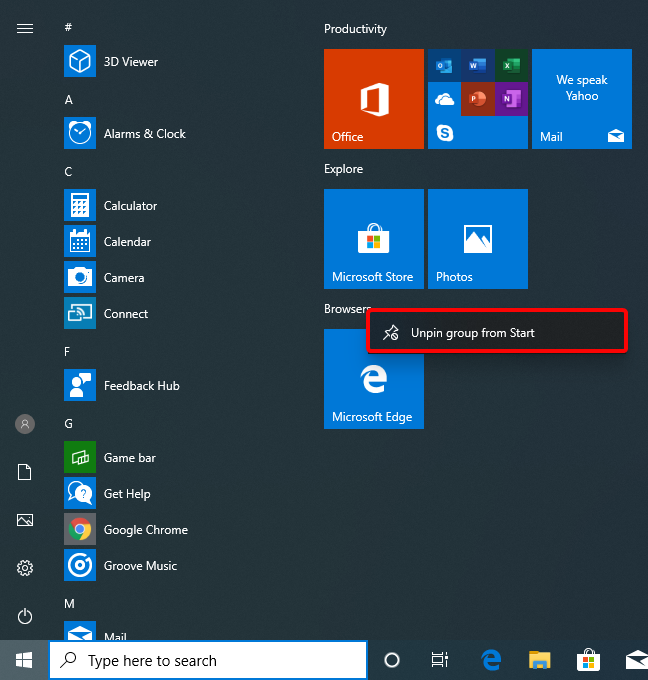
The groups of tiles on the Start Menu behave similarly to the folders containing files in Explorer. You can move them together in the same way you can move folders. The Windows 10 May 2019 Update introduces a new right-click option to "Unpin group from Start" which acts similarly to deleting a folder.
The major difference is that a group of tiles and shortcuts cannot exist without at least one tile or shortcut inside it. You cannot create an empty group, and at the moment when you remove the last tile or shortcut from a group, the group is deleted immediately.
How to reposition tiles and shortcuts on the Windows 10 Start Menu
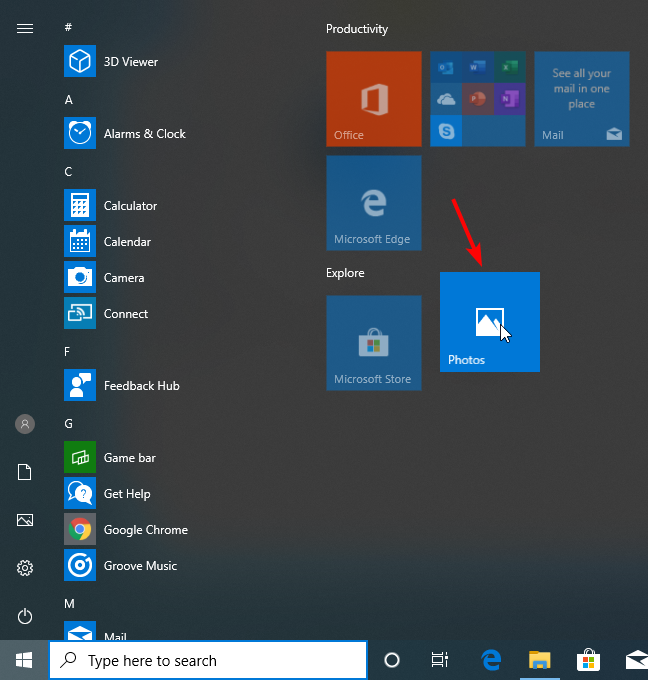
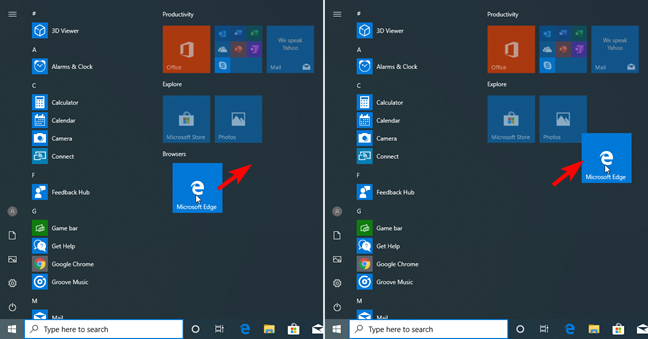
Moving tiles and shortcuts in the Start Menu is a straightforward process. All you have to do is drag and drop the tile or shortcut you want to be moved, to the position where you want it on the Start Menu.
The tile is repositioned to the new location permanently.
How to create a new group of tiles and shortcuts on the Start Menu
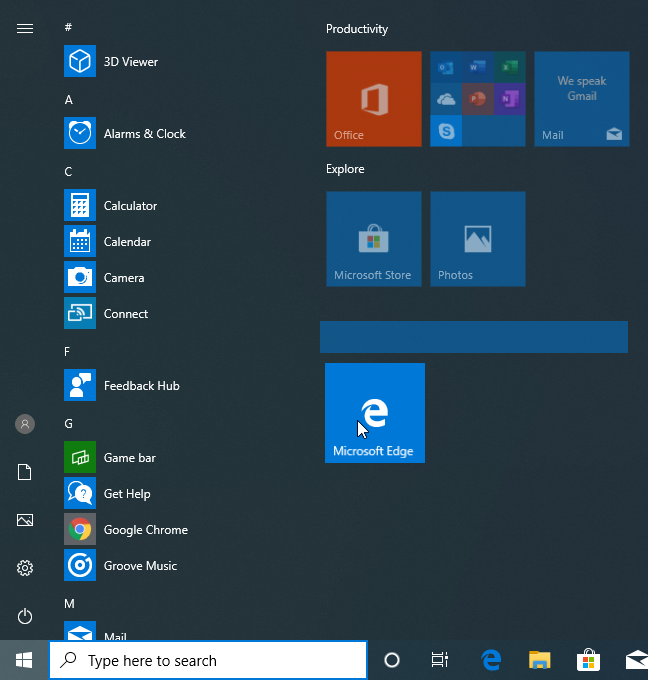
If you want to create a new group in the Start Menu, start by moving all the tiles and shortcuts you want to add to the new group, to an empty space on the Start Menu. When you move the first tile you see a colored rectangle, so you know that a new group is created.
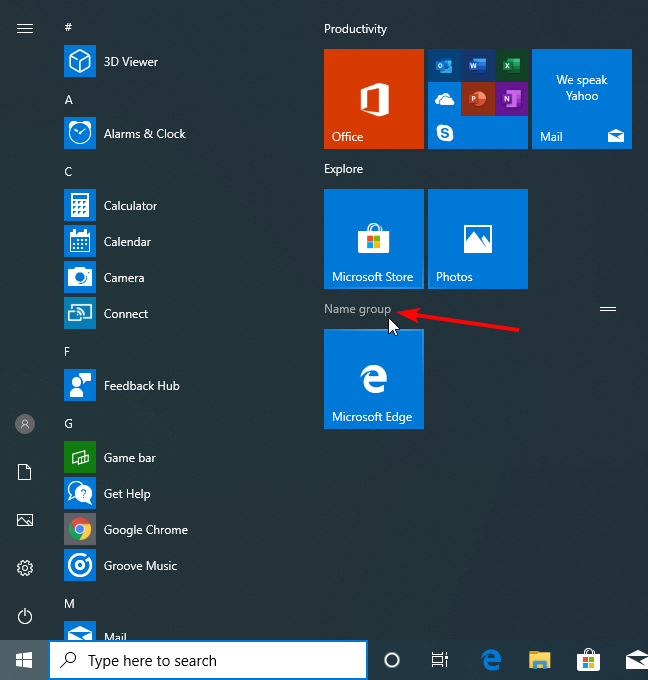
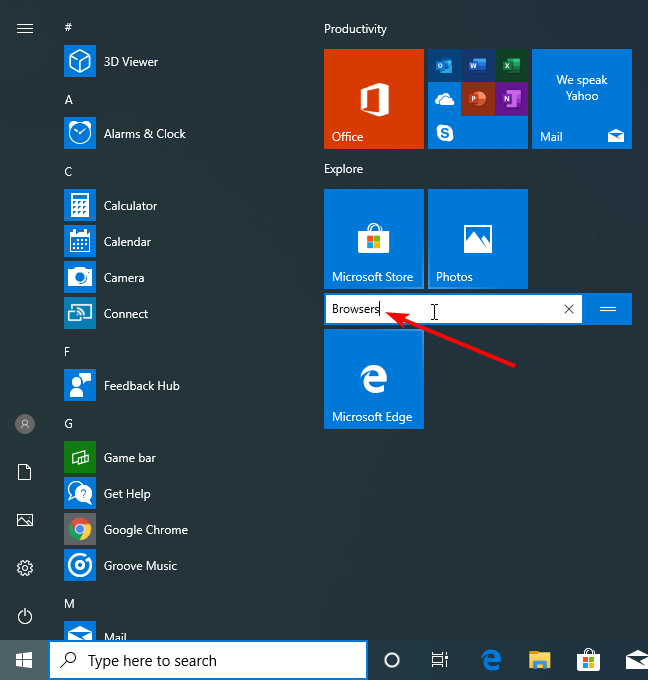
By default, the new group has no name. If you want to give it a name, hover your cursor above it.
This action makes the Start Menu display a small heading called Name group. If you want to give a name to the group, click or tap on this heading.
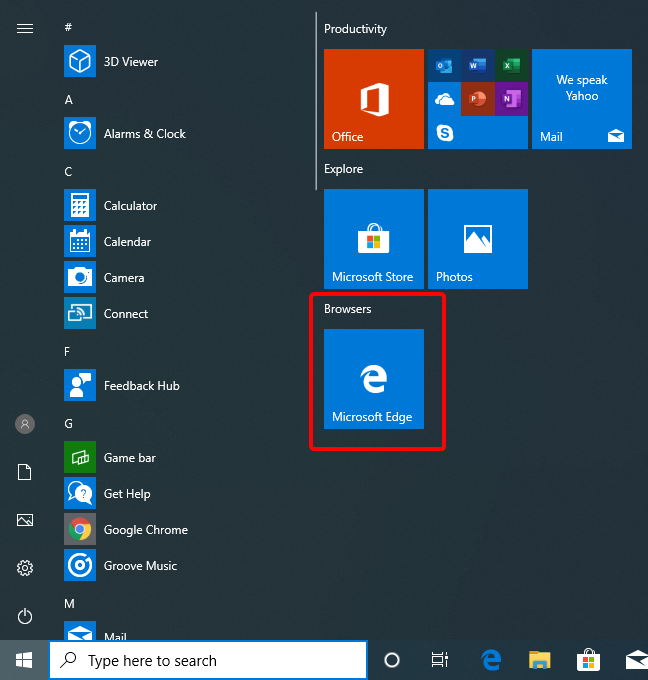
Then, type the name you want and press the Enter key on your keyboard or click/tap on an empty space.
The group has a new name assigned to it. Follow the same procedure for all the tiles and shortcuts groups found in your Start Menu, until all of them are organized the way you want.
How to delete a group of tiles and shortcuts on the Windows 10 Start Menu
If you want to eliminate one of the groups on your Start Menu, you have to eliminate its content. The only way to get rid of one of the groups is to move away or unpin its tiles and shortcuts.
You can do this by taking the tiles and shortcuts one by one, and either move them away or unpin them from the Start Menu. When the last tile or shortcut in the group is moved away, the group is deleted instantly.
If you try to revert the move dragging the tile or shortcut back, the group is already deleted, and Windows creates a new group in the Start Menu. The only effective way to cancel the deletion is to press the Escape on the keyboard before you complete the dragging operation by releasing your mouse button or your finger on a touch screen.
In the May 2019 Update, Windows 10 has introduced a new feature for the groups on the Start Menu. You can unpin all its tiles and shortcuts at once and remove the group in this manner. Right click on the name of the group, and click or tap "Unpin group from Start."
NOTE: If you do not know what version of Windows 10 you have, read: How to check the Windows 10 version, OS build, edition, or type.
Do you create new groups in the Windows 10 Start Menu?
As you can see, if you want to access your files and apps quickly, you can organize their tiles and shortcuts in the Start Menu and group them according to your preferences. For more articles on personalizing Windows 10, read the related guides below. If you have any suggestions, questions or problems, do not hesitate to leave a comment below.


 02.05.2019