09.05.2014
he Camera app allows you to enhance the pictures you have taken and trim the videos your recorded by editing them inside the app. In this article I'm going to show you how this works, so that you too can edit your pictures and recordings when you need it.
NOTE: If you don't know how to use the Camera app in Windows 8.1, read this step-by-step tutorial: How to Use the Camera App in Windows 8.1.
How to Access the Camera App Editing Options
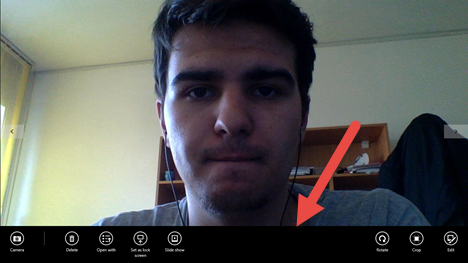
In the Camera app, click the left arrow or swipe to the right, if you are using a touch-enabled device, so that you can to see the pictures you have taken and the video you have recorded. You can only use the editing features when you're viewing the files in the Camera app.

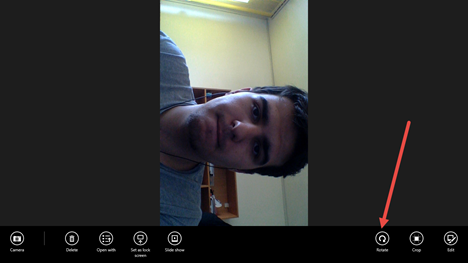
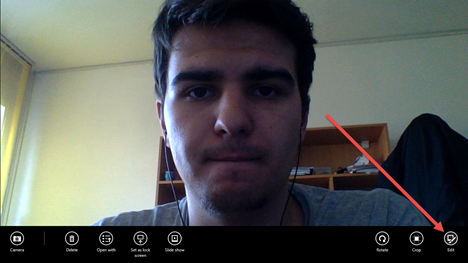
Browse to the picture that you want to edit and then click or tap on it. The app's contextual options are shown on the bottom of the screen.
If you click or tap the Camera button, the app will bring you back to the main screen of the app, where you can take pictures or record videos.
How to Rotate a Picture
Clicking the Rotate button causes the picture to rotate ninety degrees every time you click or tap on it. Tap or click Rotate until the picture is rotated the way you want it. Your changes are saved automatically.
How to Crop a Picture
To crop a picture, click or tap the Crop button.

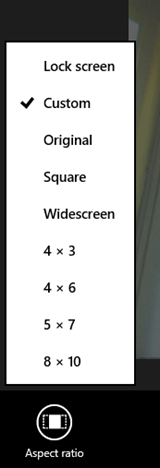
When you crop a picture you can select your own area to crop or click or tap the Aspect ratio button and select one of the predefined options.
After you have selected the area to be cropped, click or tap Apply so that your changes are applied.
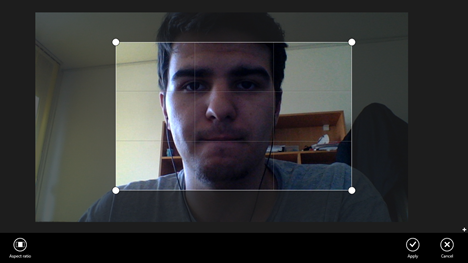
In case you have changed your mind, click or tap Cancel and your changes will not be saved.
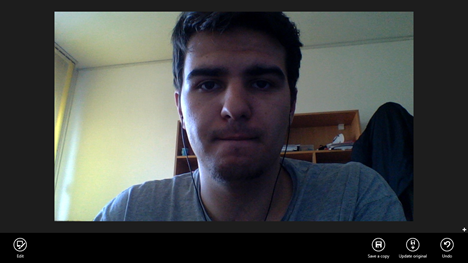
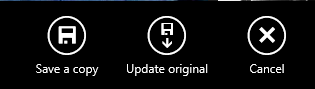
When you are done making changes, save the picture. You can update the original photo or save a copy with your changes.
How to Edit a Picture
To edit a certain picture, click or tap the Edit button.
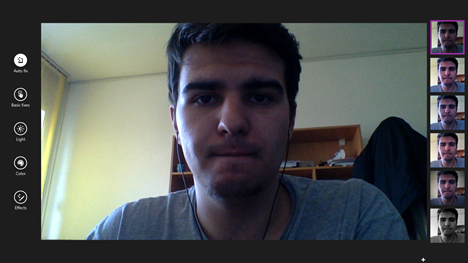
You will see several editing tools on the left side of the screen. On the right, you will see contextual tools and previews based on the editing tool you have chosen on the left side. Let's take a look at them one by one.
How to Use the Auto Fix Option
The Auto fix option allows you to choose from a predefined set of image adjustments. To use it, click or tap theAuto fix on the left hand side of the screen and then choose one of the effects from the right.
Let's choose another option from the Auto fix category.
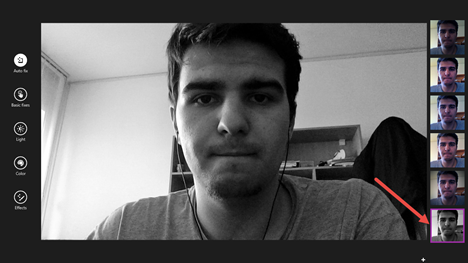
As you can see, now, my picture is black & white. Play with the available options until your picture looks as you wish.
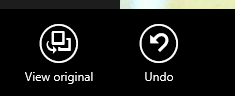
NOTE: To view the original version of the picture or to undo or redo changes, swipe up from the bottom edge of the screen if you are using a touch-enabled device, or right click within the app and then click or tap the option you want.
When you are done editing, swipe up from the bottom edge if you use a touch-enabled device, or right click and then save your changes.
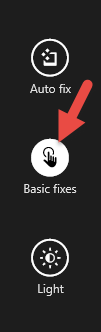
How to Use the Basic Fixes for Images
The Basic fixes category consists of simple image adjustments which can help you achieve the desired results quickly. Click or tap the Basic fixes button on the left side of the screen.
You can see the Basic fixes on the right side of the screen.
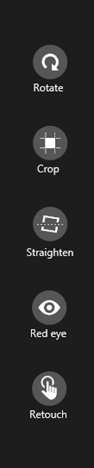
You can choose from the following available Basic fixes:
- Rotate - allows you to rotate the image as shown earlier in this article
- Crop - allows you to crop the image as shown earlier in this article
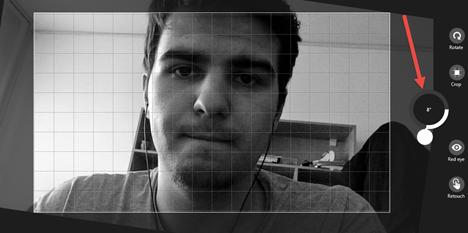
- Straighten - allows you to align the image by rotating it incrementally by a maximum of 30 degrees to the left and 30 degrees to the right. Use the dial to straighten the photo.

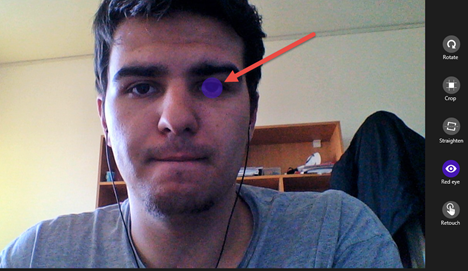
Windows 8.1, Camera, app, webcam, pictures, video, edit, fix, trim - Red eye - allows you to remove the red eyes effect from your picture. To remove the red eyes effect, tap or click the Red eye button. Then, tap or click where you want to remove the red color.

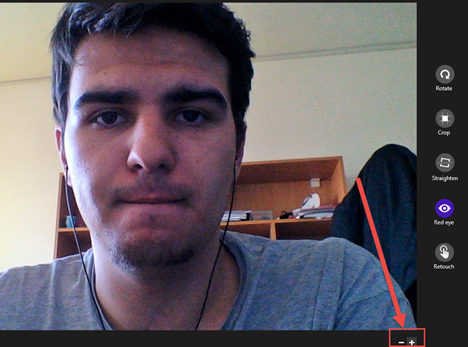
Windows 8.1, Camera, app, webcam, pictures, video, edit, fix, trim If you want to be more accurate, you can zoom in the picture. Click or tap the + button if you want to zoom in and click or tap the - button if you want to zoom out.

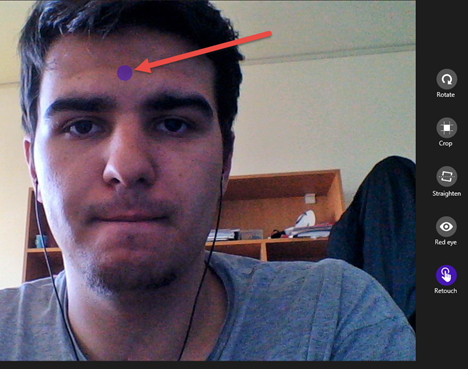
Windows 8.1, Camera, app, webcam, pictures, video, edit, fix, trim - Retouch - allows you to retouch fine details of the picture. Click or tap the Retouch button, then click or tap the spots that you want retouched.

Windows 8.1, Camera, app, webcam, pictures, video, edit, fix, trim
When you are done editing, swipe up from the bottom edge of your screen if you use a touch-enabled device, or right click within the app and then save your changes by clicking or tapping the Save button.
NOTE: Remember that, in order to view the original version of the picture or undo or redo your changes, you need to swipe up from the bottom edge of the screen if you are using a touch-enabled device, or right click within the app and then click or tap the option you want.
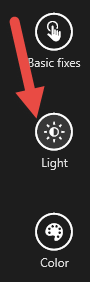
How to Use the Light Adjustments
To make Light adjustments to a picture, click or tap the Light button on the left side.
You can see the available Light adjustments on the right side of the screen.
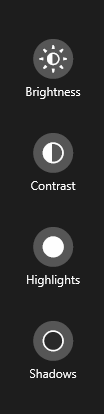
You can choose from the following available Light adjustments:
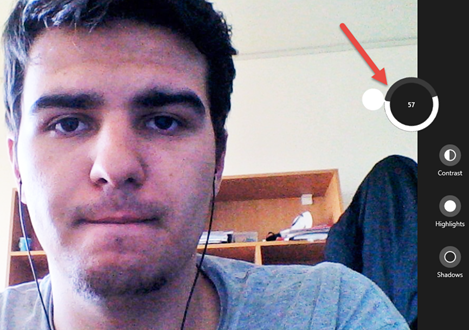
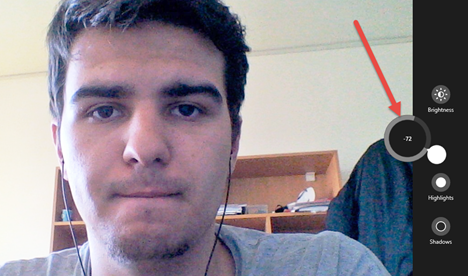
- Brightness - allows you to make the the picture lighter or darker. To change the brightness level of the current picture, first click or tap the Brightness button and then use the dial to adjust the brightness level.

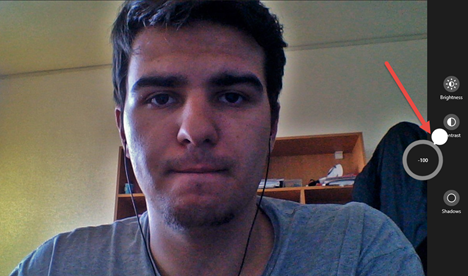
Windows 8.1, Camera, app, webcam, pictures, video, edit, fix, trim - Contrast - allows you to adjust the difference between the lighter and the darker parts of the picture. To change the contrast of the picture, click or tap the Contrast button and then use the dial to adjust the contrast level.
- Highlights - allows you to adjust the brighter areas of the picture. To change the highlights of the current picture, first click or tap the Highlights button and then use the dial to adjust the highlights level.

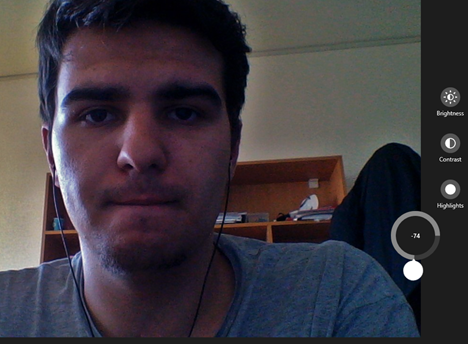
Windows 8.1, Camera, app, webcam, pictures, video, edit, fix, trim - Shadows - allows you to adjusts the darker areas of the picture. To change the shadows of the current picture, first click or tap the Shadows button and then use the dial to adjust the shadows level.

Windows 8.1, Camera, app, webcam, pictures, video, edit, fix, trim
When you are done editing, swipe up from the bottom edge of your screen if you use a touch-enabled device, or right click within the app and then save your changes by clicking or tapping the Save button.
How to Use the Color Adjustments
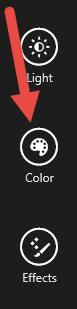
To make Color adjustments to a picture, click or tap the Color button on the left side of the screen.
Now, choose one or more of the available options from the right side.
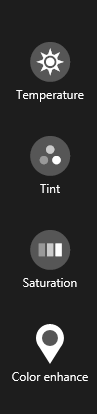
You can choose from the following available Color adjustments:
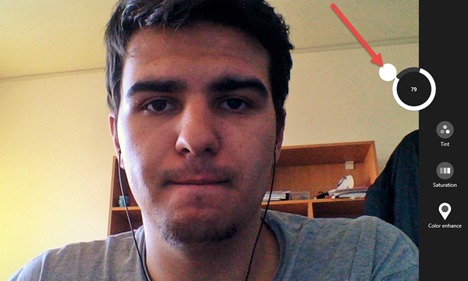
- Temperature - allows you to adjust how cold or warm the picture looks. To change the temperature level of the current picture, first click or tap the Temperature button and then use the dial to adjust the temperature level.

Windows 8.1, Camera, app, webcam, pictures, video, edit, fix, trim - Tint - allows you to add a green or a magenta tint. To change the tint level of the current picture, click or tap the Tint button and then use the dial to adjust the tint level.
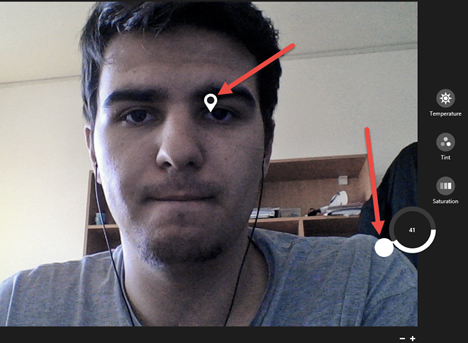
Windows 8.1, Camera, app, webcam, pictures, video, edit, fix, trim - Saturation - allows you to adjust the intensity of the colors. To change the saturation level of the current picture, click or tap the Saturation button and then use the dial to adjust the saturation level.
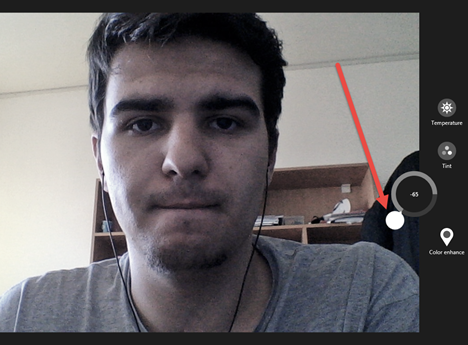

Windows 8.1, Camera, app, webcam, pictures, video, edit, fix, trim - Color enhance - allows you to adjust how vibrant a selected color looks. Tap or click the Color enhance button to use this option. Drag the pin to the color that you want to enhance, then use the dial to change the setting. If you want to enhance another color, just move the pin and adjust the setting again.

Windows 8.1, Camera, app, webcam, pictures, video, edit, fix, trim
When you are done editing, swipe up from the bottom edge of your screen if you use a touch-enabled device, or right click within the app and then save your changes by clicking or tapping the Save button.
How to Add Effects to a Picture
To add effects to your picture, click or tap the Effects button on the left hand side of the screen and then choose one of the available effects on the right:
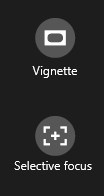
- Vignette - allows you to darkens or lighten the corners of the picture. Tap or click the Vignette button and use the dial to change the setting.
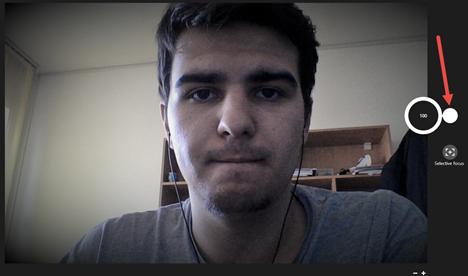
Windows 8.1, Camera, app, webcam, pictures, video, edit, fix, trim - Selective Focus - allows you to pick a part of the picture to keep in focus and blur out the rest. To do this, first tap or click the Selective Focus button.
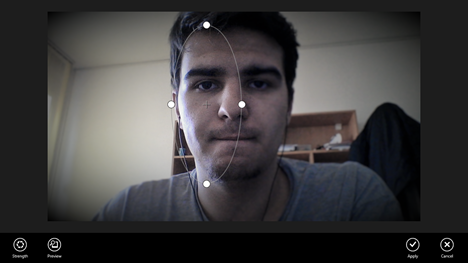

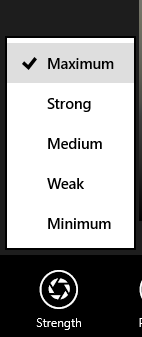
Windows 8.1, Camera, app, webcam, pictures, video, edit, fix, trim Then, adjust the ellipse displayed over the image. You can change its size, the shape or the location. What is inside of the circle will stay in focus. Click or tap the Strength button and choose how blurred you want the rest of the photo to be.

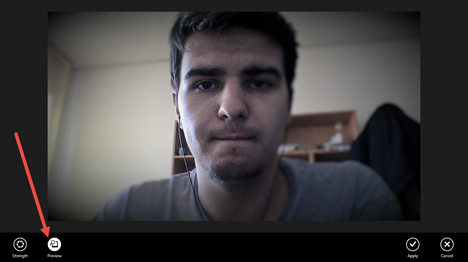
Windows 8.1, Camera, app, webcam, pictures, video, edit, fix, trim Tap or click the Preview button to see the changes before you save the picture.

Windows 8.1, Camera, app, webcam, pictures, video, edit, fix, trim
When you are done editing, swipe up from the bottom edge of your screen if you use a touch-enabled device, or right click within the app and then save your changes by clicking or tapping the Save button.
How to Trim a Recorded Video in the Camera App
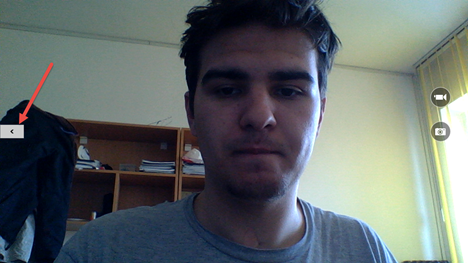
Aside from editing the pictures taken with the Camera app, you can also edit the recorded videos. To do this, first click on the left arrow or swipe to the right if you are using a touch-enabled device to see the pictures you have taken and the videos you recorded.
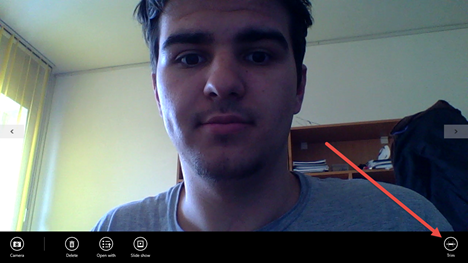
After you have found the video that you want to trim, swipe up from the bottom edge of the screen if you are using a touch-enabled device, or right click and then click or tap the Trim button.
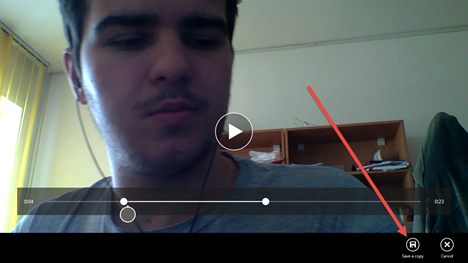
Move the handles at the left and right ends of the time line to define new start and end points.

When you are done making changes, tap or click the Save a copy button.
That's it! Trimming a video is a very straightforward process while using the Camera app. Also, this is the only video editing option offered by this app.
Conclusion
Editing the pictures taken with the Camera app can be both fun and easy. As you can see from this guide, the results are very nice and the amount of editing tools available is surprisingly large, at least when editing pictures. The only downside is that it offers very little for editing videos. Don't hesitate to use all the editing tools mentioned in this tutorial and share with us how well they have worked for you.