Did you ever think about making the File Explorer in Windows 10 look and work more like the Windows Explorer from Windows 7? If you could hide or completely remove its ribbon and get rid of all those large buttons shown on it, you might feel more at home in Windows 10 than you do now. If you want to know how to hide or disable the ribbon from File Explorer in Windows 10, read on:
What the ribbon from File Explorer looks like in Windows 10
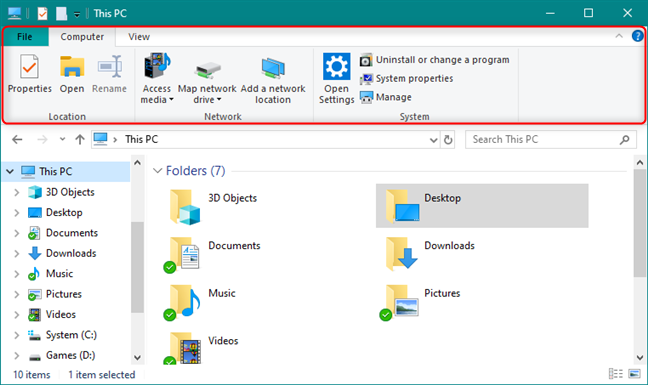
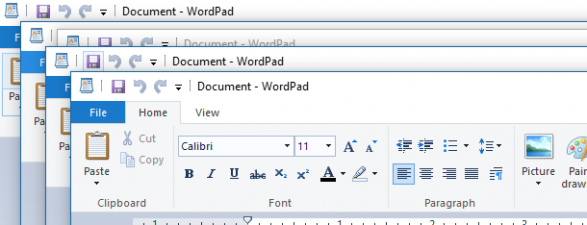
By default, the File Explorer in Windows 10 has a ribbon menu at the top. It is a place where you find commands and options for working with files and folders on your PC or device, and it should make your life easier. We enjoy using it, and we consider it an efficient way of working with files. You can find more on this subject, here: Comparison: Is the Windows ribbon interface more efficient than the old-school menus?
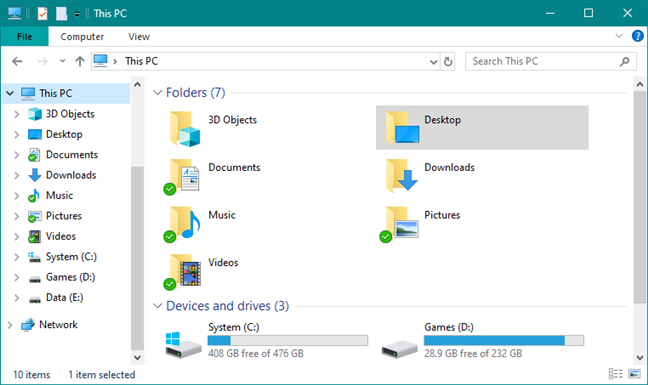
However, you may be wondering what File Explorer would look like without its ribbon. In the screenshot below, you can see what it looks like when you hide or minimize the ribbon. If that's what you want, follow the steps from the second section of this guide.
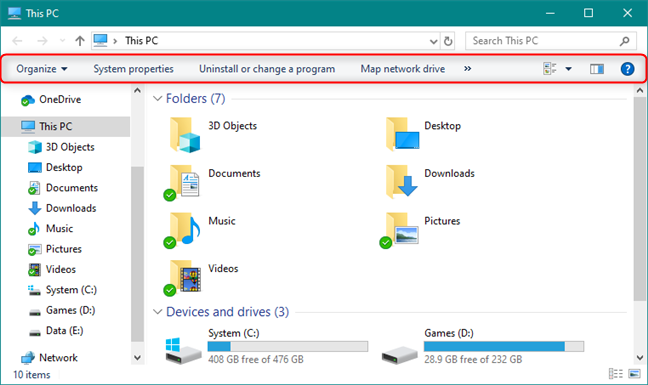
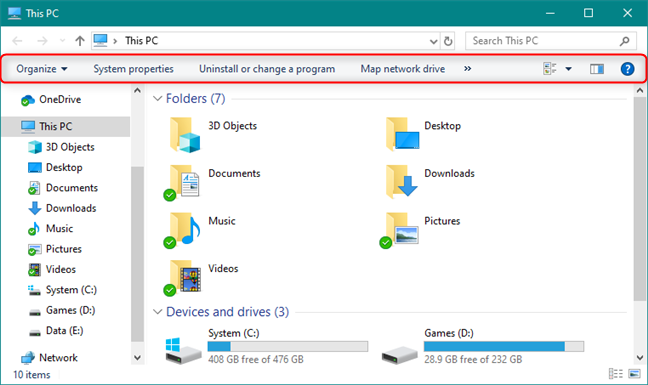
In the next screenshot, you see what it looks like if you choose to be radical and completely disable the ribbon from File Explorer. If this is what you want, you should be prepared to use a third-party tool, that can do such a thing: we show you where to get it and how to use it in the third and last section of this tutorial.
How to hide the ribbon from File Explorer in Windows 10
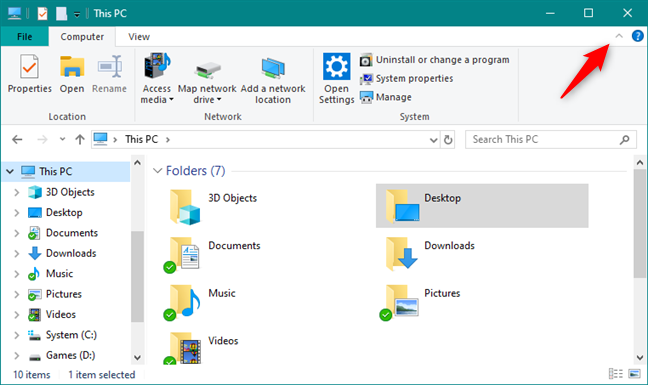
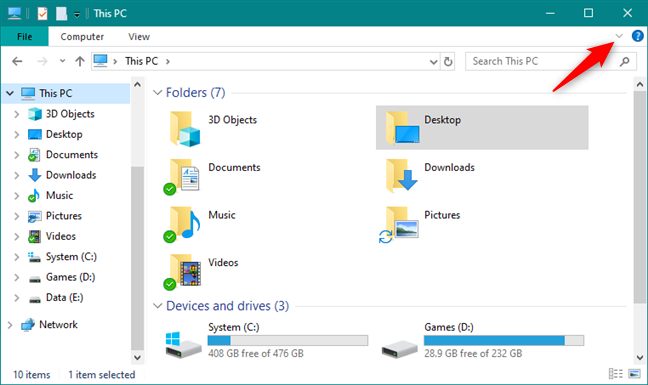
Hiding the ribbon in File Explorer is one of the easiest things you can do. In File Explorer's window, look at the top-right corner.
There, you should see a small arrow, like in the screenshot below. Click or tap on it, and the ribbon is instantly hidden from view.
In the next picture, you can see that the ribbon is no more. However, if you want to get the ribbon back in File Explorer, you only have to click or tap on the same small arrow-shaped button from the top-right corner of the window.
TIP: If you prefer using your keyboard, you can also simultaneously press the CTRL + F1 keys to toggle between showing and hiding the ribbon in File Explorer. You can also double-click on any of the open tabs on the ribbon, for the same result.
How to disable the ribbon from File Explorer in Windows 10
To remove the ribbon from File Explorer, you need to download and run a small file called Ribbon Disabler. It's a clean freeware tool, developed by the guys over at Winaero, who are dedicated to tweaking every little thing in Windows.
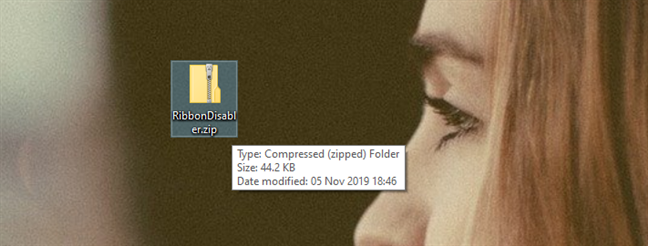
Start by heading to their website here and scroll to the bottom of the page. There, you should find the download link for the Ribbon Disabler software. Use it to download and save Ribbon Disabler somewhere on your PC or device.
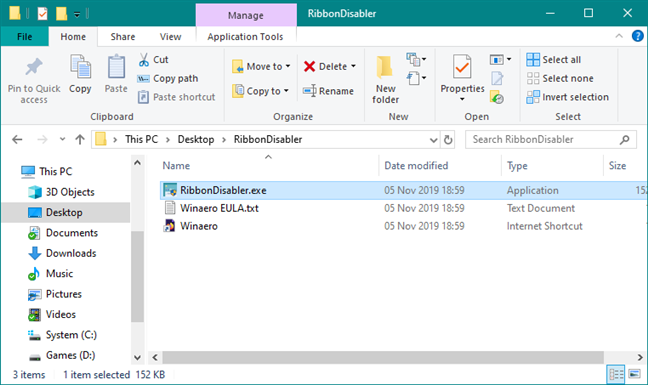
As you can see in the screenshot above, what you get is a small archive called RibbonDisabler.zip. Extract its contents, and you should get something like this:
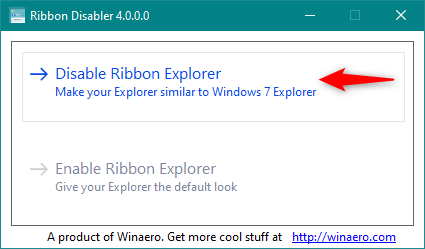
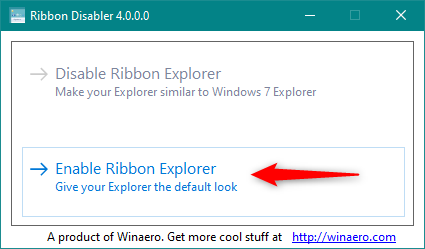
If you want, you can start by reading Winaero's EULA. Besides it and a link to Winaero's website, there's also an executable file called RibbonDisabler.exe. Double-click on the RibbonDisabler executable file, and a small dialog window should open. Inside it, there are two options: "Disable Ribbon Explorer (Make your Explorer similar to Windows 7 Explorer)" and "Enable Ribbon Explorer (Give your Explorer the default look)." To remove the ribbon from File Explorer, click or tap on the "Disable Ribbon Explorer" button.
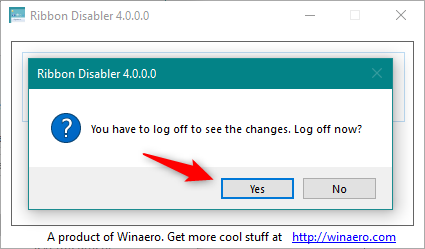
Then, the app asks you to log off to apply the change. Click or tap Yes to do it right now, or choose No if you want to do it later. However, until you do log off, the ribbon from File Explorer is not going to disappear.
After you sign in again, open File Explorer and see if you like it better now, without any ribbon menu on it:
If, after a while, you change your mind and you want the ribbon back on your File Explorer, run the Ribbon disabler executable once more. This time, however, click or tap on the "Enable Ribbon Explorer" button.
Log off and then see the default File Explorer brought back, just as Microsoft intended it to be, with the ribbon included.
Why did you want to hide or remove the ribbon in File Explorer?
Although the ribbon menu in the File Explorer from Windows 10 was designed and developed by Microsoft's engineers to offer users a better experience and a boost in productivity, not everybody likes it. Fortunately, if you want to hide it, you just have to click a button. If you want to remove it completely, you can do that too, even if you have to use third-party software. The question is: why did you want to get rid of the ribbon in File Explorer? Share your perspective in the comments section below.


 07.11.2019