Both Windows 8 and Windows 8.1 offer a new tool for creating recovery drives on all kinds of devices, from USB flash drives, to external hard disks to partitions on your computer's internal hard disk. This is a big step forward from the manual and error prone procedure you had to go through in Windows 7. In this tutorial I will show how to use the new Recovery Media Creator to create a recovery drive on a USB memory stick.
How to Start the Recovery Media Creator in Windows 8 & Windows 8.1
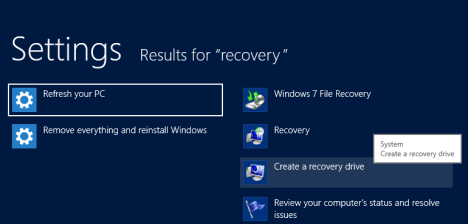
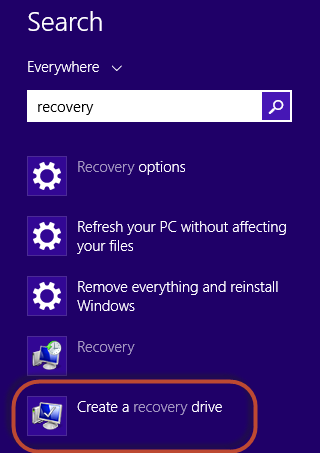
Before you start, plug in the USB memory stick or the external hard drive on which you want to create a recovery drive. After Windows detects it correctly, go to the Start screen and type recovery.
In Windows 8, filter by Settings and click or tap the "Create a recovery drive" search result.
In Windows 8.1 there is no need to filter the results. Type recovery and click or tap the "Create a recovery drive" search result.
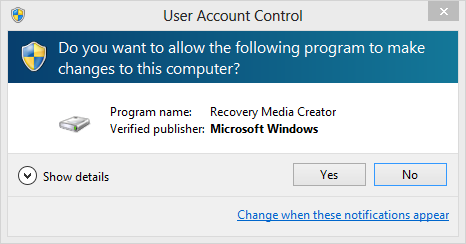
A UAC (User Account Control) prompt is shown, asking whether you allow the Recovery Media Creator to make changes to your computer.
Click or tap Yes and the Recovery Media Creator is started.
How to Use the Recovery Media Creator to Create a Recovery Drive
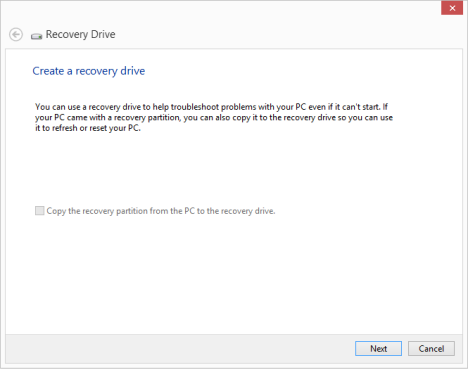
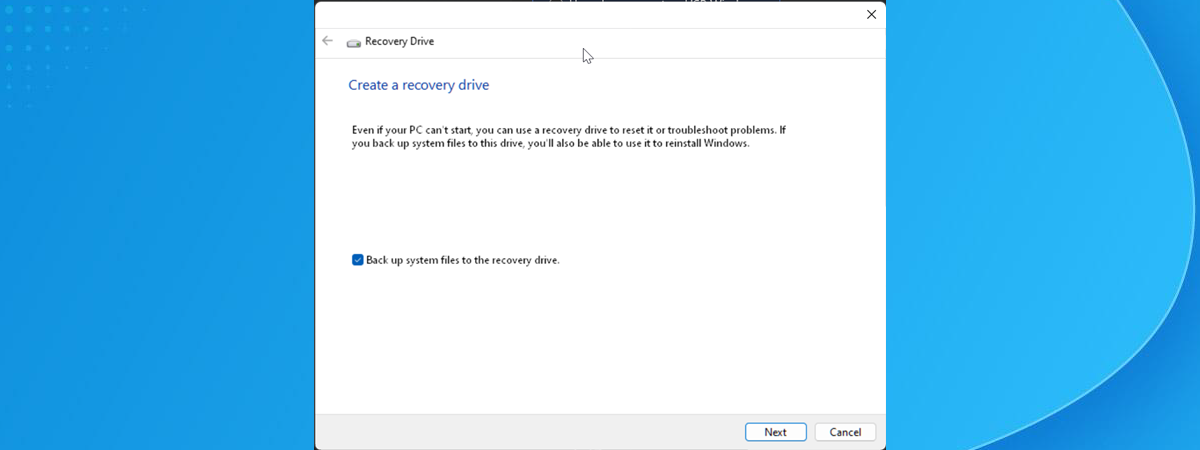
First, you are shown information about the Recovery Media Creator and what it does. Also, there's an option that says "Copy the recovery partition from the PC to the recovery drive".
If you have a computer that was sold with Windows 8 or Windows 8.1 preinstalled, it may have a special recovery partition, with custom recovery tools created by its manufacturer. If that is the case for your PC, you will be able to check this option and have that partition copied to the recovery drive you are about to create. If you don't want to copy this partition and you want to create a drive only with the recovery tools available for Windows 8 and Windows 8.1, do not check this option.
Then, click or tap Next.
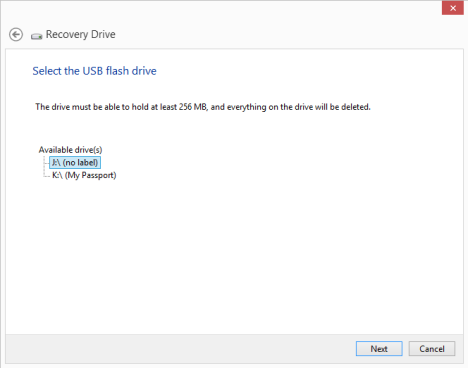
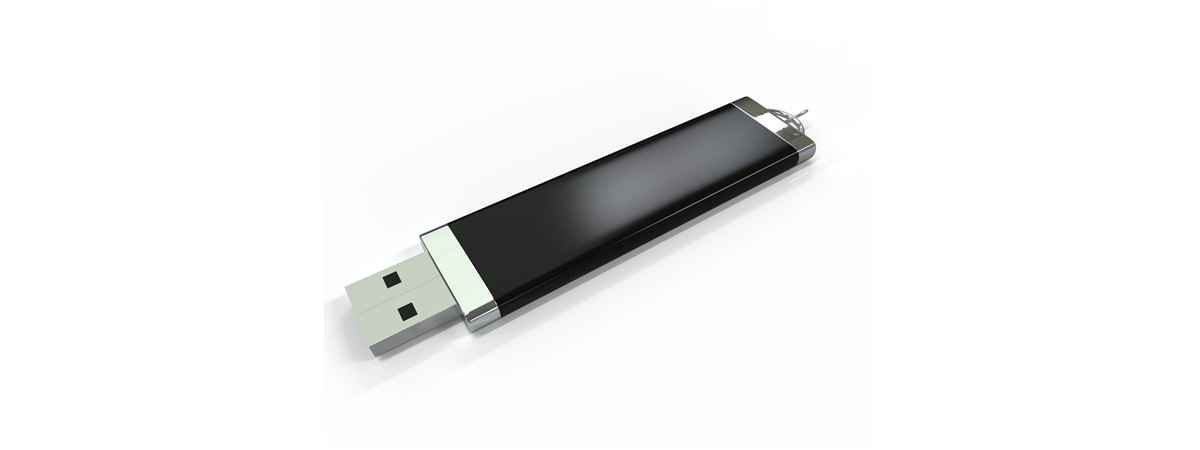
You are asked to select the USB flash drive where you want to store the recovery tools. It must have at least 256MB in size. Be careful - all the data existing on it will be wiped out!
Select the drive you want to use and click or tap Next.
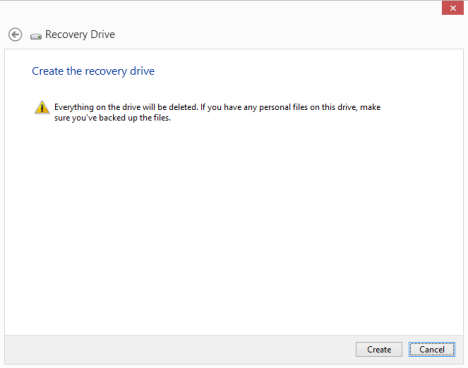
You are warned that everything on the selected drive will be deleted. This is your last opportunity to back up the data found on it. When ready to go ahead, click or tap Create.
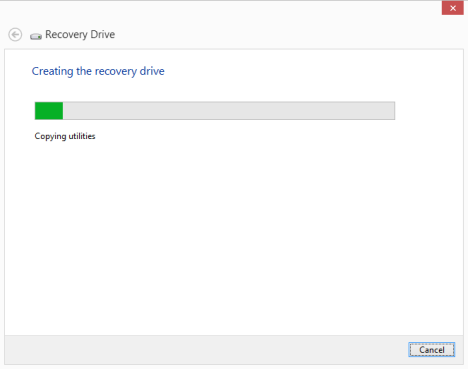
The selected drive is formatted and all the system recovery utilities are copied on it. The process will take a minute or two, depending on the drive you selected.
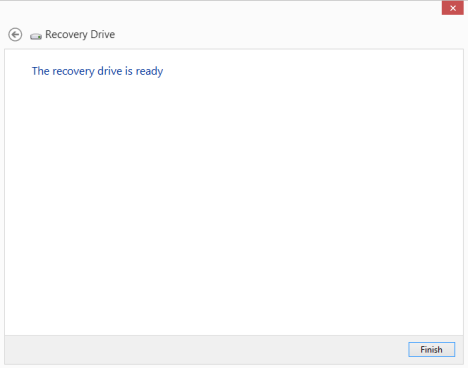
When the recovery drive is created, you are informed. Click or tap Finish.
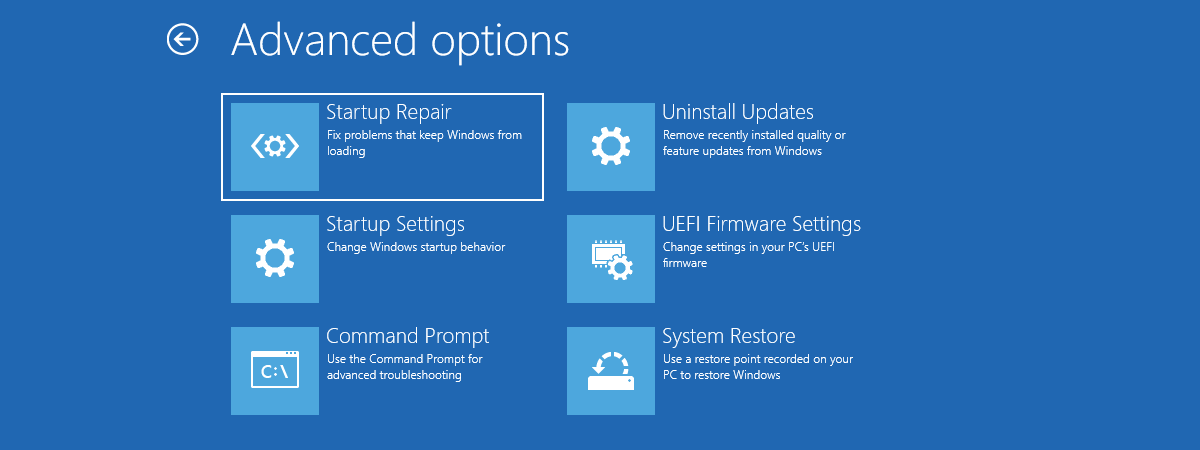
Recovery Media Creator is closed and you can use the USB flash drive to repair malfunctioning Windows installations on your computer or other computers.
Conclusion
As you can see from this tutorial, the Recovery Media Creator is a great tool, that's fast and easy to use. My only complaint is that it is hidden in Windows 8 and Windows 8.1. Unless you know of its existence and you search for it, there is not visible shortcut in the All Apps list, nor in the Control Panel.


 24.09.2013