Have you wondered if it is possible to burn a label on the back of your discs? Due to technologies such as LightScribe and LabelFlash, it is not only possible but it is also very easy. In this tutorial, I will show how to burn a custom label on the back of a DVD, using a LightScribe capable disc burning drive. The steps involved are the same also for CDs.
LightScribe vs. LabelFlash
There are two important technologies for burning custom labels on the back of a disc:
- First, there is LightScribe, invented by HP in 2004. This technology is used mostly in HP and ASUS laptops. There are some manufacturers using it on their desktop systems as well as producers of CD/DVD writers using it for their internal and external writers. A complete list of companies using this technology can be found here. In 2011, HP decided to discontinue providing LightScribe compatible drives in their desktop systems. Nowadays, such drives are found mostly in their laptops.
- LabelFlash is very similar technology, invented by NEC in 2005. It is used mostly in laptops from Toshiba and Gateway. The number of companies using this technology is smaller though. The complete list can be found here.
Since LightScribe is the more widely used of the two, the rest of this tutorial will focus on how to use this technology to burn labels. A separate tutorial was created for using LabelFlash. You can find it here: How to Burn Labels on the Back of your DVDs with LabelFlash.
Prerequisites for Using LightScribe
First, you need a computer with a CD or DVD writer with support for LightScribe. If you don't know whether it supports LightScribe or not, look at the technical specifications mentioned on the website of your computer's manufacturer.
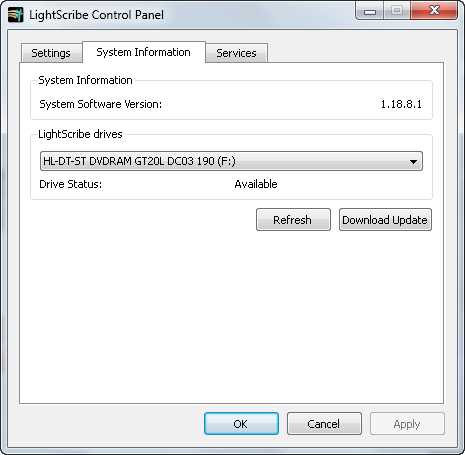
If that doesn't help, then install the LightScribe System Software. Once done, you will find a LightScribe Control Panel utility in your Start Menu. Open it and go to the System Information tab.
If it displays a LightScribe drive being identified, then you are in luck. If it doesn't, then you cannot burn a disc label as your disc burning drive doesn't support this technology. This is how I found out that also my desktop DVD writer supports LightScribe. Imagine the pleasant surprise I had!
The LightScribe System Software functions only as a driver and allows burning software with support for LightScribe to burn custom disc labels.
Next, you need software that knows how to burn such labels. Unfortunately, most free disc burning applications do not have features for using LightScribe. Therefore, your best choice is to use a separate free application called LightScribe Simple Labeler. You can use it only to burn labels.
Also, most commercial disc burning suites will provide support for this technology and lots of templates for creating custom labels.
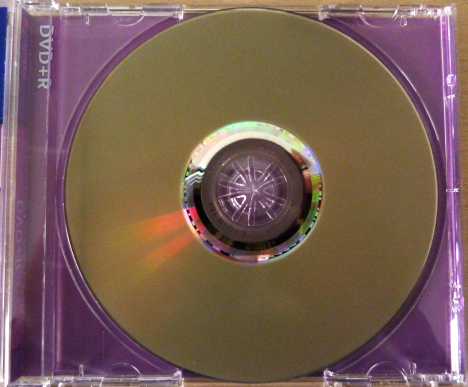
Last but not least, you need to purchase high sensitivity discs with support for LightScribe. On normal discs you cannot print custom labels. Some decent DVDs with LightScribe are the following: Verbatim LightScribe 16x DVD+R Media - 4.7GB - 120mm Standard - 10 Pack Spindle.
If you look on the back of these discs, you notice that they have nothing printed on them. They have one color and their surface seems slightly different than that of normal discs.
How to Burn a Custom Label on the Back of a Disc
Now that you have a LightScribe disc and all the required software installed, let's see how to use the LightScribe Simple Labeler to burn a basic label on the back of the disc.
I have burned on a DVD the complete backup of 7 Tutorials. The website has grown so much that it no longer fits on a CD.
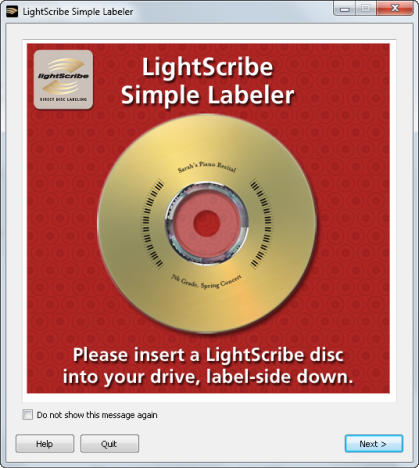
Go to Start Menu -> All Programs -> LightScribe Direct Disc Labeling -> LightScribe Simple Labeler. Once the application is launched, click Next.
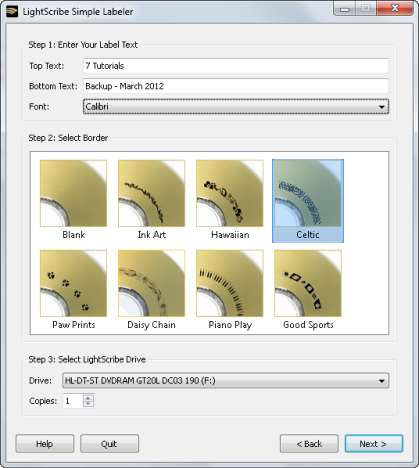
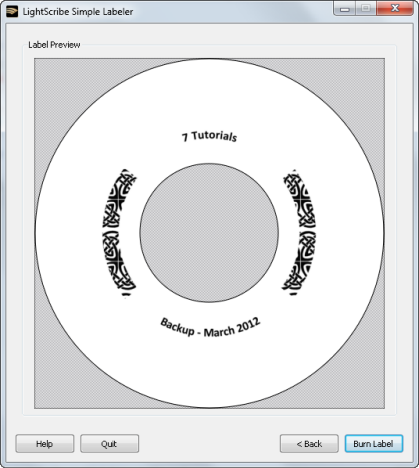
The LightScribe Simple Labeler allows you to write two text entries and select a border to separate them. In the Top Text field, enter the text you want displayed on the top of the disc. Then, complete the Bottom Text field with what you want written on the bottom.
Select the border you would like to have between the two text fields and press Next. You will see a preview of how the label will look on the back of your disc. If you are not happy with the preview, press Back and make the necessary adjustments.
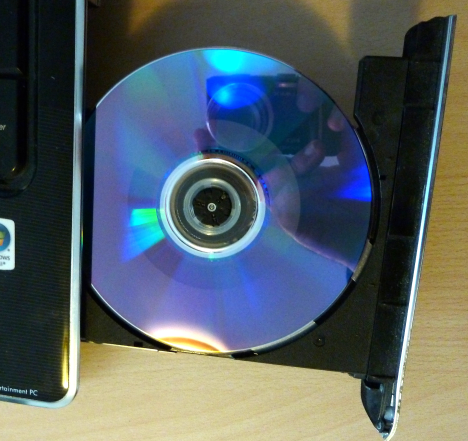
Before you press the Burn Label button, insert the disc upside-down, in the burning unit. Make sure you do not insert it in the same position as when you burn data onto it.
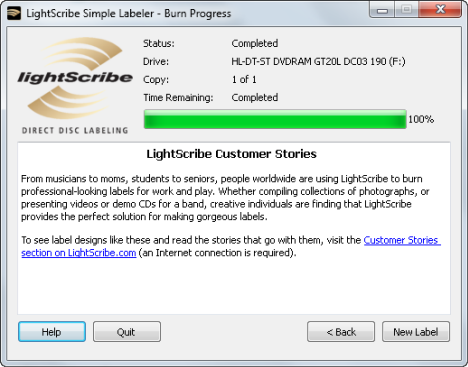
Once the label burning process is started, you are shown a progress window. The process should not take longer than two minutes.
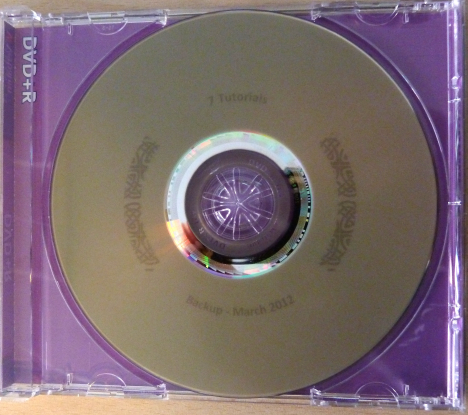
When done, press Quit and take the disc out of the disc burning drive. The label you created is printed on its back.
Tips for Creating Better Looking Labels
In order to get better contrast and darker images with your disc labels, some recommend to burn the same label to the disc multiple times. I was afraid this wouldn't work, as the burning process might start at a different position during each burn. However, that is not the case. If you use exactly the same label, with the same burning application, the label will be printed at the same coordinates. Therefore, the tip does work to improve the quality of your disc labels.
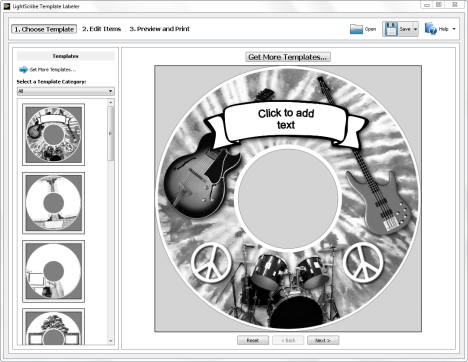
If you want more creative labels, there is another free application available. It is named LightScribe Template Labeler.
You can use this application to create a more special disc label and then do the burning with the LightScribe Simple Labeler.
Where to Find Lightscribe DVDs
Some readers complained that LightScribe discs are hard to find nowadays. Luckily, you will find plenty of them on Amazon. If you are from the US, try this pack: HP Lightscribe DVD-R - 50 Pack Cake Box. If you are from the UK, try this pack: HP LightScribe DVD-Rs - Tub of 50. We looked at all the offers available on Amazon and these packs seemed to offer the best value.
Conclusion
LightScribe is a surprisingly common technology for burning disc labels. Many people have drives with LightScribe support but they don't know about it or they don't know how to use it to print labels on the back of their CDs or DVDs. I hope you found this tutorial useful. For other great articles on disc burning, don't hesitate to read our recommendations below.


 10.04.2012