The basic commands Cut, Copy, and Paste are essential in any operating system. On a Mac, these commands are not that different from the ones in Windows, especially when it comes to text. This guide illustrates all the different ways in which you can Cut, Copy, and Paste text on a Mac and everything there is to know about these commands on macOS:
NOTE: This guide covers macOS Catalina or newer. The features shared in our guide may not work on older versions of macOS. To check your version, read What version of macOS do I have?
First things first: Selecting text on a Mac
The first thing you need to do if you are trying to either Copy or Cut text is to select it. The most straightforward way to select text is to click and hold at the beginning of your selection, drag the cursor until the entire text you need is selected, and then release the mouse button.
macOS offers a lot of options when it comes to selecting text, many of which can make your life easier, and we cover all of them in The complete guide to selecting text on your Mac.
1. How to Cut, Copy, and Paste text using keyboard shortcuts
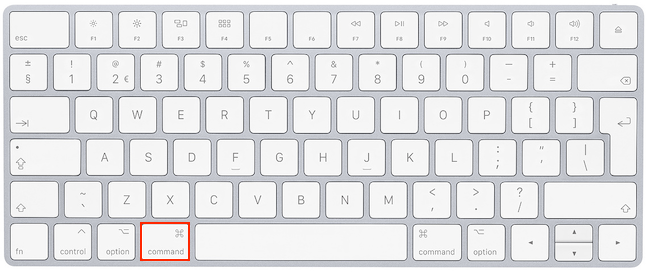
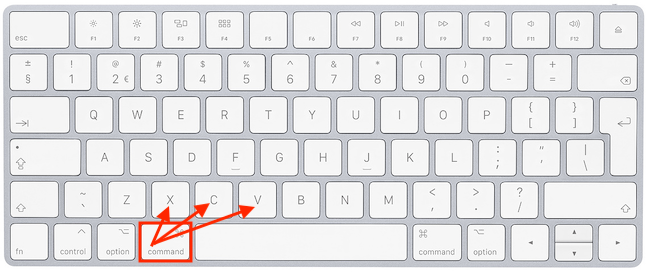
Some users consider keyboard shortcuts to be the fastest way to Cut, Copy, and Paste text. If you have a Windows background, know that, on macOS, the Command (⌘) key on your keyboard replaces Windows' Ctrl key for most keyboard shortcuts.
You get the following shortcuts:
- Command (⌘) - X to cut selected text and save it in your clipboard.
- Command (⌘) - C to copy selected text and save it in your clipboard.
- Command (⌘) - V to paste the text from your clipboard into the current document, at your cursor's position.
TIP: While the Copy and Paste shortcuts in this section can also be used for files and folders, things are quite different when you try to Cut. To learn more, read 5 ways to Cut, Copy, and Paste files and folders on a Mac.
2. How to Cut, Copy, and Paste text using the right-click menu
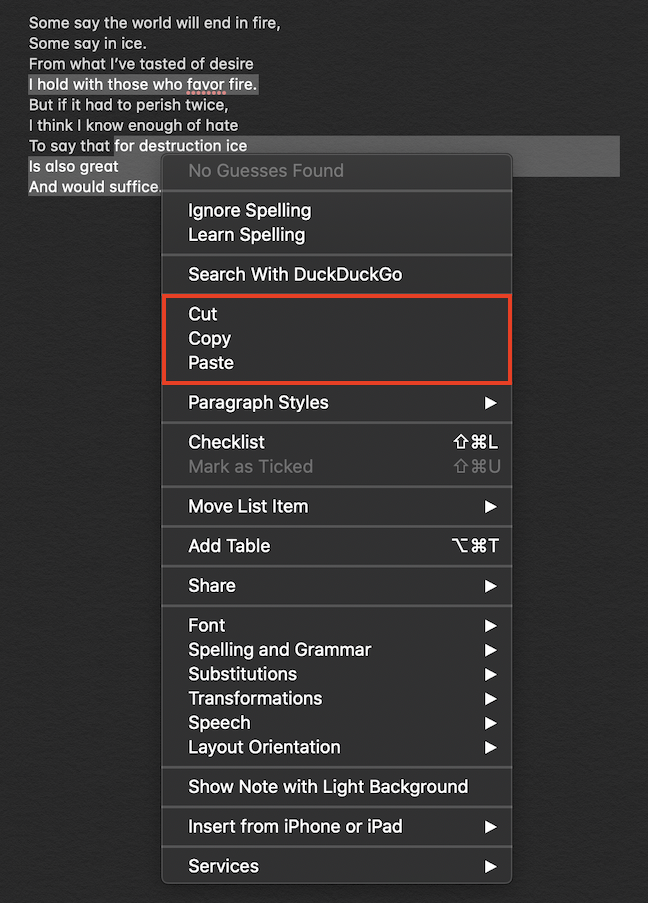
If you tend to use your mouse for text selections, the right-click menu is easily accessible. Right-clicking on your selection opens a contextual menu, where you can find Cut, Copy, and Paste grouped in their own section.
3. How to Cut, Copy, and Paste text using an app's Edit menu
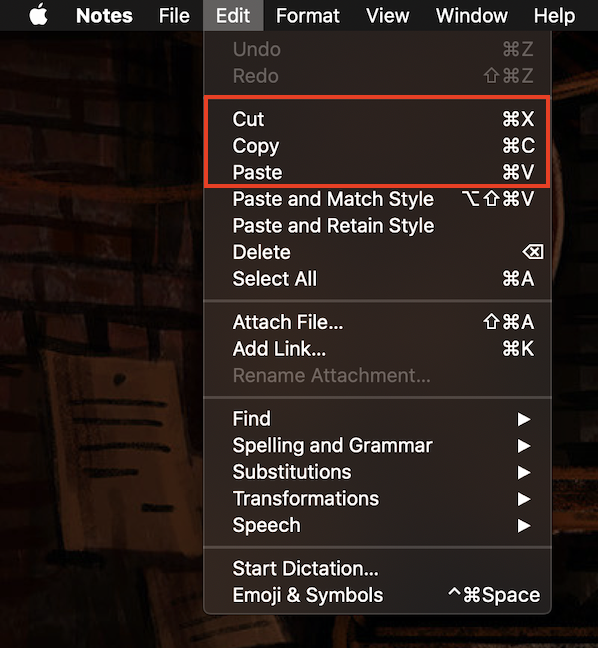
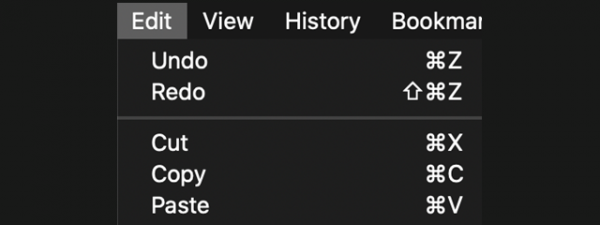
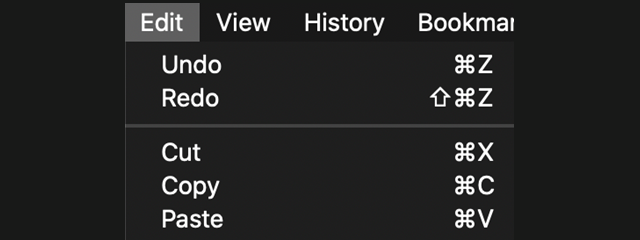
While Notes and Pages are the default apps used for handling texts on macOS, most text editors come with an Edit menu. Click on Edit to open the editor, and you can easily use the Cut, Copy, and Paste commands.
4. How to Cut, Copy, and Paste text using the mouse
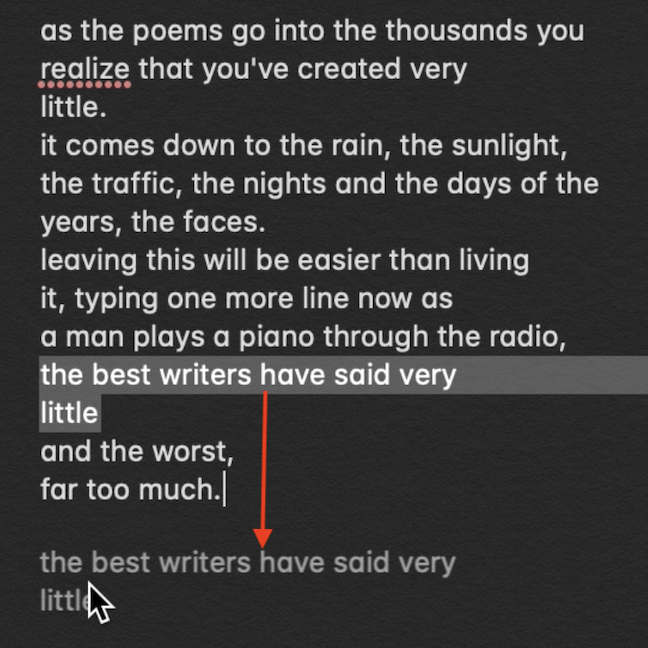
On macOS, you can use your mouse to cut, copy, and paste text within the same document.
To Cut, grab the selected text by clicking and holding down the mouse button, and then drag and drop it to where you want it pasted.
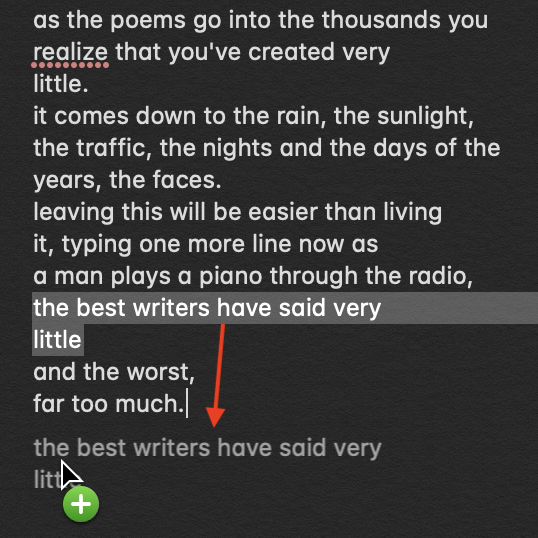
To Copy the selected text, grab the selection the same way, but press the Option key on your keyboard before dropping it to where you want it pasted. A plus sign (+) icon appears next to your mouse pointer, indicating you are adding content instead of moving it. Release the mouse button, and you can see the text is copied to the location of your choice.
TIP: You can also use your mouse to Copy and Paste text from one document to another, even across different apps. First, make sure both documents are open on your screen, grab your selection, and then drag and drop it to its destination. The plus sign appears briefly to indicate new content is being added.
5. How to Cut and Paste text using the Kill and Yank keyboard shortcuts
In native macOS apps, you can also cut and paste using Kill and Yank. These commands function almost exactly as Cut and Paste, but come with their own clipboard. This means you can use them to store a second text selection, without overwriting the info you already cut or copied using the methods we already illustrated above.
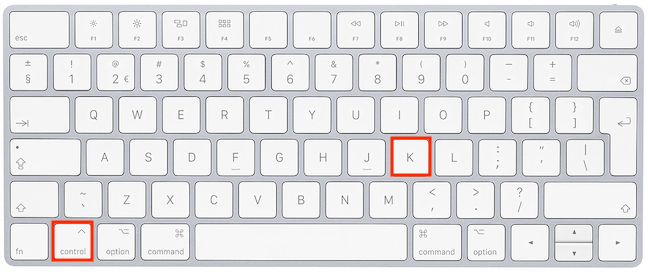
Use the keyboard shortcut Control - K to kill text. If you already selected some text, this shortcut acts just like Cut, and your text is removed. However, if you use this shortcut without selecting any text, it removes the text between your cursor and the end of the paragraph.
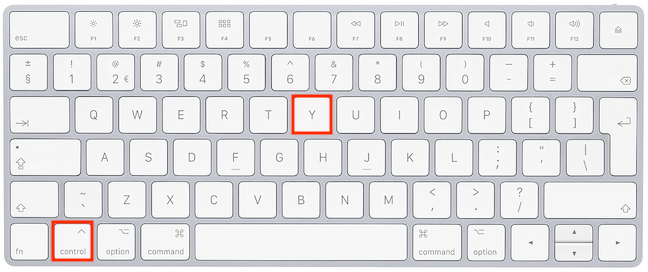
Use the keyboard shortcut Control - Y to paste your killed text to another location.
Kill and Yank are not that well-known, which is a shame, because their secondary clipboard can save you lots of time working with text.
Bonus: Find out what text is currently in your clipboard
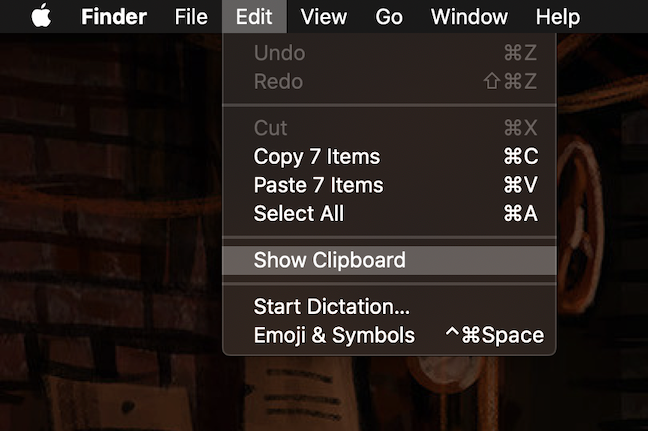
If you work with text, you usually need to cut, copy, and paste a lot of content, and it can all become confusing. If you cannot remember what text you last cut or copied, or if you want to check that you got the correct selection, you can open your clipboard at any time to see what's in it. In the Finder's Edit menu, click on Show Clipboard.
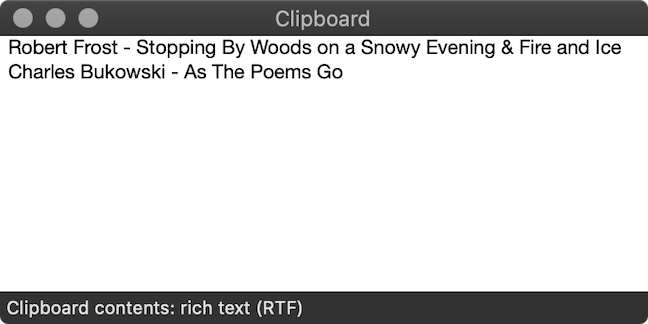
The clipboard opens, showing the text you last cut or copied - in our case, the titles of the poems we used in this tutorial.
How do you Cut, Copy, and Paste?
We mainly use the Cut, Copy, and Paste keyboard shortcuts when we need to move text around. However, Kill and Yank have also been quite useful, as we love having a second clipboard. What about you? What do you use to Cut, Copy, and Paste text? Did you learn anything new from this tutorial that you might be using from now on? Comment below and let's discuss.


 16.12.2019