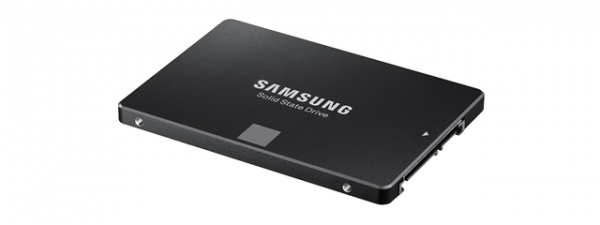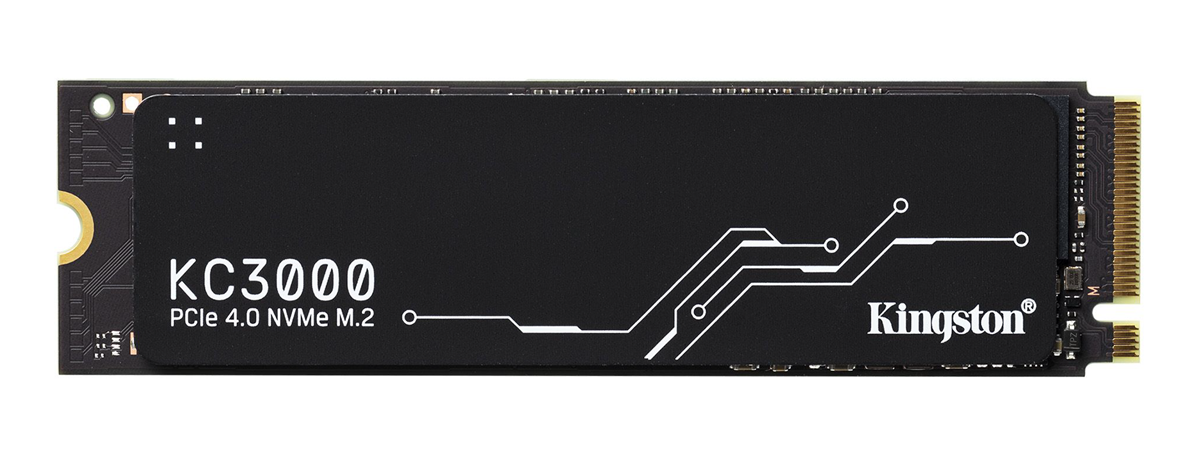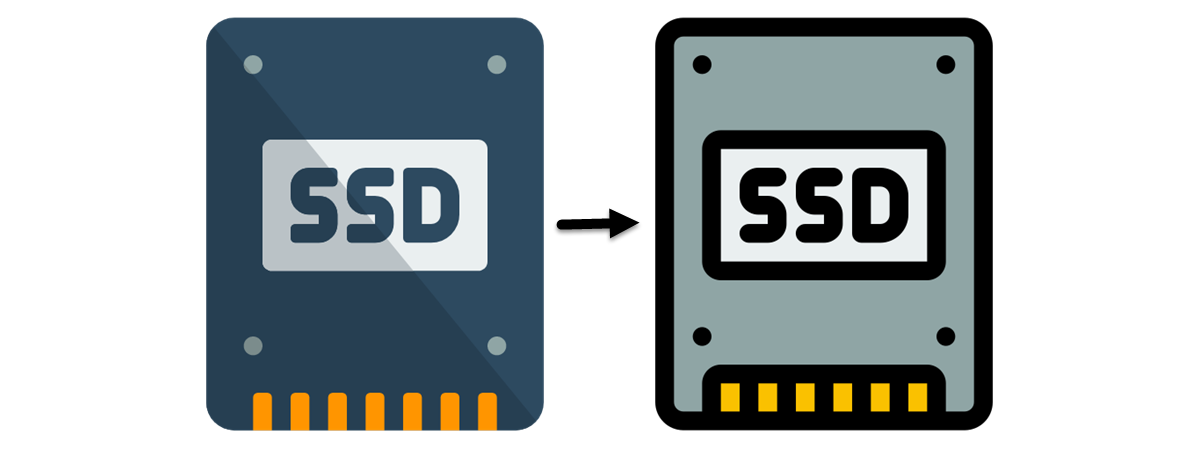
If you’ve just bought a new solid-state drive and want to copy all your data from your old SSD or hard disk drive, you might be wondering how to do it or if it’s even possible. The good news is that, yes, you can migrate all your data from an old SSD or HDD to a new solid-state drive, and all it takes is a bit of time to get everything done. In this guide, I walk you through the whole process, step by step, from getting a drive cloning app to physically installing the new SSD in your desktop computer or laptop, cloning it, and removing the old one. Without further ado, here’s how to migrate all the data from your old SSD (including the operating system and all the partitions) to a new SSD:
Step 1. Download and install Macrium Reflect
While there’s more than just one cloning app available on the internet, the one I prefer is Macrium Reflect. Over time, I’ve found it to be really good at its job, offering both speed and stability, so I recommend you use it for migrating all the data from your old drive onto the new one. Here’s what you should do:
First, open your favorite web browser and navigate to the Macrium Reflect website. There, choose to Download Free Trial under Reflect 8 Home Trial. You are then asked to provide an email address where you receive a link to download a free trial version of the app. The trial allows you to use Macrium Reflect for 30 days, but you’ll only need it for a couple of minutes, until you finish cloning your old drive.
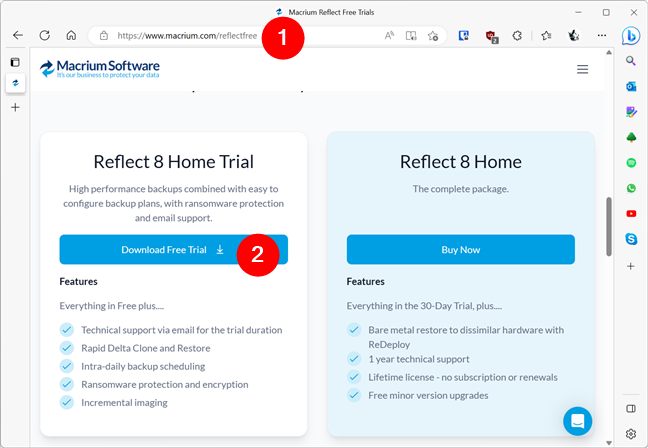
Download a free trial of Macrium Reflect
After you download the Macrium Reflect installer file, launch it and use it to download and install the full copy of Macrium Reflect. As shown in the screenshot below, you can choose where to save the installation kit, and you can also change a couple of additional options for the download. However, you don’t need to modify any of them: you can simply click on Download.
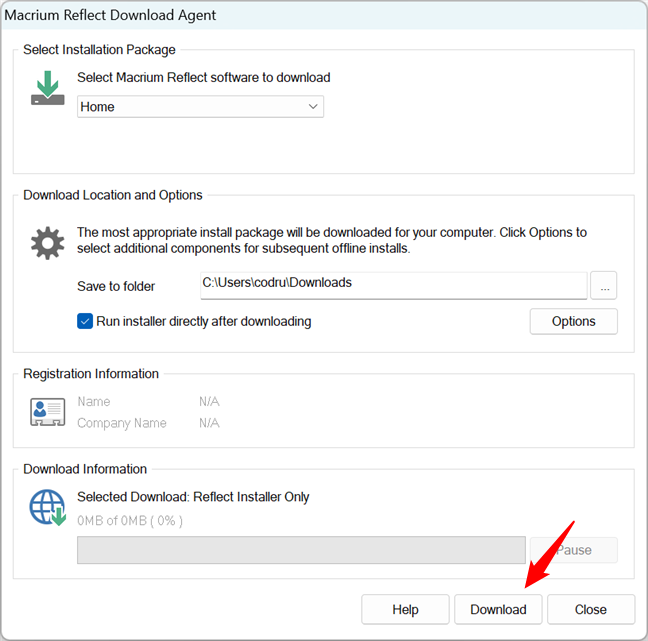
Download and run the installer of Macrium Reflect
Then, you have to wait for the required files to download, after which the installation wizard starts automatically.
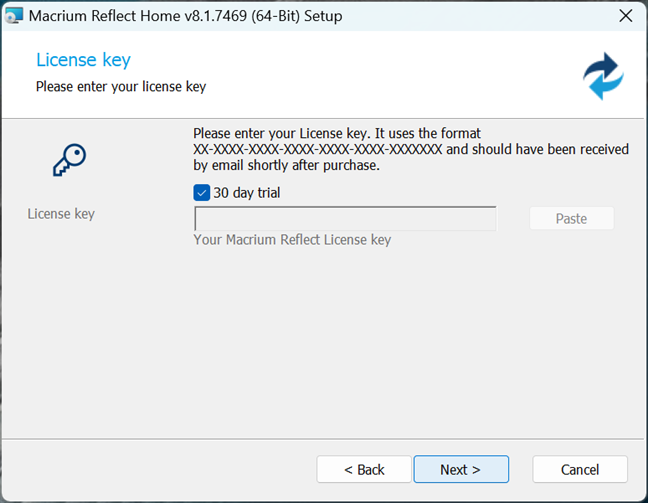
Installing Macrium Reflect
When done, don’t launch Macrium Reflect immediately. While nothing bad will happen if you do, it’s best that you first install the new SSD on your computer or laptop:
Step 2. Connect your new SSD to your computer
Shut down your computer or laptop, and make sure you disconnect it from its power source. Then, if you have a free PCI Express or SATA port in your desktop computer or laptop, use it to mount the new solid-state drive.
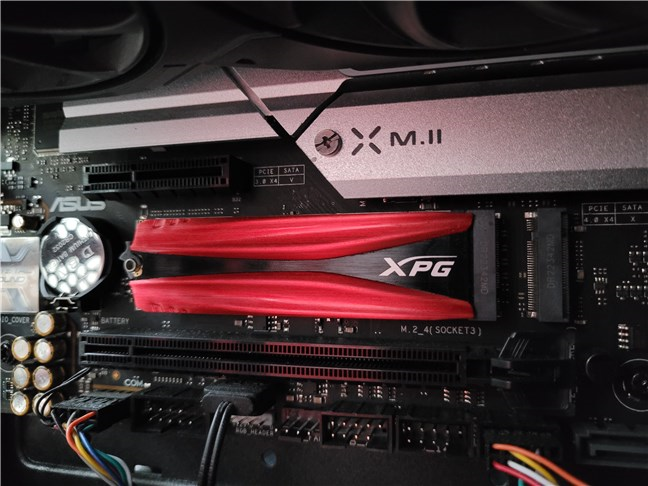
Mounting a PCIe NVMe SSD in a desktop PC
If there are no free ports for the new SSD to use, you’ll need to either mount it inside an external USB enclosure or unplug another SSD from your PC in order to make room for the new one. Either way, the idea is that you must find a way to have both drives connected to your computer simultaneously. Once you’ve managed that, move on to the next step:
Step 3. Clone your old SSD with Macrium Reflect
Boot your computer or laptop, and once Windows is up and running, launch Macrium Reflect. In its main interface, you should see a list of Local Disks. This list displays all the drives connected to your PC, including the old drive and the new SSD. Select the old drive with a click on its row (the one that shows the partitions on it), and click the “Clone this disk” link under it.
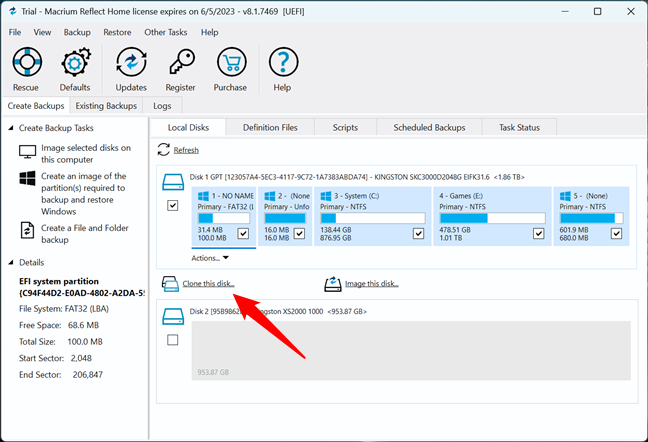
Choose Clone this disk
Macrium Reflect then opens a new window called Clone. Inside it, click the “Select a disk to clone to” option found in the Destination section, in the lower part of the window.
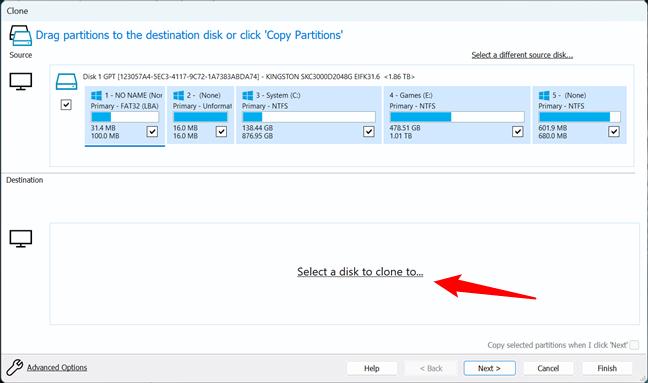
Click on Select a disk to clone to
A new list with all the other drives connected to your PC (except the one you’re cloning) should appear. If there are only two solid-state drives in your computer (the old and the new SSD), this list shows only one option: the new SSD. Click or tap on it to select it.
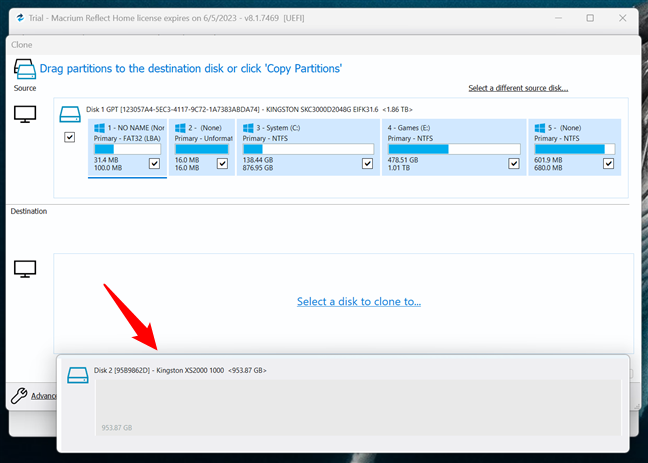
Select the new SSD
Then, in the Destination section, the Clone window shows the SSD on which you want to migrate all the data from the old drive. There’s a Copy Partitions button above the new SSD: click or tap on it.
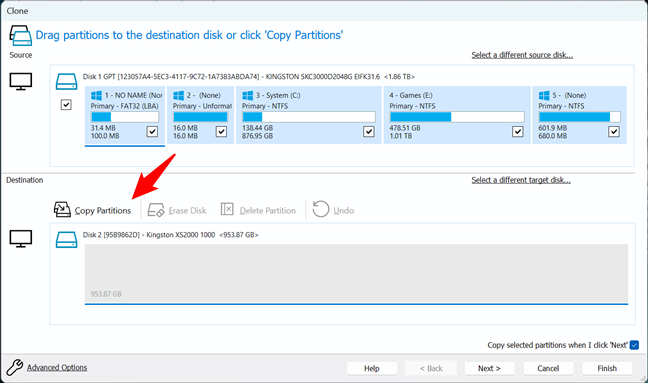
Click on Copy Partitions
Two options become available afterward:
- Exact partition offset and length: If the new SSD is the exact make and model as the old one, you should probably choose the first option. It’s also a good choice if the new SSD has a larger capacity than the old one, and you want the new partitions on the new SSD to be exact copies in terms of size as the old ones. The additional space left can be used for a new partition.
- Shrink or extend to fill the target disk: This is the option I generally recommend, as it allows Macrium Reflect to automatically adjust the sizes of the partitions on the new solid-state drive. This allows you to easily clone all your old data and partitions onto the new drive, even if it’s not the exact same size as the old one. If the new SSD is larger, then your partitions will be extended, and if it’s smaller, Macrium Reflect will try to shrink the old partitions in order to fit all of them.
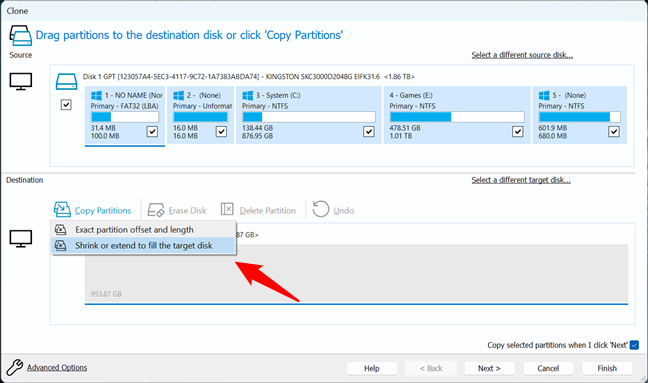
Choose Shrink or extend to fill the target disk
TIP: In case you’ll need to resize partitions later, here’s a guide on how to do that: 2 ways to create a partition in Windows (all versions).
After choosing one of the options above, and if everything’s OK, you should see all the partitions from your old drive listed on the new SSD. If it looks good to you, click the Next button at the bottom-right corner of the window to continue with the process.
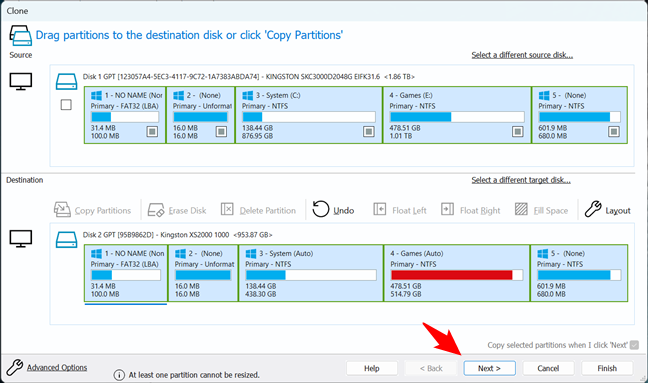
Press the Next button
Next, Macrium Reflect asks if you want to Schedule this Clone. For our purpose, it’s not something we need, so simply ignore it and click the Next button.
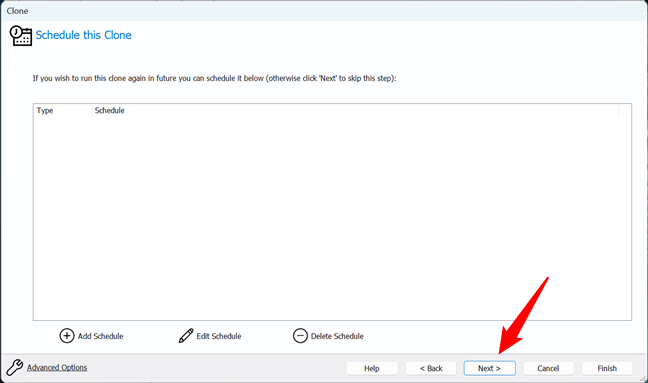
Ignore Schedule this Clone and press Next
Then, you get a summary of the actions that will be taken. Read them if you want, and once you’re sure you want to continue, click the Finish button in the bottom-right corner of the window.
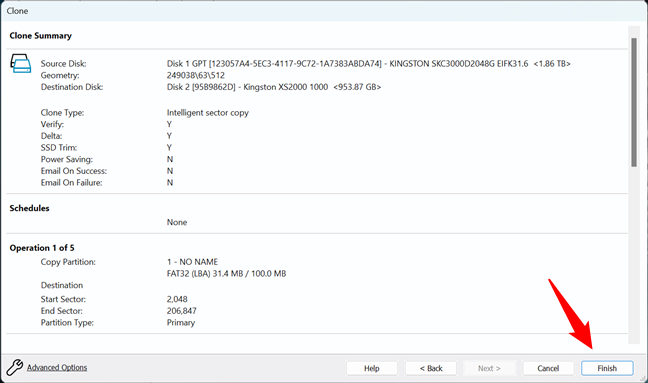
Click the Finish button
Finally, Macrium Reflect is ready to clone your old SSD to the new one and opens a pop-up window. Make sure that the “Run this backup now” option at the top is selected.
If you want to, you can also instruct Macrium Reflect to run the cloning process in the background (in case you want to work on your PC during this process), and save the backup template you’ve just created. Then, when you’re ready to start the cloning process, press the OK button.
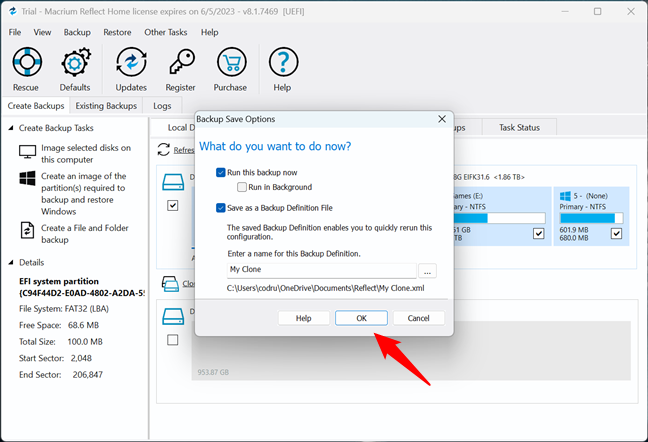
Press the OK button
Then, Macrium Reflect starts the actual cloning process, copying all the data from your old drive to the new SSD. Depending on the size of your data and the speed of your solid-state drives, this process could take a while.
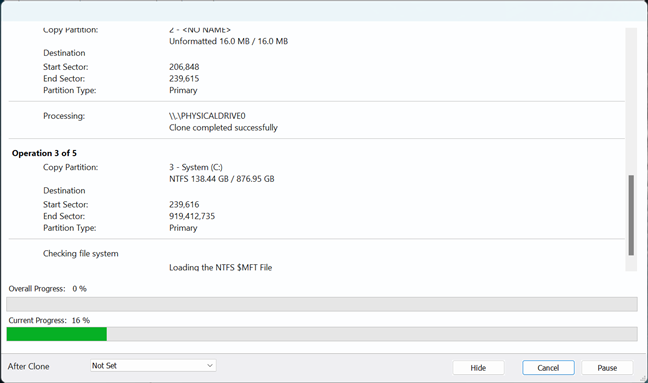
Wait for the cloning process to be done
Don’t interrupt the cloning process, and make sure you don’t shut down your computer or laptop until it’s done!
Step 4. Disconnect your old SSD and replace it with your new SSD
Once the cloning is complete, close Macrium Reflect and shut down your computer or laptop. Make sure that you also unplug it from any power source and then disconnect the old SSD. Replace it with your new solid-state drive and power your PC on. And that’s it: you can now enjoy your new (faster or larger, or both) SSD!
Did you encounter any problems migrating data from your old SSD onto the new one?
Now you know how to copy and migrate all your data from an old SSD to a new one. As you’ve seen, it’s not that complicated, and with a bit of care, anyone can do it. Did it work well for you, or did you stumble upon issues while attempting it? In the hope that you found this guide useful, I’d like to remind you that you can always share your opinions or ask questions in the comments section below. Until next time, thanks for reading!


 15.05.2023
