Did you ever use a powerline adapter kit to extend the coverage of your network? Have you ever considered this idea? Personally, after testing all kinds of networking devices, I prefer a powerful powerline adapter kit to a range extender. It's more elegant and it tends to work better. And the kit that we are reviewing today (ASUS PL-AC56), got me sold on this concept for good: "Forget about range extenders! Powerline adapter kits are the way!" Read this review and learn why we think this way:
Unboxing the ASUS PL-AC56 1200Mbps AV2 1200 Wi-Fi powerline adapter kit
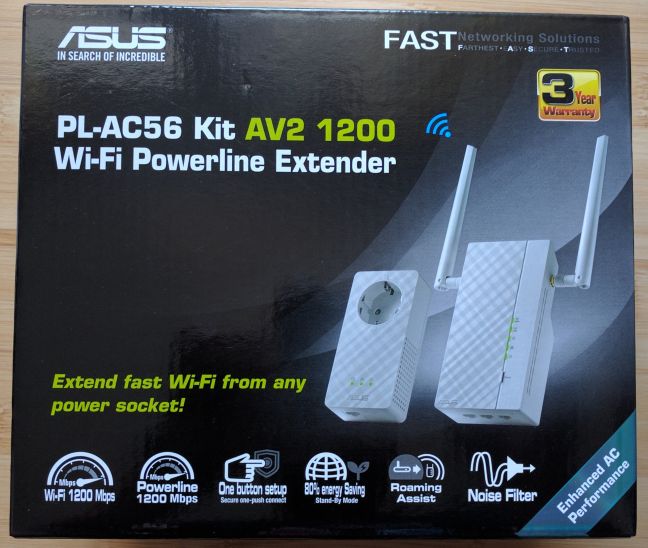
The packaging used by ASUS for the PL-AC56 powerline adapter kit follows the lines of all its networking devices: it's a simple black box with the picture of the device on the front, as well as a list of its most important specifications.
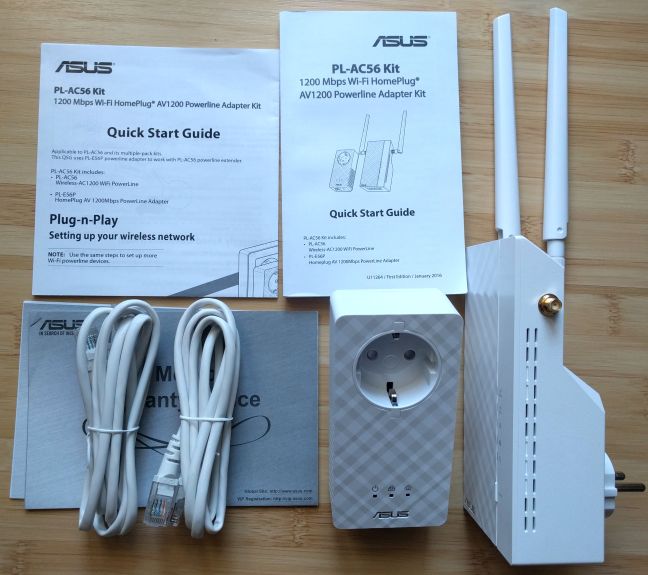
On the back of the box you will find information about how this device works and how to set it up. When you unpack everything, you will find the following items: the two devices that make up the powerline kit (the ASUS PL-E56P adapter and the PL-AC56 extender), two Ethernet cables, the external antennas for the ASUS PL-AC56 extender, the quick start guide, the warranty and other leaflets.
Now that you know about the unboxing experience, let's take a look at what this kit has to offer in terms of specifications and design.
Hardware specifications and design
Unfortunately, the specifications offered by ASUS for this kit are not very detailed. First of all, we have two devices that make up the kit: the ASUS PL-E56P adapter and the PL-AC56 extender.
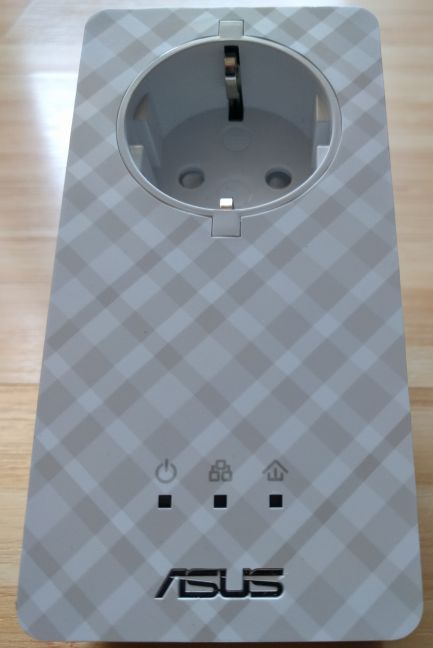
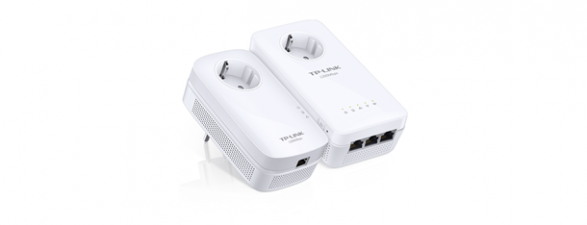
The ASUS PL-E56P adapter is the device that you connect to your wireless router and then you plug into the powerline. Its job is to intermediate the network connection between the router and the ASUS PL-AC56 extender. On the ASUS PL-E56P adapter you will find three LEDs (for Power, Ethernet and the Powerline connection), the Ethernet port for connecting it to the router, the Reset button and the Pair button.
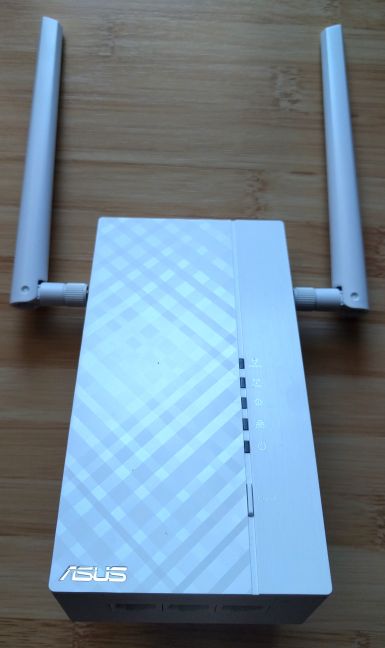
The ASUS PL-AC56 extender has two external antennas that you must connect to it in order for it to broadcast its wireless signal. On its front you will find five LEDs (one for each wireless network that it broadcasts, one for the Powerline connection, one for the Ethernet connection and one for Power) and the Clone button which you can use to connect it to your router using WPS and have it clone your router's wireless settings. On the sides of this device you will also find three Ethernet ports which you can use to connect up to three devices, the Reset button, the Power switch and the Pair button.
In terms of size, both devices are quite large and heavy: the ASUS PL-E56P adapter has a size of 4.7 x 2.3 x 1.5 inches (12 x 6 x 4 cm) in length x width x height and it weighs 0.9 pounds or 423 grams, while the ASUS PL-AC56 extender has a size of 5.9 x 3.14 x 1.69 inches (15 x 8 x 4.3 cm) and it weighs 1.73 pounds or 787 grams, with the two antennas mounted on it.
The ASUS PL-AC56 extender is a dual-band device , meaning that it broadcasts two wireless networks: one using the 2.4 GHz frequency and one using the 5 GHz frequency. The maximum total theoretical bandwidth is of 1200 Mps, split as follows: 300 Mbps on the 2.4 GHz frequency and 867 Mbps on the 5 GHz frequency (that's a total of 1167 Mbps, if you do the math). The ASUS PL-AC56 kit supports the modern wireless networking standards: 802.11n and 802.11ac. I t also offers support for all the modern wireless encryption standards, including WPA2.
You can find its official specifications here: ASUS PL-AC56 Kit - Specifications.
Setting up and using the ASUS PL-AC56 powerline adapter kit
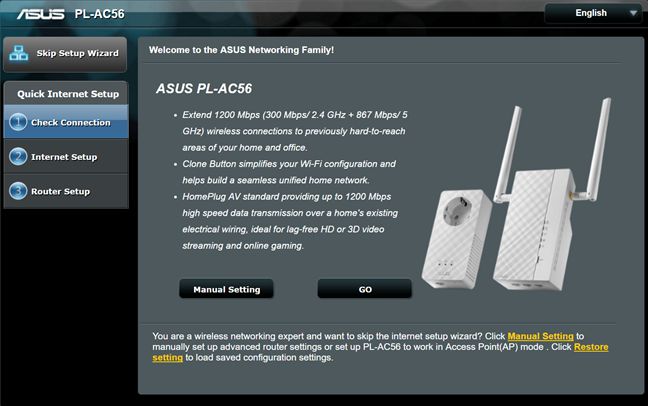
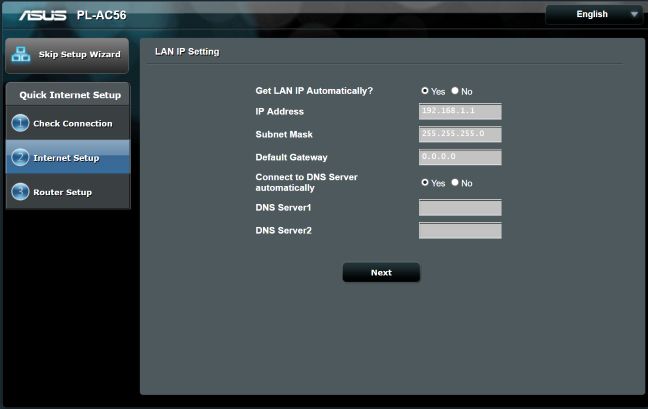
The procedure for setting up the ASUS PL-AC56 kit involves several steps. First, you connect the ASUS PL-E56P adapter to your wireless router and plug it into the powerline. Then, you take ASUS PL-AC56 extender, you plug it into the powerline, wait for it to start and then pair it with the ASUS PL-E56P adapter. Once that is done, you connect to the network that is broadcast by the ASUS PL-AC56 extender and start configuring it from a web browser. As you can see below, the setup wizard is quite easy to follow.
You get to change the default username and password for administering the device, set its IP address, how it connects to DNS servers and set the wireless networks that it broadcasts. One bug that we found is that the ASUS PL-AC56 tends to use the same IP address as all ASUS wireless routers do. Therefore, if you have more than one ASUS networking device, you might get conflicting IP addresses on your network and it is best that you manually set the IP address of the ASUS PL-AC56 kit to be something else than the default address.
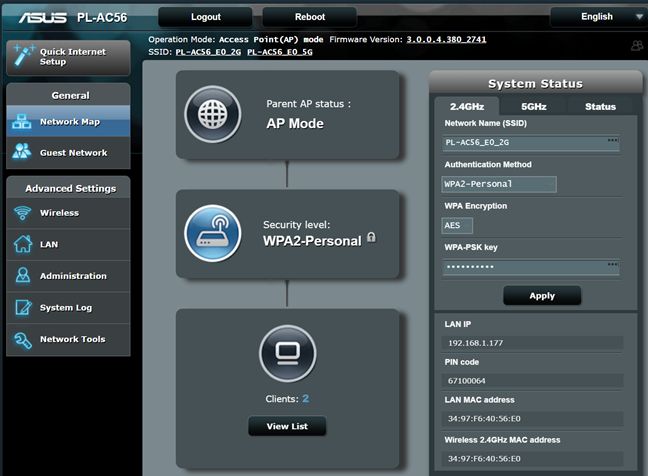
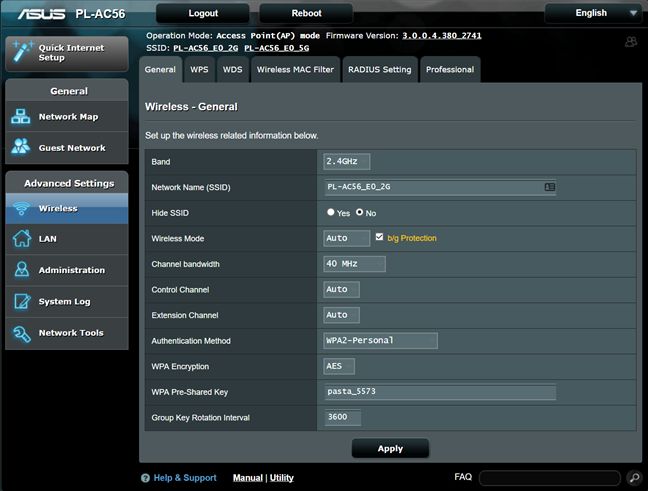
The user interface for administering the device is the classic used by ASUS for all its networking devices, which is great. This means that the user interface looks good, it is well organized, well documented and easy to use.
Also, you get access to plenty of advanced settings, so that you can configure in detail how the device works. Knowledgeable users will appreciate this a lot.
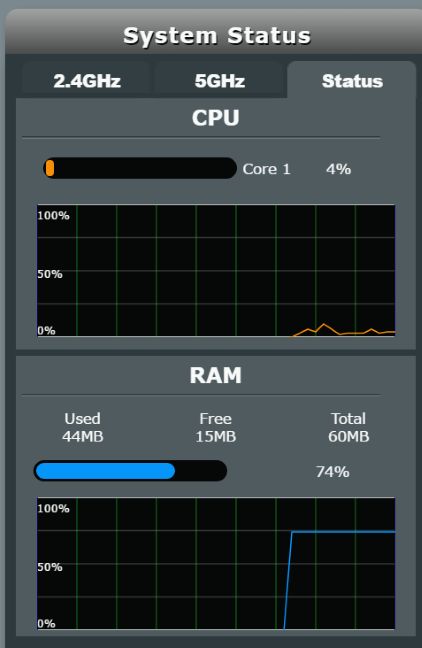
One nice touch in the user interface is the fact that it offers two status graphs which show you the processor and the RAM usage. As you can see below, the ASUS PL-AC56 kit has 60 MB of RAM and an unknown one-core processor.
Non-E nglish speaking users will appreciate the very good multilingual support that is offered by ASUS. Below you can see a list with the 18 languages in which the user interface is available for this powerline adapter kit.
Once the setup is out of the way, you will find that using the ASUS PL-AC56 kit is very easy. We had no issues in connecting both wireless and wired devices to it. Also, in the room where we wanted to extend the network with better coverage and speed, we had no stability or performance issues. But more about the performance offered by this kit, on page 2 of this review.


 18.08.2016