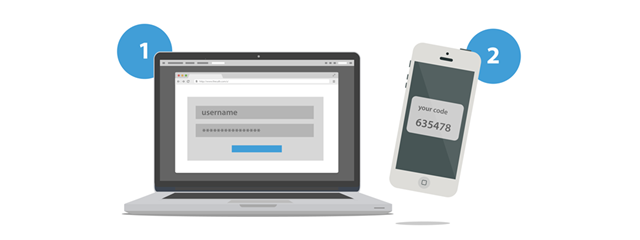
Two-step verification or two-step authentication is a second layer of security that you can add to your online accounts, to stop hackers from breaking in, even if they know your password. Not all companies offer this security feature but, fortunately, Apple is one of them. If you have an Apple ID, you can use your iPhone, iPad or Mac to enable two-factor authentication for your Apple ID and be safer. If you want to learn how to do it, read this guide:
Note: For this tutorial, we used an iPhone SE with iOS 11.4.1. If you have another iPhone model, an iPad or a Mac, things might look a bit different but the steps are mostly the same.
What is two-step authentication?
If you want to learn more about two-step authentication, why you should use it and why it makes you safer, you should first read this article: What is two-step verification or two-step authentication?.
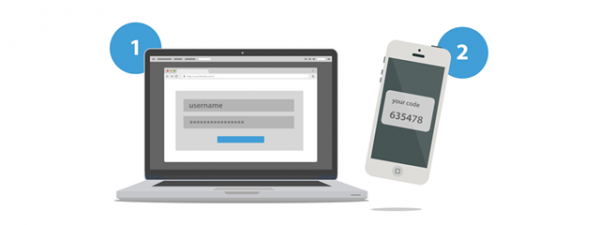
In Apple's ecosystem, two-step authentication is a security process that involves two stages for verifying the identity of a person who owns an iPhone, iPad, or Mac, and is trying to access his or her Apple ID. If you enable two-step authentication, when you try to connect to your Apple ID on a new device for the first time, you are asked to enter your password and a six-digit verification code that is automatically displayed on your iPhone, iPad or Mac.
On subsequent logins on that device, you are no longer asked for the two-step verification code unless you have signed out, erased the device or if you want to change your Apple ID password.
It is essential to note that once you enable two-step authentication for your Apple ID, you might no longer be able to disable it. Two-Factor Authentication cannot be turned off on some accounts created in iOS 10.3 or later.
Now let's see how to enable two-step authentication for your Apple ID, on an iPhone or iPad:
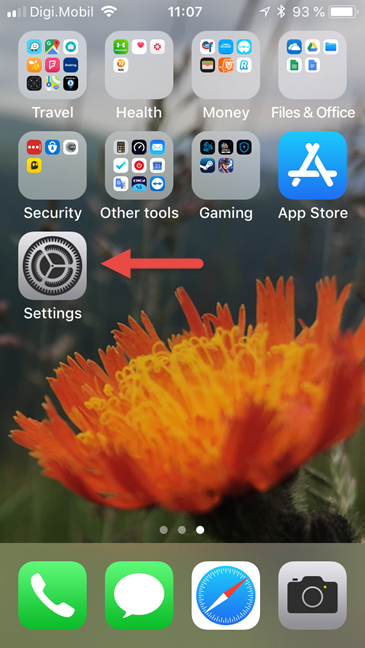
Step 1. Open the Settings app
The first thing you have to do is unlock your iPhone or iPad and then open the Settings app.
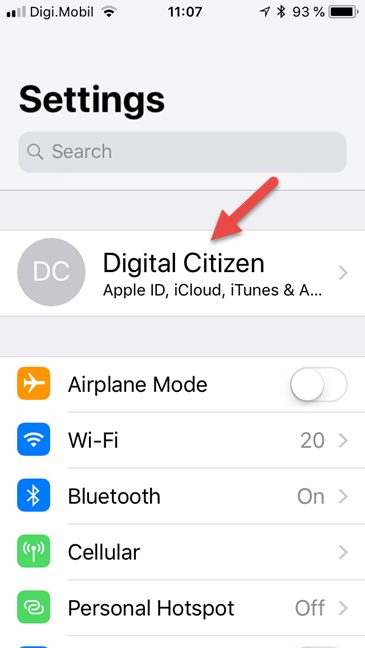
Step 2. Find the Password & Security settings
In the Settings app, tap on your name, at the top of the screen.
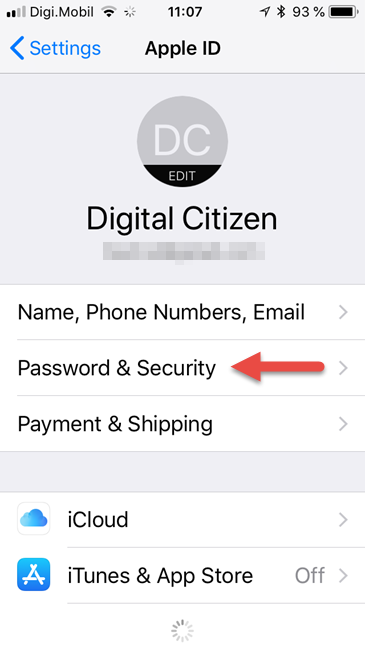
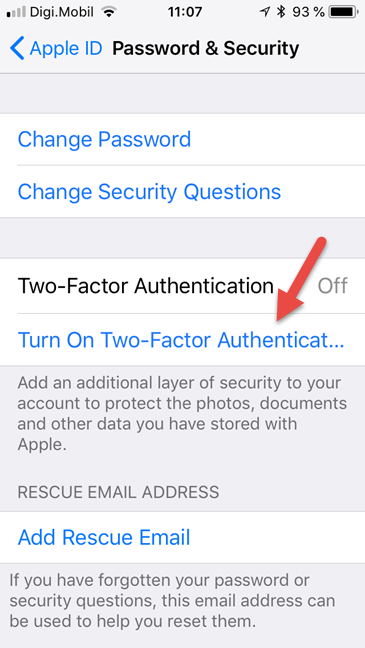
Then, tap on Password & Security.
Step 3. Enable two-step authentication
Tap on "Turn On Two-Factor Authentication."
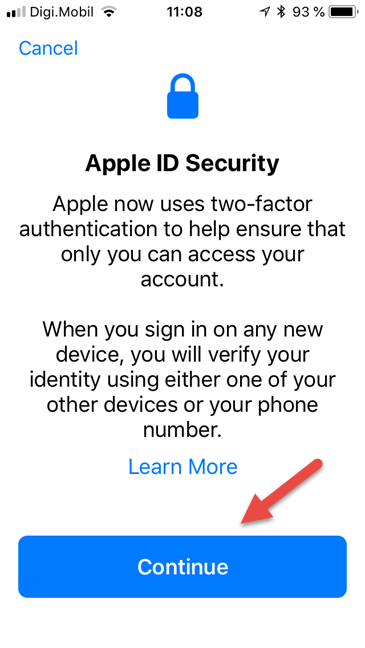
Finally, tap on Continue.
Wait for a couple of moments.
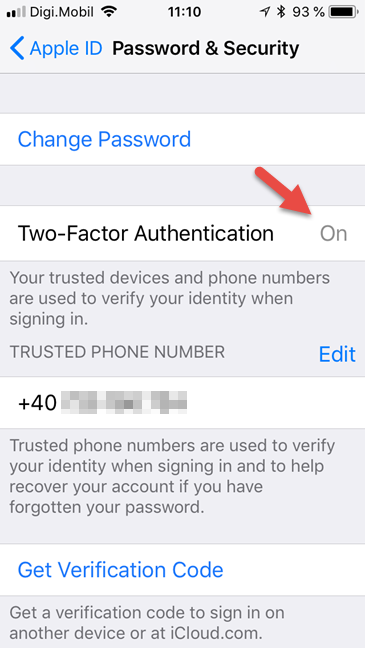
If Apple does not decide to require any other additional information from you, you should see that the Two-Factor Authentication is now enabled.
That was it! Now your Apple ID uses two-step authentication, which means that every time you want to sign in to your Apple (iCloud) account on a different device or web browser, you automatically get a verification code on your iPhone or iPad.
What you see on your iPhone or iPad when you sign in to your Apple account for the first time on a different device
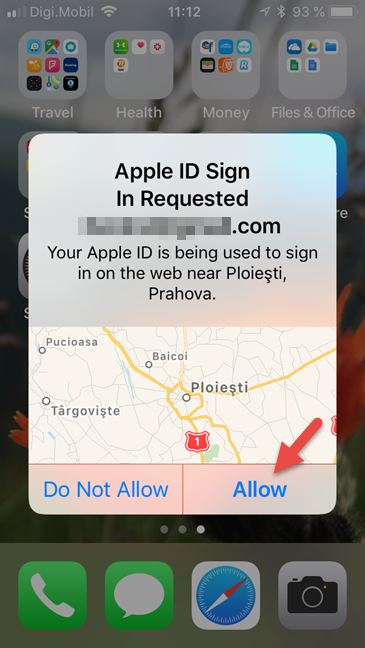
When you attempt to sign in to your Apple account in a web browser or on a device, your iPhone or iPad devices should automatically show you a message about that sign in request. If that is you, tap Allow. The message looks like this:
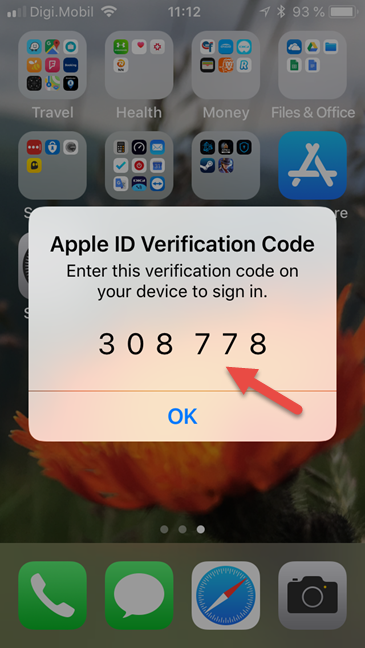
Once you allow the sign-in attempt, your iPhone or iPad should also display an automatically generated Apple ID Verification Code that is six digits long.
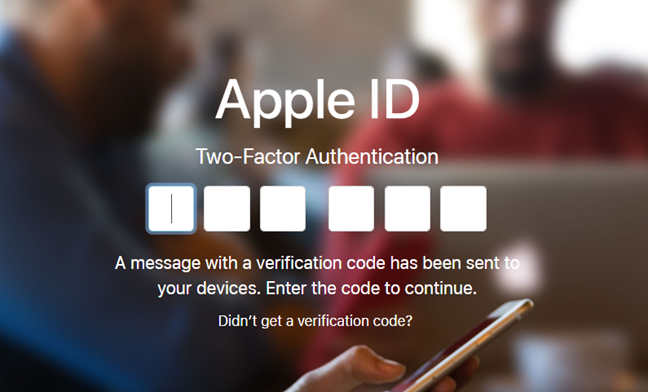
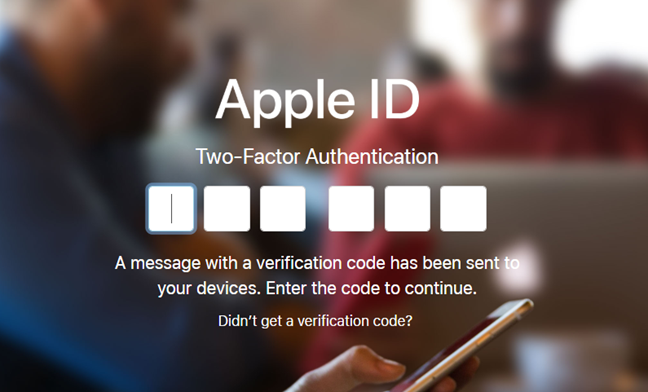
You have to enter the two-step verification code in the web browser or device on which you are signing in to your Apple account. In a web browser, this looks like the screenshot below.
Once you enter the verification code, Apple signs you into your account.
Are you using two-step authentication for your Apple ID?
We hope that most of our readers use two-step authentication for their important accounts, including their Apple ID. It is one of the best ways of securing your personal information if you are using Apple devices and services. Before closing this tutorial, we would like to know whether you have enabled two-step verification, and how well it works for you. Share your comments below.


 03.09.2018