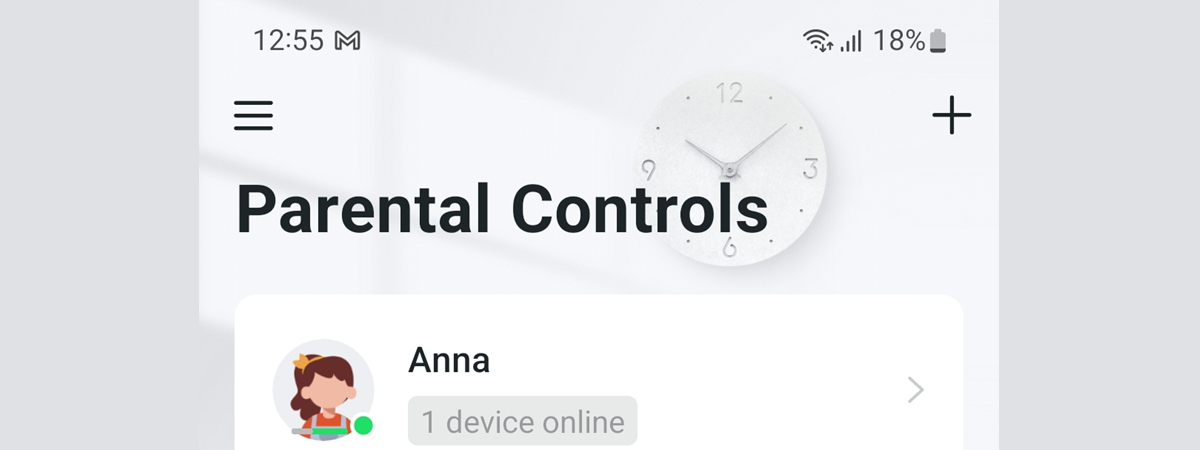
As part of their HomeShield service, TP-Link Deco mesh Wi-Fi systems feature many useful security tools. The service is available for free, and it includes Wi-Fi diagnostics, content filters, and IoT device identification. However, the most advanced and efficient protection is available in the paid HomeShield Pro plan. Here’s how to activate it, how much it costs, and the protection it includes:
IMPORTANT: When you want to install and configure a TP-Link Deco mesh Wi-Fi system, you need the Deco app. This app is available for free, both on Android and iOS. Install the app, sign in to your TP-Link account, and configure your Deco. Then, follow the steps from this guide to activate HomeShield Pro.
How to activate HomeShield Pro on your TP-Link Deco with Wi-Fi 6
Start the Deco app on your smartphone, and you should see a screen similar to the one below. If it’s not already selected, tap the Network tab at the bottom.
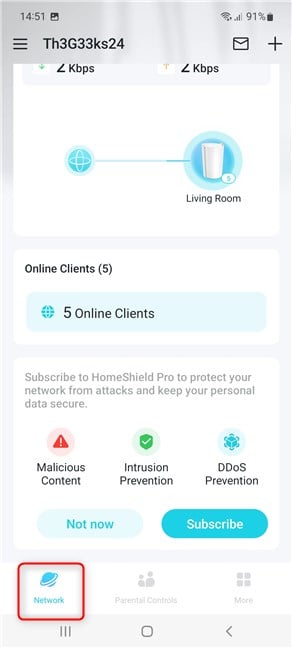
Tap on Network if it is not already selected
You see details about your network status, how many devices are connected, and so on. To activate your HomeShield Pro plan and benefit from its protection, scroll down to the section that says: “Subscribe to HomeShield Pro to protect your network from attacks and keep your personal data secure.” Then, tap the Subscribe button in this section.
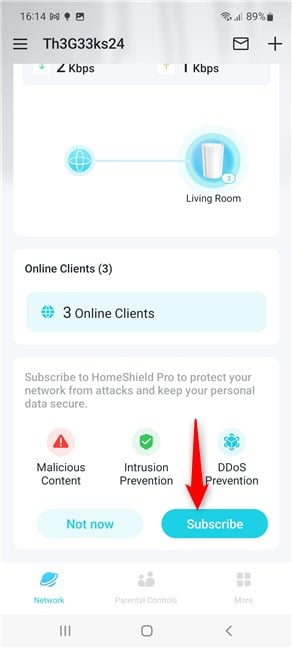
Tap on Subscribe
You see the available subscription options and their prices. The screenshot below shows the fees for my home country (Romania) in the local currency (RON). In the USA, a 30-day subscription costs around $5.99, while an annual charge is $54.99. You also get a free trial period of 30 days. Therefore, if you use the selected plan for 30 days and are unhappy with it, you can cancel it before making the first payment.
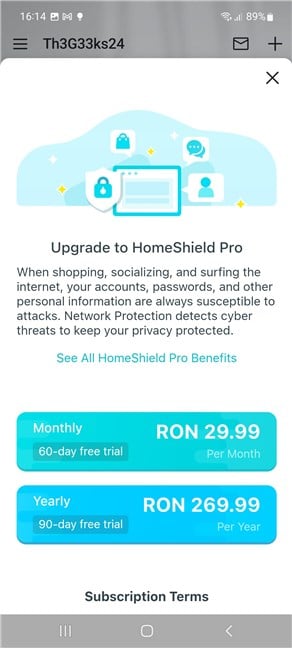
Choose what kind of plan you want
If you want more details about TP-Link’s subscription terms, scroll down, and you will see details about how the free trial works, when the chosen subscription gets renewed, how to cancel it, and so on.
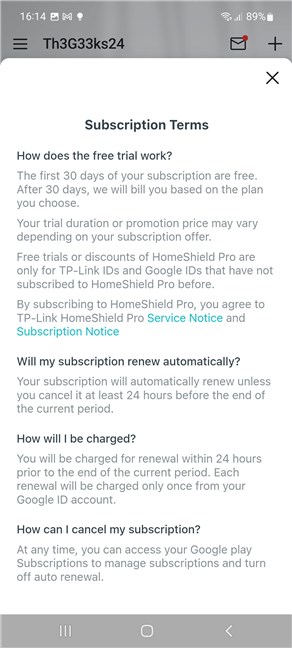
Read the subscription terms
Tap the subscription you want (I chose Monthly for this tutorial), and you will see a summary of the upcoming payment to be made through the app store you’re using (Google Play on Android and App Store on iPhone and iPad).
If you don’t see all the details because your phone’s screen is not that large, scroll down a bit, and you’ll also see the card that will be used for the payment (usually, it’s the one associated with your Google Play or App Store account). If you’re ok with all the terms and conditions, tap Subscribe.
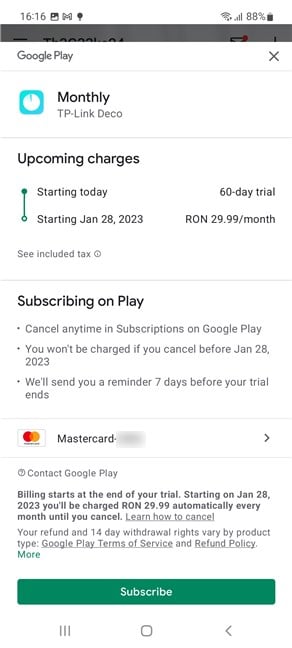
Details about your payment
You may be asked to type the password of your Google Play (or App Store) account or authenticate using your face or fingerprint. When that happens, provide what’s requested of you, and tap Confirm. If you haven’t made any payments until now on your Goole Play account, you may also be asked to decide whether you want authentication to be required for all future purchases. In addition, you may be asked to add a backup payment method (you can add a secondary credit card that will be used only when the primary one doesn’t work). Luckily, all these steps are optional and shown only if you didn’t make any previous purchases on Google Play.
After making your choices, the Deco app asks you to choose a network you want to protect. Except for the situation where you’re using multiple Deco systems in different locations, you should see only one network in the list. Tap its name and then on Confirm.
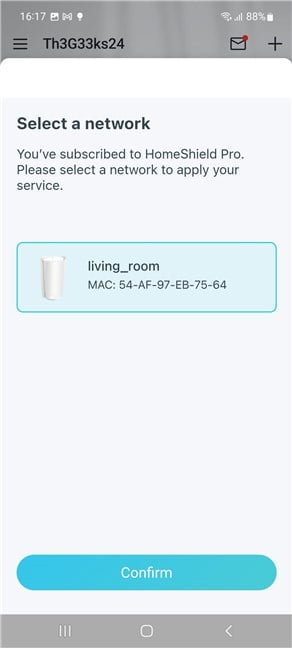
Choose the network you want to protect
The Deco app confirms that you’re now subscribed to HomeShield Pro, and you can enjoy all the protection included with it. Tap on Enjoy Now.
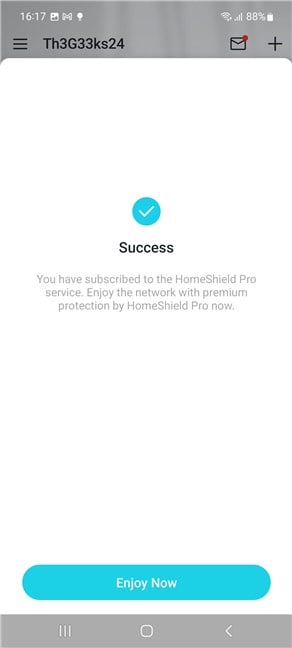
You have subscribed to HomeShield Pro
Your TP-Link Deco mesh system loads all the files necessary for HomeShield Pro. Depending on your internet connection speed, this process may take a couple of minutes. Wait for the progress indicator to reach 100%.
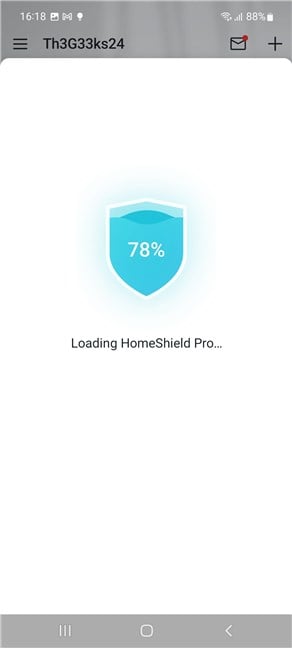
Loading HomeShield Pro takes a couple of minutes
Then you see the home screen of the Deco app, and the Network tab opens.
How does HomeShield Pro protect your network? How to view what it does?
HomeShield Pro offers the following features:
- Monitoring and blocking malicious websites in real-time on all devices connected to the network that your TP-Link Deco manages.
- Preventing intrusions from outside your network and fixing your network’s vulnerabilities to external attacks.
- DDoS attack protection when third parties try to exhaust your network’s resources and infiltrate it.
- IoT device identification and protection against unauthorized access, data breaches, etc.
TIP: If you want to know more about the protection offered by HomeShield Pro and how it compares to the free version HomeShield Basic, visit this page.
To see a log of the protection you get and statistics about the threats identified and blocked, scroll down the Network page in the Deco app until you get to the Protecting Your Network section.
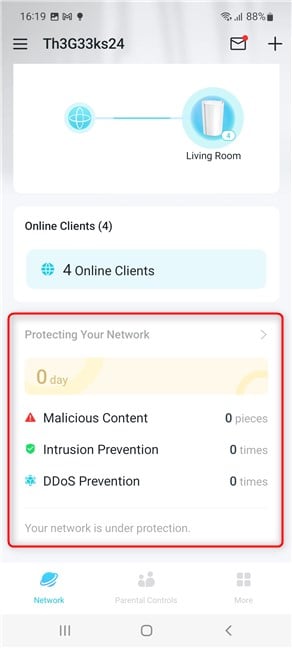
Tap on Protecting Your Network
If you tap on this section, you see a detailed list of the types of threats against which your network is protected and how many threats were blocked.
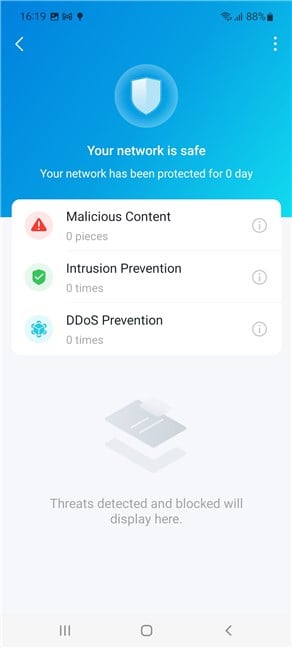
See how HomeShield Pro protects your network
Once you’ve checked all the information you were interested in, tap the top-left arrow to return to the previous page.
How to access details about your subscription (type of plan, next billing date, etc.)
After you’ve subscribed to HomeShield Pro, you can see details about your plan, the billing date, and other useful information straight from the Deco app. Tap the burger icon (three lines) in the upper-left corner.
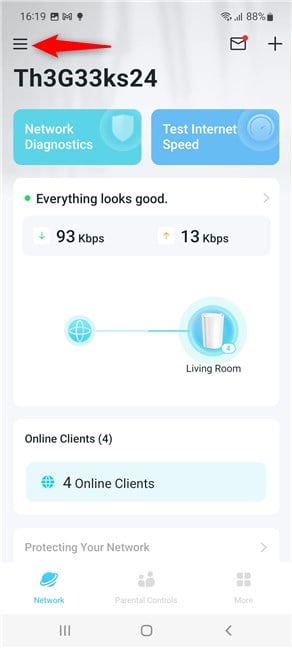
Tap the burger icon on the top-left
You see a menu with options related to your TP-Link account. Tap on HomeShield Pro.
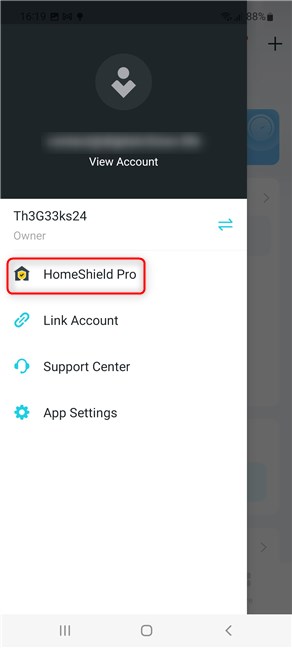
Tap on HomeShield Pro
You’ll then see information that may interest you: how many days of protection you’ve received, which network is protected, what type of plan you have (monthly or yearly), the next billing date, and so on. You also find answers to the most frequently asked questions about HomeShield Pro.
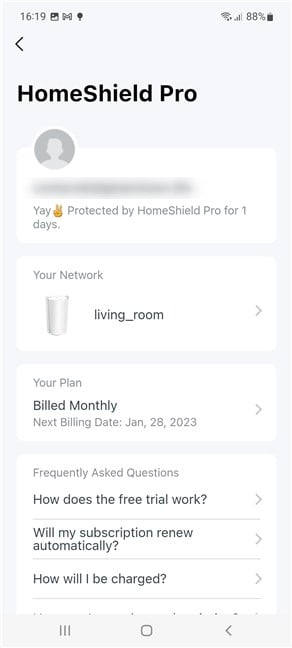
Details about your HomeShield Pro plan
What is your opinion about HomeShield Pro?
I hope you’ve found this guide useful. Now you know what kind of protection you get from HomeShield Pro, how much it costs, how it is activated, and how it works. If you’re buying yourself a TP-Link Deco mesh Wi-Fi system, activate it, test it, and then choose the plan that suits you best. And if you have any unanswered questions, don’t hesitate to comment using the options below.


 30.11.2022