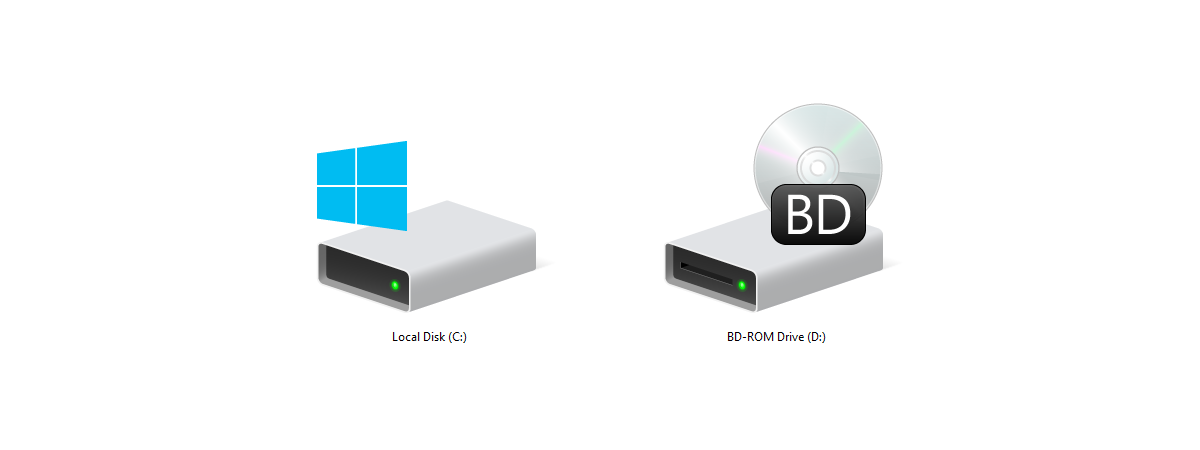
In Windows 10, every drive uses a familiar name that helps you identify it. For instance, the drive that holds the operating system is called Local Disk. At the same time, a USB memory stick is named USB Drive. Also, network drives and mapped drives use the locations they point to as their names. Although Windows 10 sets default names for every drive, you might want to customize the drives from your computer to recognize them more easily. In this guide, we share five ways to rename all types of drives in Windows 10. Let's get started:
IMPORTANT: This guide covers the renaming of mapped drives, network drives, flash drives, and disk partitions in your Windows 10 PC. Some methods work for all types of drives, others just for a subset. For each method, we mention the type of drive for which it works. When you rename a drive in Windows 10, its name cannot contain any of the following characters: / : * ? " < > |. None of the methods shared in this guide work for optical drives, like Blu-ray drives or CD/DVD drives.
How to rename all types of drives using the Rename option
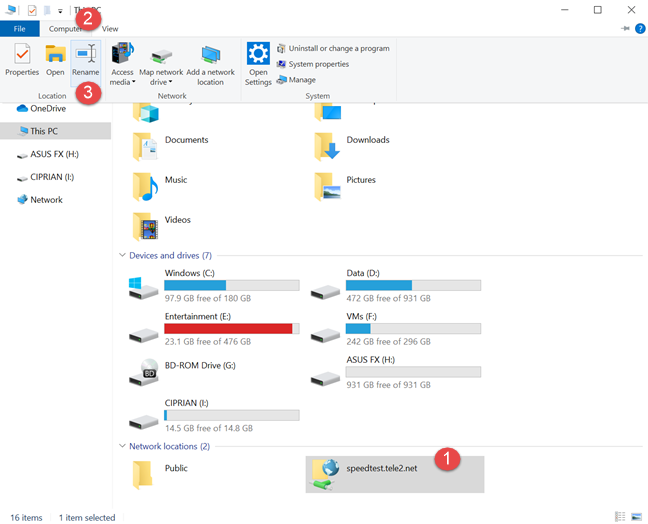
Open File Explorer and go to This PC. There you see all the drives and network locations that exist in Windows 10. Click to select the drive that you want to rename. Then, to access the Rename option, you can click or tap the Computer tab on the ribbon, and then the Rename option.
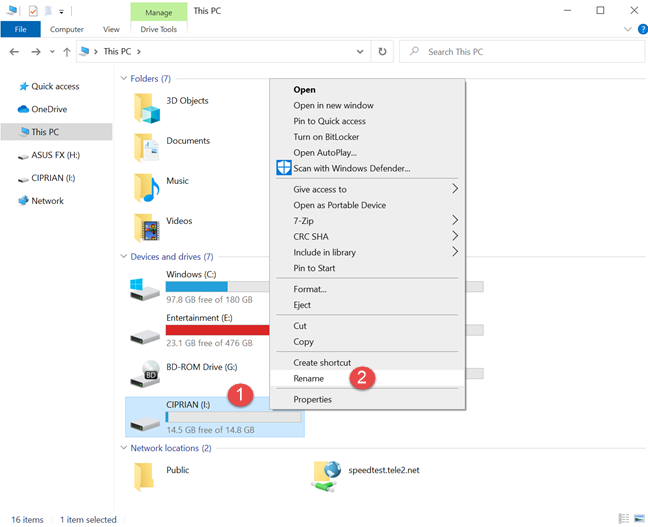
Or, you can right-click (or press-and-hold) the drive that you are interested in, and then choose Rename in the contextual menu.
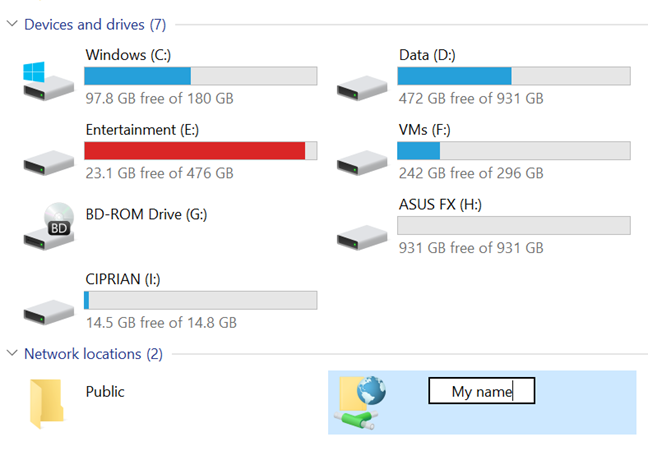
Finally, you can also click or tap on the drive that you want to rename, and then press the F2 key on your keyboard. No matter which method you chose to get here, type the new name that you want for the selected drive. Press Enter on your keyboard or click or tap somewhere in the empty space from the File Explorer window to apply it.
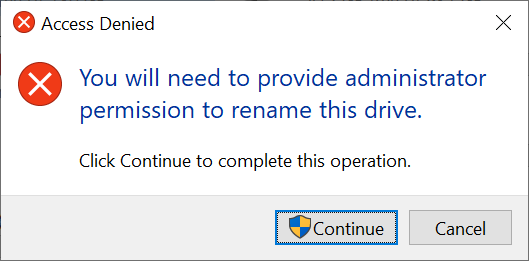
When you try to rename drives like the partition where Windows 10 is installed, you receive this message: "Access Denied - You will need to provide administrator permission to rename this drive." If you are logged with an account that is administrator in Windows 10, press Continue, and you are done. Otherwise, you also have to enter the password of another user account that is an administrator on your PC in the UAC prompt that is shown.
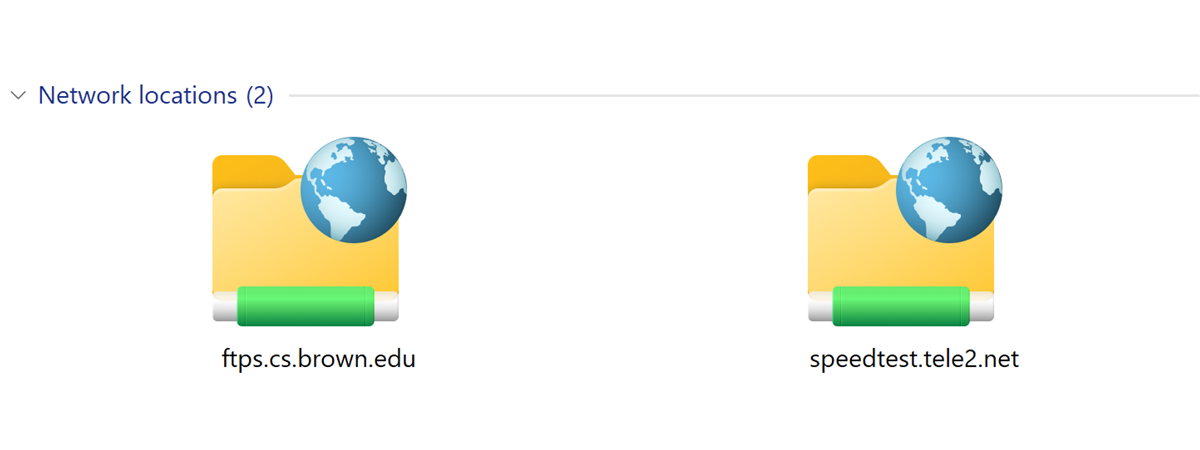
This method works both for network locations (mapped drives) and storage drives, including USB flash drives and external hard disks.
Rename all types of drives using their Properties
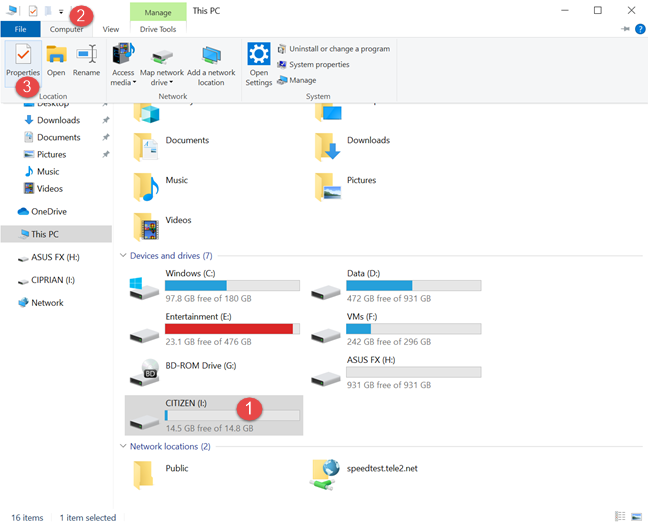
Another method that works for all types of drives, from mapped drives to partitions and flash drives, is to access their Properties and rename them from there. Accessing the Properties of a drive can be done in many ways. The easiest is from File Explorer. Open it and go to This PC. Then, select the drive that you want to rename from "Devices and drives" or "Network locations." Go to the Computer tab on the ribbon, and then click or tap the Properties button.
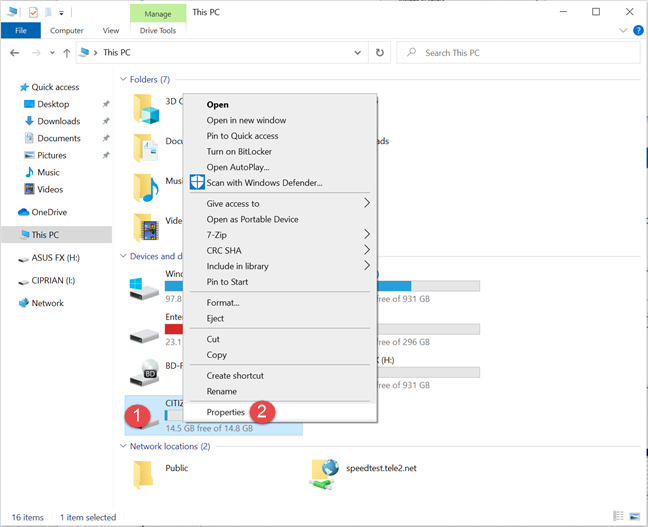
Another method is to right-click or press-and-hold on the drive that you want to rename and choose Properties in the contextual menu. Alternatively, you can click or tap on the drive and then press the ALT+Enter keys on your keyboard simultaneously.
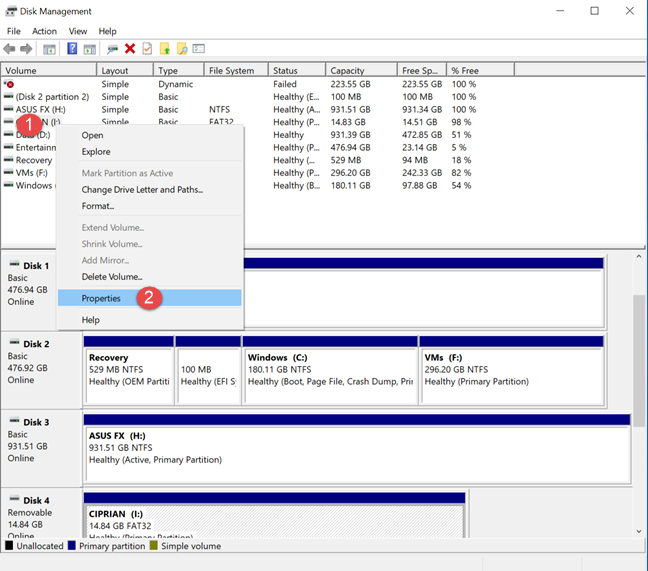
You can also access the Properties of a drive from other places, like Disk Management or Computer Management. The caveat to these tools is that you can use them only to rename partitions on your SSD or HDD, and USB drives attached to your computer. Let's see how it works: Open Disk Management and right-click (or press-and-hold) the drive that you want to rename. Then,choose Properties from the contextual menu.
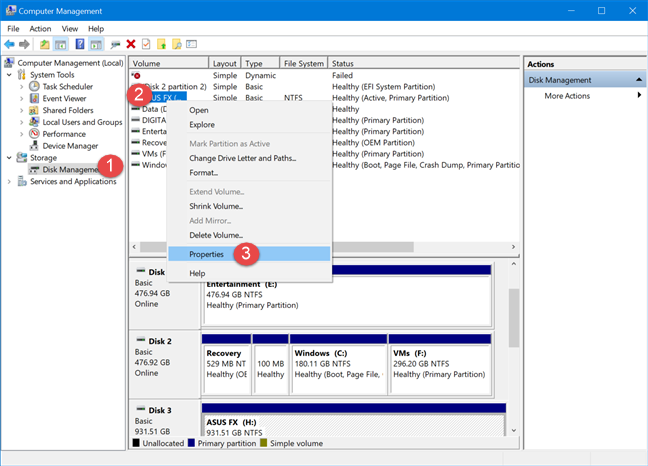
If you open Computer Management, go to Storage -> Disk Management, right-click (or press-and-hold) the drive that you want to rename, and choose Properties.
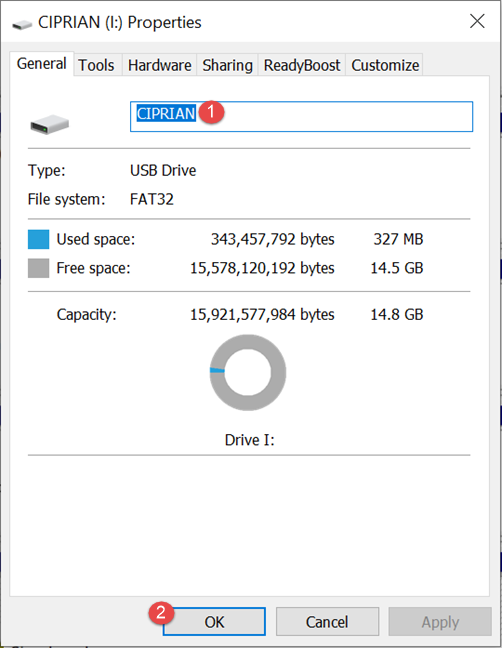
No matter how you got to the Properties window of the drive that you want to rename, type the new name in the General tab and press OK or Apply.
The selected drive is now renamed using the new name that you have entered.
Rename all drives with a drive letter from the Command Prompt or PowerShell
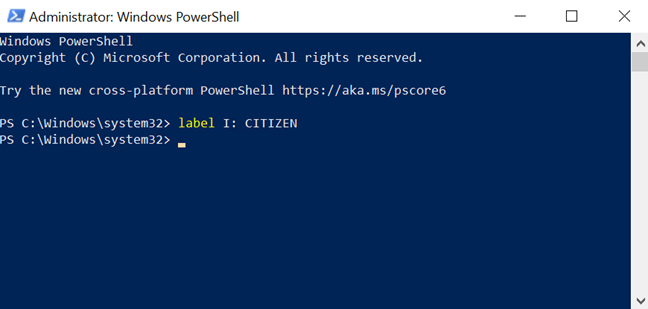
If the drive that you want to rename has a letter assigned (like a USB flash drive), you can rename it using a simple command. Open the Command Prompt or start PowerShell as an administrator, and enter this command: label DriveLetter: NewName. For example, to rename the I: drive to CITIZEN, we typed: label I: CITIZEN. To execute the command, press Enter on your keyboard.
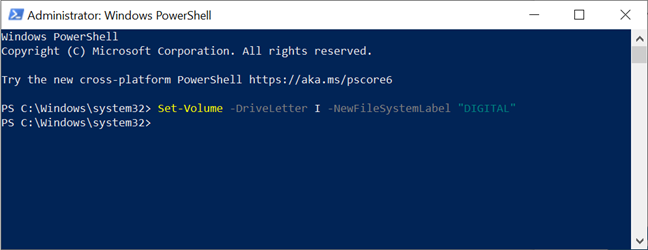
There is another similar command which works only in Powershell: Set-Volume -DriveLetter Letter -NewFileSystemLabel "NewName". To rename the I: drive DIGITAL, we typed the following command:
Set-Volume -DriveLetter I -NewFileSystemLabel "DIGITAL"
Don't forget to press Enter when you are done typing in the command to execute it. When you go to File Explorer, you see that the drive was renamed using the name that you typed in earlier.
NOTE: This method doesn't work for network drives and mapped drives, only for storage drives.
How to rename drives from PowerShell using their existing names
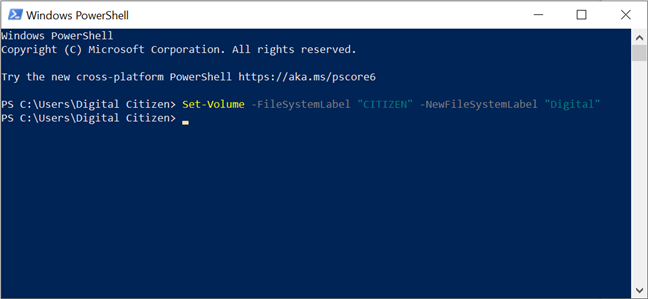
You can start PowerShell and use another command that helps you rename a storage drive (flash drive, external hard disk, partition) using its existing name. Type the command: Set-Volume -FileSystemLabel "DriveName" -NewFileSystemLabel "NewDriveName".
For example, to rename a drive named CITIZEN into Digital, we wrote: Set-Volume -FileSystemLabel "CITIZEN" -NewFileSystemLabel "Digital".
Press Enter to execute the command. When you go to File Explorer, you see the drive renamed.
How to rename an external drive using an Autorun.inf file
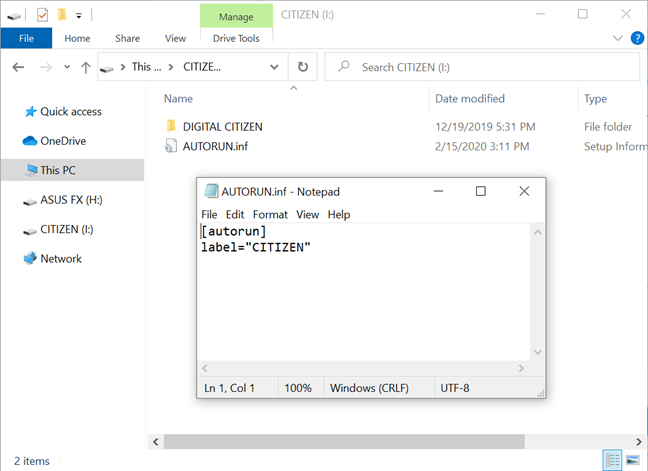
This method works best for removable drives, like USB flash drives and USB hard drives. However, it can also be used for your PC's internal hard disk drives. When Windows 10 mounts a drive, it checks if a file called autorun.inf exists on it. This file can contain information about the name of that drive and the icon it uses. If such information is present, Windows 10 uses it to display the drive in File Explorer and in any other places. The autorun.inf file should have an entry label="DriveName". Replace DriveName with the name of the drive that you want to use.
We've shown how to create autorun.inf files and personalize them in this tutorial: How to set a custom icon & label for removable drives in Windows.
Which method do you prefer for renaming drives in Windows 10?
As you have seen in this guide, there are many ways to rename a drive in Windows 10. Unfortunately, not all of them work for all types of drives. Some methods can be used to rename network drives as well as storage drives, while others work only for storage drives. Hopefully, our guide has managed to help you find the solution you need for the type of drive that you want to rename. If you have any problems or errors, do not hesitate to share them in the comments below.


 18.02.2020