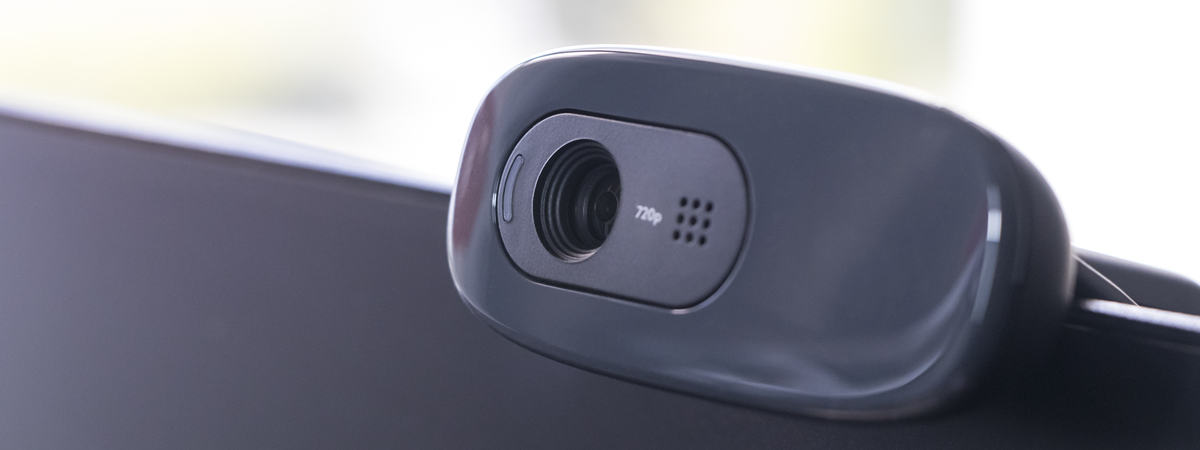
The Camera app is preinstalled in Windows 8.1. If your computer or device has a webcam, you can easily use the Camera app to take photos and record videos, or you can use it to update the picture of your Microsoft account. In this tutorial I'm going to show you how to use the Camera app from Windows 8.1.
Important: If you are using the Camera app for the first time, make sure that the driver for your webcam is installed.
How to Start the Camera App in Windows 8.1
You can launch the Camera app in several different ways:
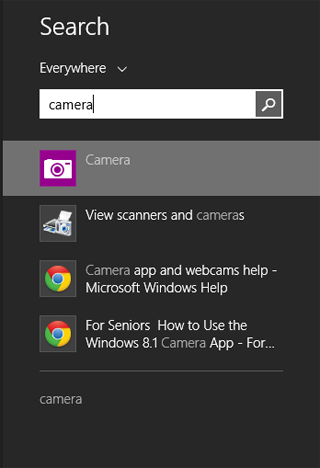
If you are on the Desktop bring up the Charms and click or tap Search. In the search box enter the word "camera" and click or tap the appropriate search result.
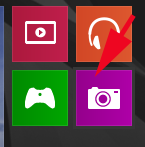
If you are on the Start screen, click or tap on the Camera app tile.
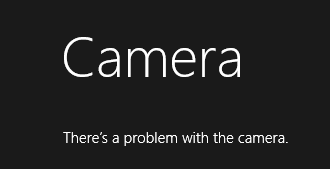
If your webcam is not installed properly, you'll see an error message saying that "There's a problem with the camera."
If you are using this app for the first time, the app may ask if it can use your webcam and microphone and then whether it can use your location. Click or tap Allow in order to use the app.
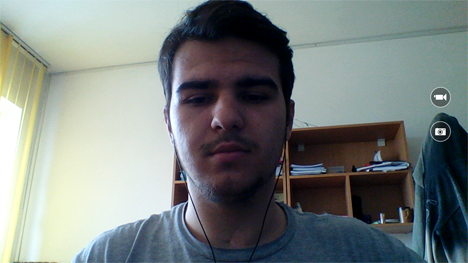
If everything is well, you will see an image of what's in front of your camera.
How to Take Photos Using the Camera App
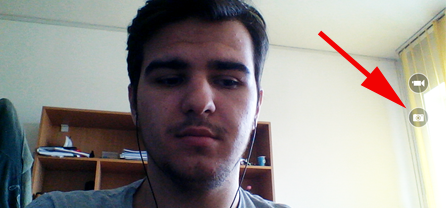
There are two buttons available on the right-side of the screen: one for recording videos and one for taking pictures.
If you want to take a picture, click or tap the Photo button (the one with a camera icon). Alternatively, you can click or tap somewhere in the middle of the image to capture a snapshot.
How to Adjust the Timer and Exposure Before Taking Pictures
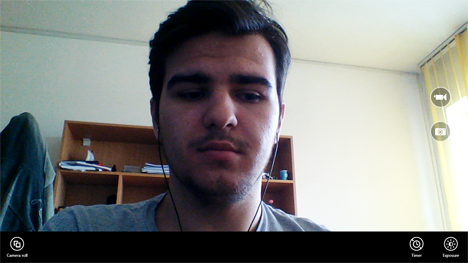
While taking pictures with this app, you can adjust Timer, Exposure or you can access the Camera Roll folder from the app itself.
To access these settings, right-click somewhere on the app screen or swipe up from the bottom edge of the screen, if you are using a touch-enabled device.
If you want to adjust the exposure, click or tap the Exposure button. Exposure refers to controlling the lightness and the darkness of the image. When the slider is going down, the darkness increases. When the slider goes up, the light increases.
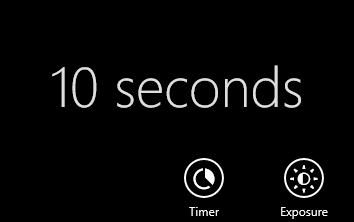
You can also use the Timer to take a picture after a certain amount of time. Click or tap the Timer button and you can set it to: 3 seconds or 10 seconds. A click or tap will activate the 3 seconds timer. If you click or tap one more time, the timer will be set to 10 seconds. With another one click or tap, the timer is turned off. The countdown will appear on the screen once the timer is activated.
How to View the Pictures Taken with the Camera App
There are few ways to view the pictures you took with this app:
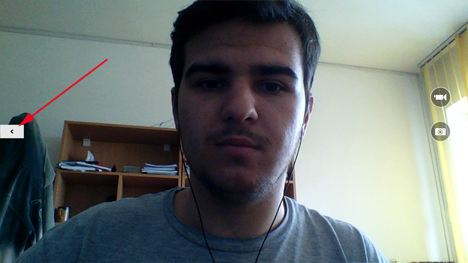
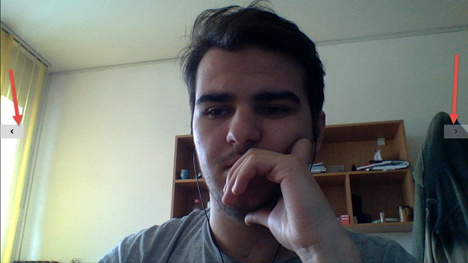
Click the left arrow from the Camera app or swipe to the right if you are using a touch-enabled device.
Now, you can navigate through your pictures by clicking or tapping the Back button on the left or the Forward button on the right. You also swipe from the right or left edge of the screen to move backward or forward.
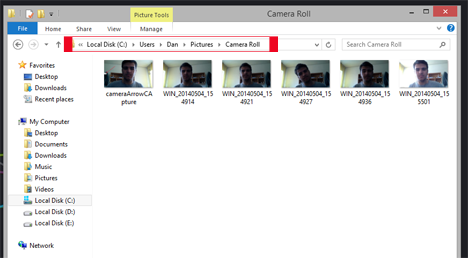
You can also go to the Camera Roll folder in File Explorer. You can find it at: "C:UsersYour UsernamePicturesCameral Roll". Here where the Camera app stores your pictures and video recordings.
You can double click or tap the picture you want to view and it will open in the default image viewer. If you don't know how to set your default apps in Windows 8.1, read our step-by-step tutorial: The Easy Way to Set Your Default Apps in Windows 8.1.
How to Record Videos with the Camera App in Windows 8.1
Click or tap the Video button in the Camera app to start recording.
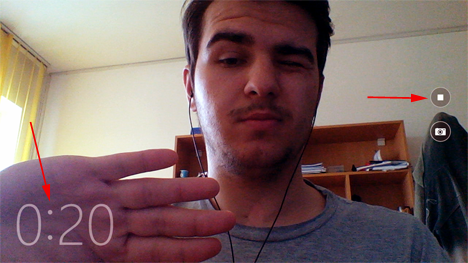
When the recording starts, a stopwatch is displayed on the bottom left corner, showing the time that has passed since you started the recording. Also, the video button is replaced by a Stop button.
To stop recording, click or tap on the Stop button. The recording is now saved and stored in your Camera Roll folder.
How to View Video Recordings in the Camera App
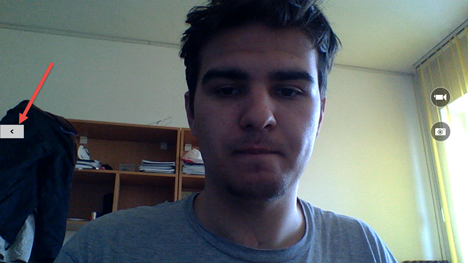
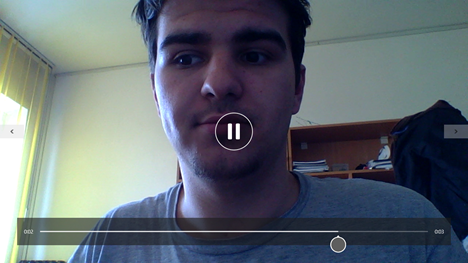
If you want to see a recorded video click on the left arrow from the Camera app or swipe to the the right if you are using a touch-enabled device. The recording will start playing automatically.
Below you have an example of how recorded video is played by the app. If you want to pause the video you are watching, click or tap the Pause button on the center of the screen. If you want to play a paused video, click or tap the Play button located in the same spot as the Pause button.
Alternately, you can go to the Camera Roll folder where the Camera app stores all the video you record. Please remember that you can access it by using File Explorer and going to "C:UsersYour UsernamePicturesCamera Roll".
How to Change the Settings of the Camera App
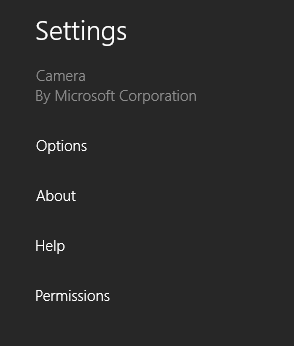
This app's settings can be access through the Settings charm, just like in other modern apps for Windows 8.1.
With the Camera app still open, bring up the Charms and click or tap on Settings.
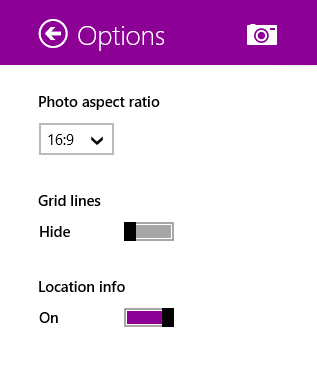
Then, click or tap Options.
Here you configure a dynamic list of settings, which varies depending on the webcam you are using and its drivers:
- Photo aspect ratio - The aspect ratio of an image describes the proportional relationship between its width and its height.
- Grid lines - they are series of horizontal and perpendicular lines that divide the image into squares. You can show them or hide them.
- Location info - when enabled, your location is stored in the metadata of the pictures and recordings you make with this app.
For other webcams you might see additional settings like the video quality you want to use for your recordings, which microphone you want to use for video recordings, etc. The list of settings varies from webcam to webcam.
What's New in the Camera App vs. the Windows 8 Version
There are some important differences between the Camera app from Windows 8.1 and the version from Windows 8. If you don't know about the Camera app from Windows 8, read this tutorial: Introducing Windows 8: How to use Camera app to Record Videos.
The most important differences are the following:
- In Windows 8's Camera app, between the Exposure and Timer buttons, you had another one button named Camera Options. In Windows 8.1, this button isn't available but the same settings are available using the Settings charm.
- In Windows 8.1's Camera app, to record a video you must click or tap the Video button. If you want to end the recording, you must click or tap the Stop button. In Windows 8, you must enable the video mode by clicking or tapping the Video button and after that you can click or tap wherever you want on the screen to start the recording. You can click or tap again to stop the recording.
- In Windows 8.1, you can take pictures while the camera is recording videos. After you have started recording a video, you can click or tap wherever you want on the screen and the app will take a picture instead without stopping the recording video.
Conclusion
That's it for this first tutorial on using the Camera app in Windows 8.1. It's a nice app which can help you when you need to record something or when you want take a picture. If you have any comments on this subject, don't hesitate to share them using the comments form below.


 07.05.2014